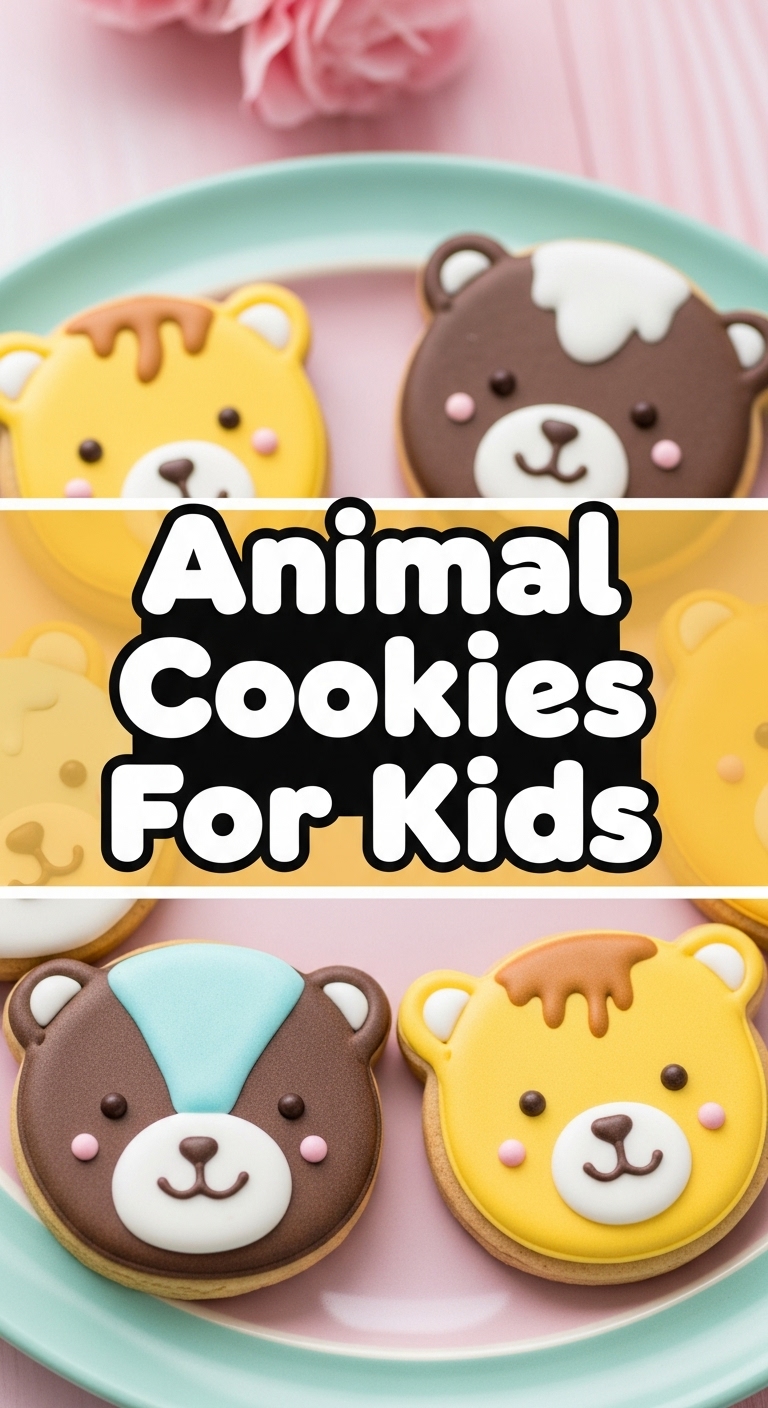
Remember those iconic pink and white frosted animal crackers? The ones that tasted like pure childhood joy and probably came in a box too big for one sitting? Well, get ready to ditch the store-bought stuff and make your own, because we’re about to bake some ridiculously adorable animal cookies that are way better than anything that ever came out of a factory. And guess what? Your kitchen won’t look like a war zone afterwards. Probably. So you’re craving something tasty but too lazy to spend forever in the kitchen, huh? Same. Let’s do this!
Why This Recipe is Awesome
Okay, let’s be real. Most recipes promise the world and deliver a messy kitchen and questionable results. But this one? This recipe is practically magic. It’s **stupid-easy**, so even if your culinary skills peak at instant noodles, you’ll nail this. It’s also super fun for the little munchkins (or, let’s be honest, for us big kids) because who doesn’t love playing with cookie dough and animal shapes? Plus, the smell alone will make your house feel like a warm, happy hug. **Seriously, prepare for compliments.** Or at least, fewer complaints than usual. 😉
Ingredients You’ll Need
- **1 cup (2 sticks) unsalted butter, softened:** Don’t even think about using cold butter unless you enjoy a good arm workout. And make it unsalted; you’re adding salt later, trust me.
- **1 ½ cups granulated sugar:** The good stuff that makes everything sweet.
- **1 large egg:** The binder of dreams. Make sure it’s at room temp; it mixes better, apparently.
- **1 teaspoon vanilla extract:** The MVP of baking flavors. Don’t skimp on this!
- **2 ½ cups all-purpose flour:** The backbone of our cookie empire.
- **1 teaspoon baking powder:** For that perfect little lift.
- **½ teaspoon salt:** Because sweet needs a little salty to really shine.
- **Optional: Food coloring:** Pink and white are classic, but feel free to go wild. Blue zebra? Green elephant? Your rules!
- **Optional: Sprinkles:** Because life is too short for plain cookies.
Step-by-Step Instructions
- **Cream it up:** In a large bowl, cream together the softened butter and granulated sugar until it’s light and fluffy. This usually takes about 2-3 minutes with an electric mixer. Don’t rush this part; it’s important!
- **Egg-cellent addition:** Beat in the egg and vanilla extract until just combined. Scrape down the sides of the bowl to make sure everything gets in on the action.
- **Dry goods party:** In a separate bowl, whisk together the flour, baking powder, and salt. Then, gradually add the dry ingredients to the wet ingredients, mixing on low speed until just combined. **Be careful not to overmix!** Nobody likes tough cookies.
- **Chill out:** Divide the dough in half, flatten each half into a disk, wrap tightly in plastic wrap, and refrigerate for at least 30 minutes. This makes it way easier to roll out.
- **Roll call:** Preheat your oven to 375°F (190°C). On a lightly floured surface, roll out one disk of dough to about ¼-inch thickness. Now for the fun part: grab your animal cookie cutters!
- **Cut and bake:** Cut out your adorable animal shapes and place them about 1 inch apart on baking sheets lined with parchment paper. Bake for 8-10 minutes, or until the edges are lightly golden. **Keep an eye on them!**
- **Cool down:** Let the cookies cool on the baking sheet for a few minutes before transferring them to a wire rack to cool completely.
- **Decorate (the best part):** Once cool, mix powdered sugar with a tiny bit of milk or water and your favorite food coloring to make a simple glaze. Dip or spread it on your cookies, add sprinkles, and let them set. Revel in your masterpiece!
Common Mistakes to Avoid
- **Not softening your butter:** Seriously, unless you want lumpy cookies and a sore arm, take the butter out of the fridge ahead of time. It’s not rocket science, just basic planning.
- **Overmixing the dough:** You’ll end up with cookies that could double as hockey pucks. Mix until just combined, then stop. Your biceps don’t need *that* much exercise.
- **Skipping the chill time:** We get it, you’re excited. But warm dough is sticky, annoying, and makes for wonky shapes. Just chill, literally.
- **Rolling the dough too thin/thick:** Too thin, and they’ll burn. Too thick, and they’ll be raw in the middle. Aim for that sweet spot: ¼ inch. You’re not making paper, you’re making cookies!
- **Not preheating the oven:** Rookie move. Your oven needs to be at the correct temperature from the start for even baking. Don’t play fast and loose with science, friend.
Alternatives & Substitutions
Feeling a little rebellious, or just out of something? No worries, we’ve got options!
- **Butter vs. Margarine:** Can you use margarine? Technically, yes. But **IMO**, butter just tastes better. It provides a richer flavor and texture. If you must use margarine, go for it, but just know your soul might shed a tiny tear.
- **Gluten-Free Flour:** Want to make them GF? Swap out the all-purpose flour for a 1:1 gluten-free baking blend. Results may vary slightly, but many blends work surprisingly well!
- **Different Extracts:** Vanilla is classic, but try almond extract for a marzipan-like twist, or even a hint of lemon extract for a zesty kick. Get wild!
- **No Cookie Cutters? No Problem!** Roll out the dough and cut it into squares or circles with a knife or the rim of a glass. They might not be ‘animals,’ but they’ll still be delicious. Who cares about aesthetics when you have warm cookies?
FAQ (Frequently Asked Questions)
- **Can I make the dough ahead of time?** Absolutely! You can keep the dough wrapped in the fridge for up to 3 days, or freeze it for a month. Just let it come to room temperature (or slightly less) before rolling. Future you will thank past you for being so prepared!
- **My cookies are spreading too much, what gives?** Probably a few things: your butter was too soft, your oven wasn’t hot enough, or your dough wasn’t chilled enough. Next time, try chilling the cut-out cookies for 10 minutes before baking. **Pro tip!**
- **How do I get that perfect pink and white frosting?** Easy peasy! For the white, just powdered sugar and a tiny bit of milk/water. For the pink, add a drop of red food coloring to another batch. Dip half the cookie in white, let it set, then dip the other half in pink. Voilà!
- **Can kids help with this recipe?** Oh, heck yes! This recipe is practically designed for tiny helpers. Rolling, cutting, decorating – it’s all kid-friendly. Just be prepared for a bit of flour dust and a lot of giggles. **FYI**, supervision is still recommended, especially near the hot oven.
- **How do I store these masterpieces?** Once fully cooled and the frosting is set, store them in an airtight container at room temperature for up to a week. If they last that long, that is. (Mine never do.)
- **My cookies are too hard. What did I do wrong?** Overmixing the dough or overbaking them. Remember, mix until *just* combined, and take them out when the edges are *just* starting to turn golden. They’ll firm up as they cool.
Final Thoughts
So there you have it, your very own batch of homemade animal cookies! Whether you made them for the actual kids in your life, or just for the inner child who lives for sweet treats, you totally nailed it. Go ahead, grab a tall glass of milk, kick back, and enjoy the fruits of your not-so-laborious labor. Now go impress someone—or yourself—with your new culinary skills. You’ve earned it!


