So you’re craving something tasty but too lazy to spend forever in the kitchen, huh? Same. And you’re probably also eyeing those fancy almond flour cookies online, thinking ‘nah, too much effort.’ Well, friend, buckle up because I’m about to blow your mind with a recipe so easy, it’s practically a magic trick. Get ready for the best almond flour chocolate chip cookies that come together faster than you can decide what to watch on Netflix.
Why This Recipe is Awesome
Okay, let’s be real. We all want gourmet-level cookies without the gourmet-level fuss. This recipe? It’s your new best friend. Seriously.
- Speed Demon: You’ll be eating warm cookies before you even finish your first cup of coffee (or wine, no judgment).
- Idiot-Proof: If I, a person who once set off a smoke detector making toast, can nail these, you absolutely can too. No fancy techniques, no weird ingredients.
- Gluten-Free Goodness: Yes, these are naturally gluten-free thanks to our star ingredient, almond flour. So go ahead, tell your gluten-intolerant pal you’re a baking genius.
- Flavor Bomb: Chewy, gooey, perfectly sweet, and loaded with chocolate. You won’t even miss the ‘regular’ flour. Promise.
Ingredients You’ll Need
Alright, pantry raid time! Here’s your hit list:
- 1 cup (2 sticks) unsalted butter, softened: Like, actually softened, not rock hard or melted. Unless you want cookie soup.
- 3/4 cup granulated sugar: The classic sweet stuff.
- 1/2 cup packed light brown sugar: For that extra chew and caramel note. Don’t skip it, it’s magic.
- 1 large egg: The binder. Make sure it’s not straight from the fridge; room temp is always better for baking.
- 1 teaspoon vanilla extract: The soul of almost any cookie. Don’t skimp on the good stuff!
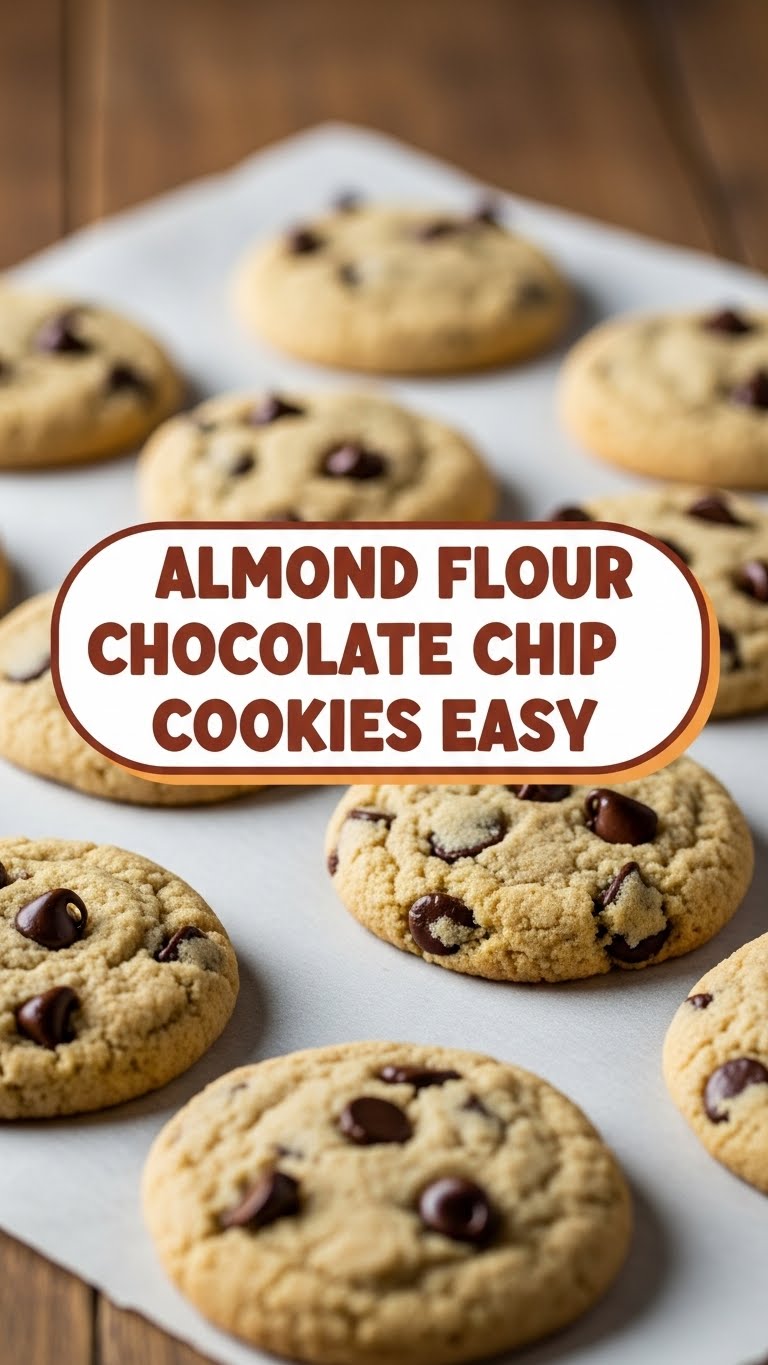
- 2 cups almond flour: The star of our show. Make sure it’s super-fine almond flour, not almond meal (unless you prefer a coarser texture, but for chewy cookies, fine is better).
- 1/2 teaspoon baking soda: Our leavening agent, making them puffy and perfect.
- 1/4 teaspoon salt: Balances all that sweetness. Crucial!
- 1 cup chocolate chips: Your choice! Milk, semi-sweet, dark, chunks – go wild. I won’t tell if you add a few more. (You know you want to.)
Step-by-Step Instructions
Deep breaths. You got this. It’s so easy, you’ll wonder why you ever bought pre-made dough.
- Preheat & Prep: First things first, turn your oven to 350°F (175°C). Then, line a baking sheet with parchment paper. This is non-negotiable for easy cleanup and no-stick cookies.
- Cream it Up: In a large bowl, or your stand mixer if you’re fancy, beat together the softened butter, granulated sugar, and brown sugar until light and fluffy. This usually takes about 2-3 minutes. Don’t rush this step; it’s essential for texture.
- Egg-cellent Addition: Beat in the egg and vanilla extract until just combined. Scrape down the sides of the bowl to ensure everything gets mixed.
- Dry Meets Wet: In a separate medium bowl, whisk together the almond flour, baking soda, and salt. Then, gradually add the dry ingredients to the wet ingredients, mixing on low speed until just combined. Do not overmix! Overmixing affects texture and can make your cookies tough.
- Chocolate Time! Fold in those glorious chocolate chips. Use a spatula for this.
- Scoop & Bake: Scoop rounded tablespoons of dough onto your prepared baking sheet, leaving a couple of inches between them. These cookies spread a bit, so give ’em space.
- Golden Goodness: Bake for 9-12 minutes, or until the edges are lightly golden and the centers look set but still slightly soft. They’ll firm up as they cool, promise.
- Cool Down: Let them cool on the baking sheet for about 5 minutes before transferring them to a wire rack to cool completely. Or, if you’re like me, eat one (or three) while they’re still warm and gooey. Just try not to burn your tongue.
Common Mistakes to Avoid
We’ve all been there. Learn from my past kitchen fails, save yourself the heartache.
- Not preheating the oven: Seriously, don’t be that person. Cold ovens mess with baking times and texture. Always preheat!
- Melting the butter: Softened means soft, not liquid. Melted butter changes the cookie’s structure entirely. You’ll get flat, greasy disks, not chewy wonders.
- Overmixing the dough: This is a biggie. Once you add the flour, mix just until it comes together. An overmixed dough leads to tough cookies, and nobody wants a tough cookie.
- Ignoring the edges: Don’t wait until the centers are completely firm in the oven. The edges should be golden, and the centers still look a little soft. They finish baking on the hot tray. Pull ’em out!
- Eating all the raw dough: Look, a little taste test is fine. But save some for the actual cookies, okay? Self-control, my friend.
Alternatives & Substitutions
Feeling adventurous? Or just missing an ingredient? No stress, here are some ideas.
- Sugar Swap: You can use coconut sugar instead of brown sugar for a slightly less sweet, more caramel-y note, but the texture might be a touch different. For granulated, pretty much any granulated sweetener should work, but stick to classic sugar for the best results, IMO.
- Chocolate Choices: Dark chocolate chunks? White chocolate? Butterscotch chips? M&Ms? A mix of all of them? Go crazy! It’s your cookie, your rules. Just make sure it’s roughly 1 cup.
- Flavor Boost: Add a tiny dash of almond extract (like 1/4 teaspoon, it’s strong!) for an extra almondy kick. Or a pinch of cinnamon if you’re feeling spicy.
- Dairy-Free: For a dairy-free version, use a good quality plant-based butter alternative (like Miyoko’s Kitchen or Earth Balance sticks). Make sure it’s the stick kind for baking.
FAQ (Frequently Asked Questions)
You’ve got questions, I’ve got (casual, possibly sarcastic) answers.
- “Can I use almond meal instead of almond flour?” Well, technically yes, but why hurt your texture like that? Almond meal is coarser and will give you a more crumbly, less chewy cookie. Stick with super-fine almond flour for that bakery-style chew.
- “Do I have to chill the dough?” For this specific recipe, no! That’s part of its “easy” charm. But if you have time and want a slightly thicker, chewier cookie with less spread, a 30-minute chill in the fridge won’t hurt.
- “How long do these magical cookies last?” Ha! Last? In your house? Probably not long. But if they somehow survive, store them in an airtight container at room temperature for up to 3-4 days. They’re best fresh though, just sayin’.
- “Are these really gluten-free?” Yep! Since we’re using 100% almond flour, these are naturally gluten-free. Just make sure your chocolate chips and other ingredients aren’t contaminated if you have severe allergies, FYI.
- “My cookies spread too much! What happened?” Likely culprits: butter was too warm/melted, not enough flour (did you measure correctly?), or your oven temperature is off. Also, sometimes adding a little extra flour (1-2 tablespoons) can help if your kitchen is super warm.
- “Can I make these with a different flour?” Nope. This recipe is specifically formulated for almond flour. Wheat flour, oat flour, etc., would require different ratios and liquids. Stick to the recipe, amigo.
Final Thoughts
And there you have it! Your ticket to chewy, chocolatey, almond flour cookie bliss. See? I told you it wasn’t rocket science. Now go impress someone—or yourself, because let’s be honest, you’re the one who deserves these—with your new culinary skills. You’ve earned it! Go forth and bake, my friend. And maybe save one for me?


