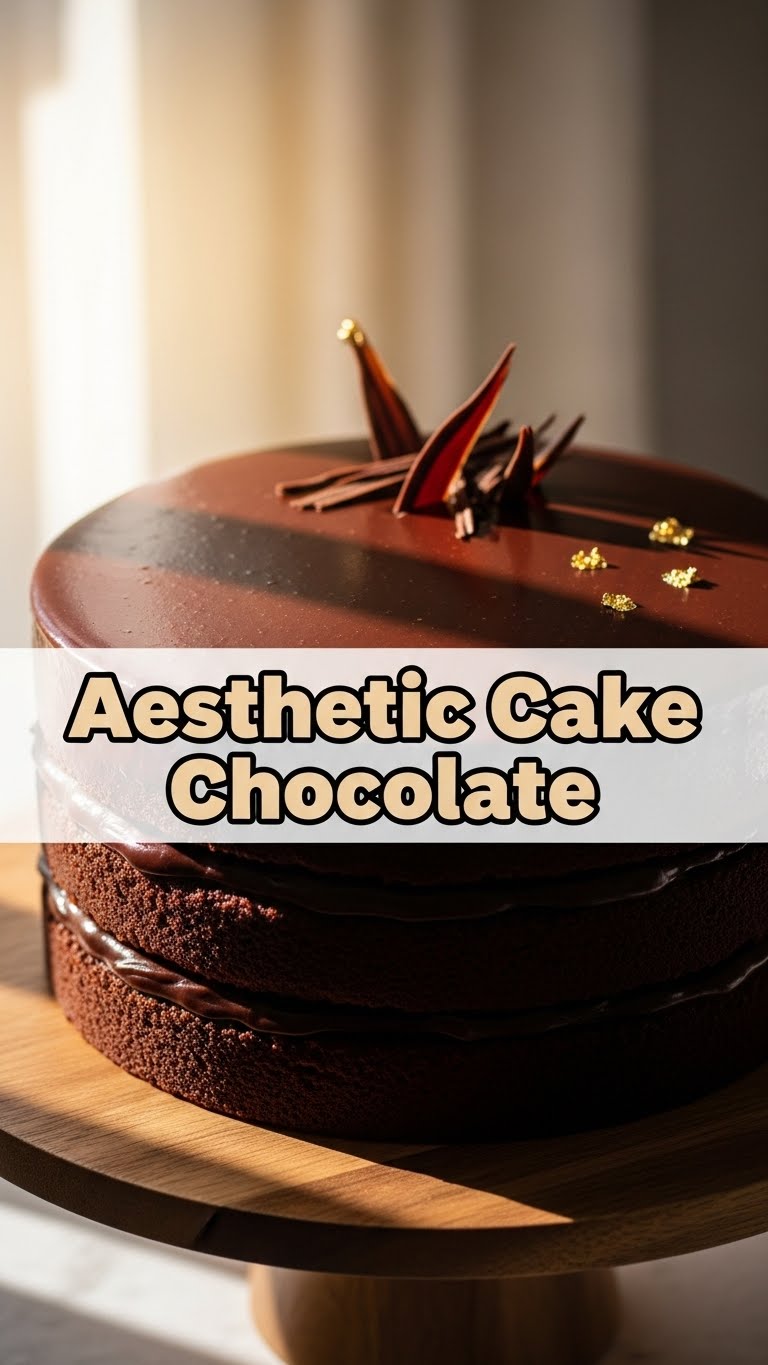
Ever scrolled through Instagram, drooling over those ridiculously gorgeous, perfectly *aesthetic* chocolate cakes, then immediately thought, “Yeah, nope, I’m not a pastry chef, and my kitchen looks like a war zone”? Same, friend, same. But what if I told you we could achieve that vibe without, you know, selling a kidney for fancy equipment or losing your sanity? 😉 Get ready to bake something that looks like it came straight from a gourmet patisserie, but actually just came from *your* awesome kitchen (and a super easy recipe!).
Why This Recipe is Awesome
Okay, so this isn’t just *another* chocolate cake recipe. This is THE chocolate cake recipe for when you want to look like you’ve got your life together (at least in the kitchen) but actually spent most of your prep time binging Netflix. It’s **super forgiving** (trust me, I’ve tested its limits), comes together faster than you can say “chocolate coma,” and the best part? It looks boujee AF without the boujee effort. Plus, it’s virtually **idiot-proof**—even *I* didn’t manage to mess it up, and that’s saying something.
Ingredients You’ll Need
- All-Purpose Flour: The foundation of our dreams. About 1 ½ cups. Don’t eyeball it; we’re going for aesthetic, not abstract art.
- Granulated Sugar: Sweet, sweet magic. 1 ½ cups. Because life’s too short for unsweetened cake.
- Unsweetened Cocoa Powder: The darker the better for that deep, mysterious chocolate vibe. ½ cup.
- Baking Soda: Our lift-off secret weapon! 1 teaspoon.
- Salt: Just a pinch (½ teaspoon) to make all those other flavors sing.
- Large Eggs: 2 of ’em. Make sure they’re at room temperature if you’re feeling fancy.
- Milk: 1 cup. Any kind works, but whole milk just feels right.
- Vegetable Oil: ½ cup. For that moist, tender crumb everyone raves about.
- Vanilla Extract: 2 teaspoons. The soul of every good cake, IMO.
- Boiling Water (or hot coffee): 1 cup. **This is the secret sauce** for intensely rich chocolate flavor.
- For the Frosting (because what’s an aesthetic cake without it?):
- Unsalted Butter: 1 stick (½ cup), softened.
- Powdered Sugar: 3 cups.
- Unsweetened Cocoa Powder: ½ cup.
- Milk or Cream: 2-4 tablespoons.
- Vanilla Extract: 1 teaspoon.
- A Pinch of Salt: To balance the sweetness.
Step-by-Step Instructions
- Get Prepped: Preheat your oven to 350°F (175°C). Grease and flour two 8-inch round cake pans. Or line them with parchment paper if you’re smart. **Don’t skip this step unless you like cake welded to the pan.**
- Dry Mix Fun: In a large bowl, whisk together the flour, sugar, cocoa powder, baking soda, and salt. Make sure there are no lumpy bits.
- Wet Mix Wonders: In another bowl, combine the eggs, milk, vegetable oil, and vanilla extract. Give it a good whisk until it’s all blended.
- Combine Forces: Pour the wet ingredients into the dry ingredients. Mix until *just* combined. Overmixing is the enemy of moist cake!
- The Hot Stuff: Carefully pour the boiling water (or hot coffee – seriously, try it!) into the batter. Mix it in gently until the batter is smooth and a bit thin. Don’t panic; it’s supposed to be like that.
- Bake It Up: Divide the batter evenly between your prepared cake pans. Bake for 30-35 minutes, or until a toothpick inserted into the center comes out clean.
- Cool Down: Let the cakes cool in the pans for about 10-15 minutes before flipping them onto a wire rack to cool completely. **Patience is a virtue here!**
- Frosting Frenzy: While the cakes cool, whip up that frosting. In a bowl, cream the softened butter until fluffy. Gradually beat in the powdered sugar, cocoa powder, salt, vanilla, and milk/cream until smooth and spreadable. Add more milk if it’s too thick, more sugar if too thin.
- Assemble Your Masterpiece: Once the cakes are *completely* cool (this is crucial!), spread a layer of frosting on the first cake layer, top with the second, then frost the top and sides. Get creative with your aesthetic! Smooth it, swirl it, pile it high!
Common Mistakes to Avoid
- Ignoring Preheat: Thinking the oven will just “get there” eventually. **Rookie mistake.** Your cake won’t rise properly, and nobody wants a sad, flat cake.
- Overmixing the Batter: This is how you get tough, dry cake. Mix until *just* combined. Think gentle love, not aggressive blending.
- Not Cooling Your Cakes: Frosting a warm cake is a one-way ticket to a melted, runny mess. It’s like trying to put makeup on a sweating person. Just no.
- Skipping the Hot Liquid: That boiling water/coffee isn’t just for show. It really boosts the chocolate flavor and creates a beautiful crumb. Don’t be a hero, use it!
- Eyeballing Ingredients: We’re going for aesthetic perfection, not a “rustic” fail. Use your measuring cups and spoons!
Alternatives & Substitutions
Feeling a little rebellious, or just missing an ingredient? I got you:
- Milk: Any kind of dairy milk works. Almond, oat, or soy milk are also totally fine if you’re going plant-based, though the texture might be *slightly* different.
- Oil: Canola oil or melted coconut oil (cooled!) can be used instead of vegetable oil. Butter *could* work, but oil generally gives a moister cake.
- Hot Water: Seriously, try hot coffee! It doesn’t make the cake taste like coffee, but it deepens that chocolate flavor like a hug from a dark, handsome stranger. You can also use hot milk.
- Frosting: If you’re not a fan of chocolate overload, a simple vanilla buttercream or even a cream cheese frosting would be divine. Want extra aesthetic points? Add a few drops of food coloring to your frosting for a pop of color!
- Gluten-Free: Swap out the all-purpose flour for a 1:1 gluten-free baking blend. Easy peasy!
FAQ (Frequently Asked Questions)
- “Can I use margarine instead of butter for the frosting?” Well, technically yes, but why hurt your soul like that? Butter just tastes better and holds its shape way nicer. For aesthetic purposes, stick with butter.
- “My cake is dry! What went wrong?” Oh no! Most likely, you either overbaked it or overmixed the batter. Or both. Next time, keep an eye on the clock and mix gently!
- “How do I get that perfectly smooth frosting finish?” Practice, my friend! A hot knife or offset spatula dipped in hot water (and dried!) can work wonders. Or just go for a rustic “naked” cake look—it’s very aesthetic right now!
- “Can I make this cake ahead of time?” Absolutely! The cake layers can be baked a day or two in advance, wrapped tightly, and stored at room temperature. Frosting can also be made ahead and stored in the fridge. Just bring it to room temp and re-whip before using.
- “What if I don’t have two cake pans?” No worries! Bake it in a 9×13 inch pan for a sheet cake (adjust baking time slightly, it might be shorter). Or bake in two batches if you only have one round pan, just remember to re-grease and flour.
- “How do I make it *extra* aesthetic?” Decorate with fresh berries, chocolate shavings, a dusting of cocoa powder, or even some edible flowers. Think minimalist chic!
Final Thoughts
See? I told you it wasn’t rocket science! You’ve just whipped up an aesthetic chocolate cake that looks like it took hours of painstaking effort but actually just took your minimal (but brilliant!) culinary skills. Now go impress someone—or yourself, because let’s be real, you deserve it—with your new baking prowess. You’ve earned that slice (or three). Happy baking, superstar!

