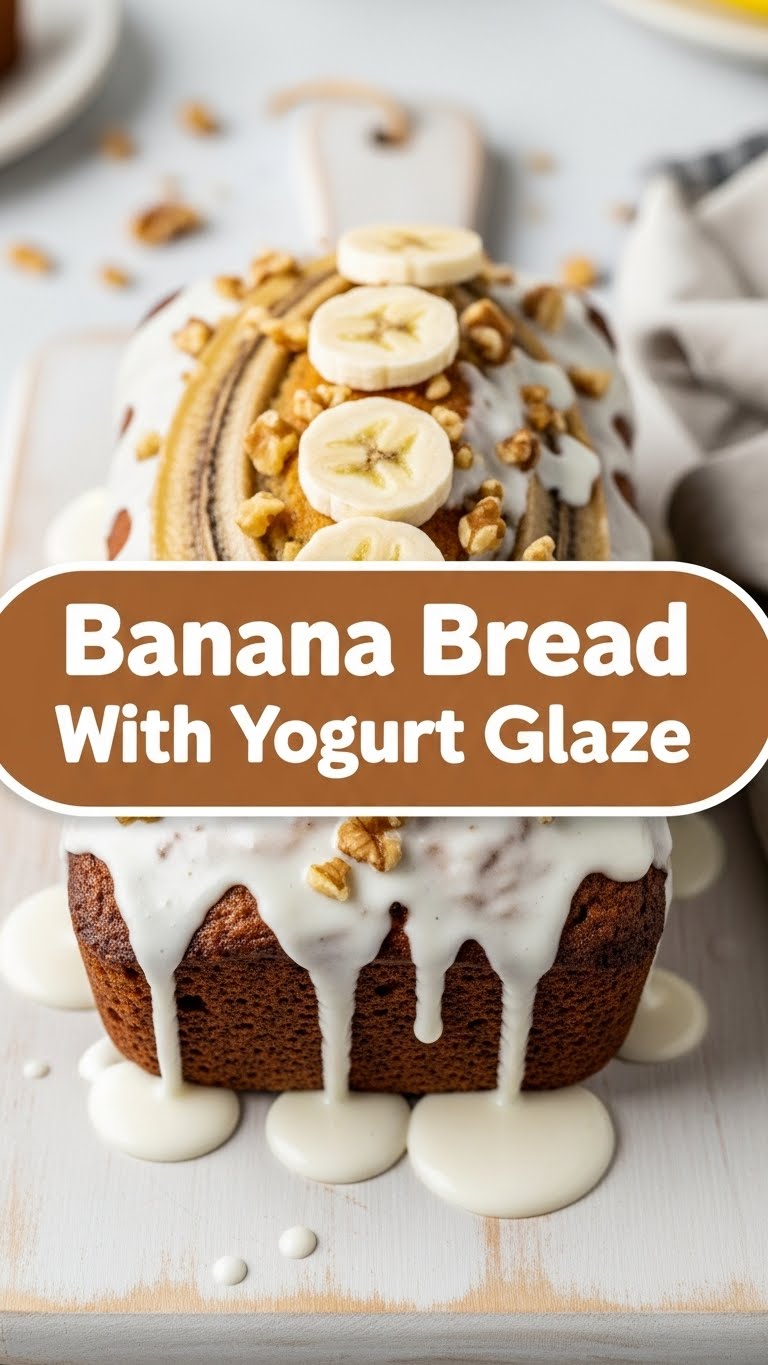
So, you’ve got a few sad, speckled bananas staring at you from the fruit bowl, judging your life choices? Been there! But instead of letting them become a fuzzy science experiment, let’s turn them into a glorious, moist, and utterly irresistible banana bread. And to make it EXTRA special? We’re slathering it in a creamy, tangy yogurt glaze that’s so good, you might just lick the bowl. Yep, I said it.
Why This Recipe is Awesome
Honestly, this banana bread is like a warm hug for your taste buds. It’s ridiculously easy, meaning you can whip this up even after a long day of… well, whatever it is you do that makes you deserve this much deliciousness. Plus, the yogurt glaze? It cuts through the sweetness perfectly. It’s basically a guilt-free indulgence. Or at least, *less* guilty. Let’s be real, this is pure joy in baked form. It’s also incredibly forgiving. If you accidentally add an extra sprinkle of cinnamon, no one’s going to call the baking police.
Ingredients You’ll Need
- 3 ripe bananas (the mushier, the better! Think of them as nature’s built-in sweetener and binder.)
- 1/3 cup melted butter (or oil if you’re feeling a bit more health-conscious, but butter adds that je ne sais quoi.)
- 1 teaspoon baking soda (this is important, don’t skip it, or your bread will be flatter than your enthusiasm on a Monday morning.)
- A pinch of salt (to make all those sweet flavors POP!)
- 1/2 cup granulated sugar (adjust to your sweetness preference, but don’t go too crazy, the bananas are already doing heavy lifting.)
- 1 large egg (room temperature is best, but if it’s still fridge-cold, just give it a little pep talk.)
- 1 teaspoon vanilla extract (the soul of baked goods, IMO.)
- 1 1/2 cups all-purpose flour (the foundation of our deliciousness.)
- FOR THE GLAZE:
- 1/2 cup plain yogurt (Greek yogurt is your best friend here for thickness, but regular works too.)
- 1/4 cup powdered sugar (or more, depending on how much of a sugar fiend you are.)
- A tiny splash of milk or lemon juice (to get the glaze to that perfect drizzling consistency.)
Step-by-Step Instructions
- Preheat your oven to 350°F (175°C) and grease and flour a loaf pan. You want your bread to slide out like a graceful swan, not cling on for dear life.
- In a big bowl, mash those sad bananas until they’re mostly smooth with a few lumps. Nobody likes a lumpy banana bread… or do they?
- Stir in the melted butter (or oil), sugar, egg, and vanilla extract. Give it a good mixy-mix.
- In a separate, smaller bowl, whisk together the flour, baking soda, and salt. This ensures everything is evenly distributed, so you don’t end up with weird pockets of baking soda.
- Add the dry ingredients to the wet ingredients and mix until *just* combined. Seriously, **don’t overmix!** Overmixing is the enemy of tender banana bread. A few streaks of flour are totally fine.
- Pour the batter into your prepared loaf pan and bake for 50-65 minutes, or until a toothpick inserted into the center comes out clean. Ovens vary, so keep an eye on it!
- Let the bread cool in the pan for about 10 minutes, then transfer it to a wire rack to cool completely. This is the hardest part – the waiting!
- While it’s cooling, whip up the glaze: whisk together the yogurt and powdered sugar until smooth. Add a tiny splash of milk or lemon juice if it’s too thick. You want it drippy, not gloppy.
- Once the bread is completely cool (seriously, **wait for it to cool!**), drizzle that glorious glaze all over. Now go ahead, slice yourself a piece and bask in your glory.
Common Mistakes to Avoid
- Using hard, unripe bananas: They won’t mash well, and they won’t be sweet enough. Embrace the spotty ones!
- Overmixing the batter: This is the golden rule. Overmixing develops gluten, which makes your bread tough. Mix until *just* combined.
- Opening the oven door too early: Resist the urge! You might cause your beautiful bread to deflate like a sad balloon.
- Not letting it cool completely before glazing: Hot bread + glaze = a melty mess. Patience, grasshopper.
Alternatives & Substitutions
- No butter? Use a neutral oil like canola or vegetable oil. It’ll work, but butter adds a richer flavor, IMO.
- Feeling fancy? Add a handful of chocolate chips, chopped nuts, or even some dried cranberries to the batter. Just fold them in at the end.
- Gluten-free? You can try a 1:1 gluten-free baking flour blend. Results may vary, so do a small test batch if you’re feeling adventurous.
- Want a different glaze? A simple cinnamon sugar sprinkle works too, or a cream cheese frosting if you’re feeling particularly decadent.
FAQ (Frequently Asked Questions)
Q: My bananas aren’t super ripe, can I still use them?
A: Technically, yes. But the riper, the better! The browner and spottier, the sweeter and more flavorful your bread will be. Consider it a delicious challenge for your fruit bowl.
Q: Can I make muffins instead?
A: Absolutely! Spoon the batter into muffin liners and bake for about 20-25 minutes at the same temperature. Keep an eye on them, they cook faster!
Q: My bread seems a little dry. What did I do wrong?
A: It could be a couple of things: you might have overmixed the batter, or you might have overbaked it. Next time, **be gentler with the mixing** and start checking for doneness a little earlier. The yogurt glaze also helps combat dryness, so don’t skip that!
Q: Can I use self-rising flour?
A: If you use self-rising flour, you’ll need to omit the baking soda and salt. Just use 1 1/2 cups of self-rising flour. Easy peasy!
Q: How long does this banana bread last?
A: If it even makes it that long, it’ll keep at room temperature in an airtight container for about 3-4 days. Or you can stash it in the fridge for up to a week. It’s also great frozen!
Final Thoughts
There you have it! A ridiculously good banana bread with a dreamy yogurt glaze that’s sure to become a go-to. It’s perfect for breakfast, a snack, or even a light dessert. So next time those bananas start looking a bit weary, you know what to do. Now go impress someone—or yourself—with your new culinary skills. You’ve earned it! Happy baking!


