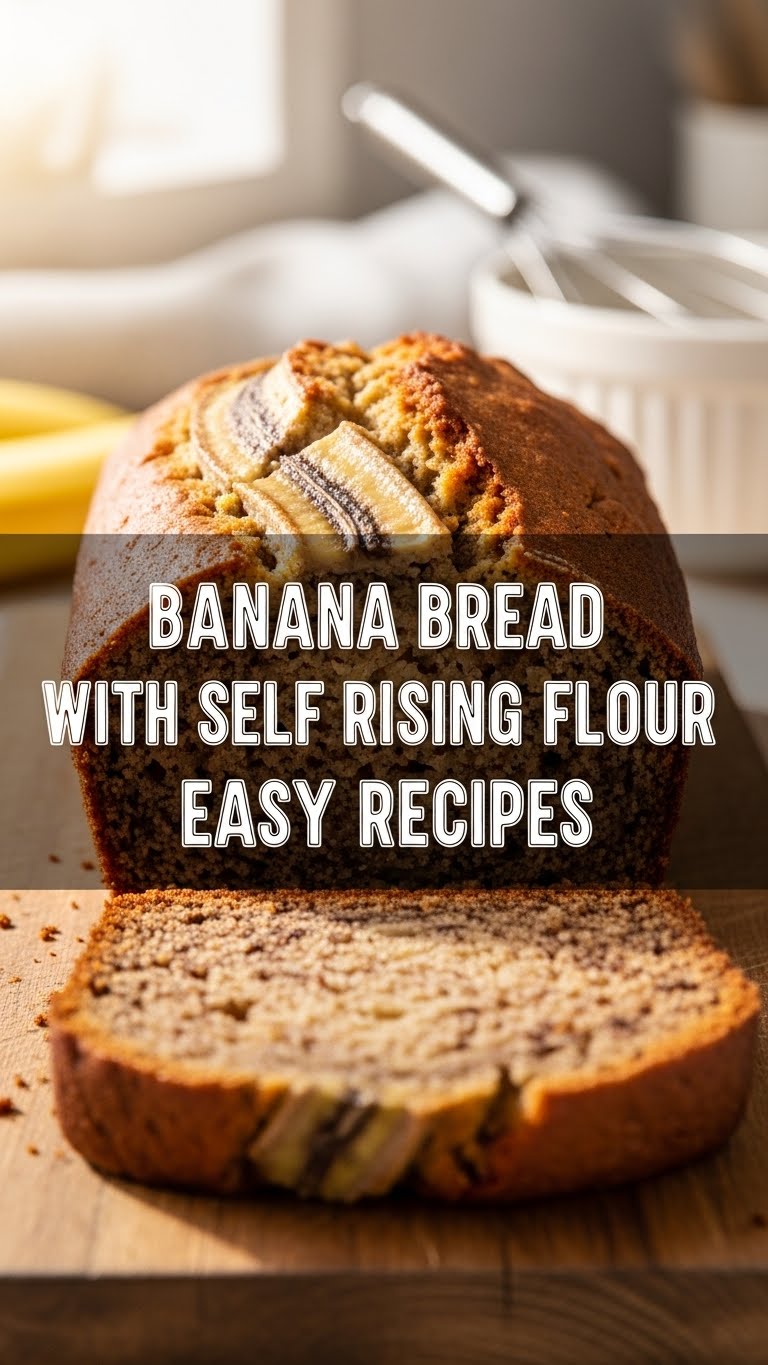
So, You’ve Got Overripe Bananas Staring You Down?
Let’s be honest, those sad, speckled bananas aren’t getting any younger. And you’re not exactly Martha Stewart, are you? You want something delicious, something that screams “I’m a Domestic Goddess (or God!)”, but your idea of a complex kitchen maneuver involves finding the remote. Fear not, my friend! We’re about to whip up the easiest, most forgiving banana bread known to humankind, and it’s all thanks to the magical power of self-rising flour. Get ready for some serious deliciousness with minimal fuss. 🙂
Why This Recipe is Pure Genius (IMO)
Seriously, this recipe is so simple, I’m pretty sure even a sleep-deprived squirrel could manage it. The self-rising flour is the star here. It’s got the leavening agents already baked in, meaning fewer ingredients, fewer steps, and a lower chance of you accidentally creating a brick. It’s basically baking’s cheat code. Plus, who doesn’t love warm, gooey banana bread? It’s the ultimate comfort food, and this recipe makes it ridiculously accessible. No fancy equipment, no complicated techniques. Just pure, unadulterated banana bread bliss.
Ingredients You’ll Need (Don’t Panic!)
- 3-4 Ripe Bananas: The spottier, the better. Think of them as seasoned veterans of the fruit bowl.
- 1/3 cup Melted Butter: Or any unsalted fat that isn’t solidified. We’re not being fussy.
- 1/2 cup Granulated Sugar: Adjust to your sweetness level. More is more, right?
- 1 Large Egg: Make sure it’s at room temperature. It likes to mingle with the other ingredients.
- 1 teaspoon Vanilla Extract: The secret weapon for making everything smell amazing.
- 1 cup Self-Rising Flour: THIS IS THE MAGIC DUST. Do NOT substitute unless you want a culinary adventure (and not the good kind).
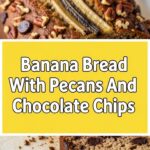
- Optional but Highly Recommended: A sprinkle of cinnamon, a handful of chocolate chips, or some chopped walnuts. Because, why not?
Step-by-Step Instructions (You Got This!)
- Preheat Your Oven & Prep Your Pan: Crank that oven up to 350°F (175°C). Grease and flour a loaf pan like your life depends on it. Or just use parchment paper. Whatever’s easiest.
- Mash Those Bananas: In a medium bowl, go to town mashing those bananas with a fork. Don’t aim for perfection; a few lumps are totally fine. They add character!
- Wet Ingredients Unite! Pour in the melted butter, sugar, egg, and vanilla. Stir it all together until it’s just combined. Don’t overmix; we’re not making cement.
- Flour Power! Add the self-rising flour to the wet ingredients. Stir *just* until you don’t see any dry streaks. Seriously, stop stirring when it looks combined. Overmixing is the enemy of tender banana bread.
- Add Your Flair (Optional): Now’s the time to fold in your chocolate chips, nuts, or whatever goodies you chose.
- Bake Until Golden: Pour the batter into your prepared pan. Pop it in the oven for about 50-60 minutes, or until a toothpick inserted into the center comes out clean (or with a few moist crumbs, that’s okay too!).
- Cool Down: Let it cool in the pan for about 10 minutes before transferring it to a wire rack to cool completely. Patience, my friend. It’s worth it!
Common Mistakes to Avoid (Don’t Be *That* Person)
- Using Regular Flour: I cannot stress this enough. Self-rising flour is KEY. If you use all-purpose, your bread will be a sad, flat disappointment.
- Overmixing the Batter: Seriously, stop when it’s just combined. Overmixing develops gluten, and we want fluffy, not tough.
- Not Mashing the Bananas Enough: While lumps are okay, you still want them mashed to release their glorious banana-ness.
- Opening the Oven Door Too Early: Resist the urge! Let it bake undisturbed for at least 40 minutes.
- Not Letting it Cool: Cutting into it while it’s piping hot is a recipe for a crumbly mess. Let it set!
Alternatives & Substitutions (When Life Gives You Lemons… or Other Ingredients)
So, you’re missing something? No sweat!
- Butter: If you’re out of butter, **vegetable oil or melted coconut oil** works like a charm. Margarine? Eh, technically yes, but butter’s got that flavor.
- Sugar: Brown sugar adds a lovely caramel note, so feel free to use that or a mix. If you’re feeling *really* adventurous, you could try maple syrup, but you might need to adjust the liquid slightly (though honestly, for this easy recipe, I’d stick to the basics).
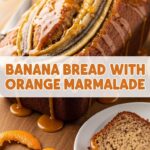
- Add-ins: Got dried cranberries? Pecans? A bit of shredded coconut? Throw ’em in! Just don’t go overboard or you might mess with the bake.
FAQ (Frequently Asked Questions)
Q: My bananas aren’t *that* brown. Will it still work?
A: They don’t have to be black, but the riper and spottier, the sweeter and more flavorful your bread will be. If they’re just slightly yellow, they’ll work, but don’t expect a flavor explosion.
Q: Can I use this recipe for muffins?
A: Absolutely! Just fill your muffin liners about 2/3 full and bake for 18-22 minutes, or until a toothpick comes out clean. Easy peasy.
Q: How long does this banana bread last?
A: Stored in an airtight container at room temperature, it’ll be delicious for about 2-3 days. If you’re in a hot climate or want it to last longer, the fridge is your friend (though it can dry it out a bit).
Q: My bread came out a little dense. What did I do wrong?
A: Most likely, you overmixed the batter. Remember, gentle stirring is key! Also, make sure your self-rising flour isn’t ancient.
Q: Can I make this gluten-free?
A: This specific recipe relies heavily on the properties of self-rising flour, so adapting it to gluten-free would require a different flour blend and potentially other adjustments. For a GF version, I’d look for a dedicated gluten-free banana bread recipe.
Final Thoughts
See? Told you it was easy! You’ve just unlocked the secret to ridiculously good, fuss-free banana bread. It’s perfect for breakfast, a snack, or even a late-night “I deserve this” treat. Don’t be afraid to experiment with add-ins next time. Now go impress someone—or yourself—with your new culinary skills. You’ve earned it! Happy baking!
