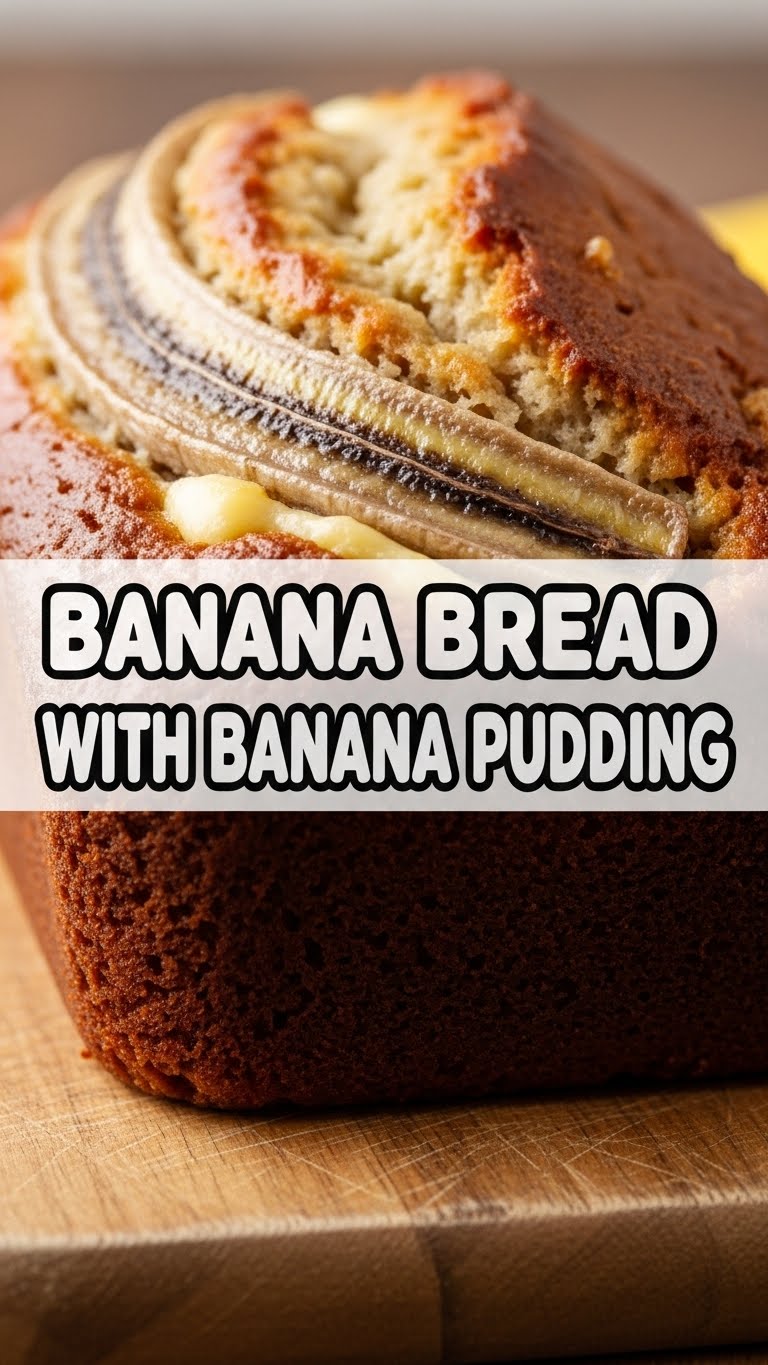
So, you’ve got some sad, spotty bananas staring at you from the fruit bowl, looking all existential? And your tummy’s doing that rumbling thing that demands comfort food but your energy levels are at a solid ‘nope’? I feel you. We’ve all been there. But guess what? I’ve got the *ultimate* solution that’s going to make those overripe amigos sing. Get ready for Banana Bread with a Banana Pudding twist. Yes, you read that right. It’s a two-for-one flavor explosion, and honestly, it’s kind of genius.
Why This Recipe is Awesome
Let’s be real, banana bread is already a superhero in the baking world. But we’re leveling up. We’re taking that moist, comforting loaf and infusing it with the creamy, dreamy goodness of banana pudding. It’s like your favorite comfy sweater got a promotion to a cashmere robe. This isn’t just banana bread; it’s a *celebration* of bananas. Plus, it’s pretty darn forgiving. Even if you’re more of a “follow the recipe literally or else” kind of baker, you’ll nail this. And if you’re a “wing it and hope for the best” type? You’ll probably still nail this. It’s practically magic, but with more butter.
Ingredients You’ll Need
Alright, let’s gather our troops. Don’t panic, it’s mostly stuff you probably have hiding in your pantry:
- 3 ripe bananas, the spottier, the better. These are our flavor kings!
- 1/2 cup (1 stick) unsalted butter, softened. Don’t even think about using that weird margarine stuff.
- 3/4 cup granulated sugar, for that sweet, sweet kiss of happiness.
- 2 large eggs, whisked like you mean it.
- 1 teaspoon vanilla extract, because everything’s better with a little vanilla.
- 1 1/2 cups all-purpose flour, the foundation of our deliciousness.
- 1 teaspoon baking soda, our little leavening friend.
- 1/2 teaspoon salt, to balance all that sweetness.
- 1/4 teaspoon cinnamon, because bananas and cinnamon are soulmates.
- 1/2 cup milk, whole milk is best for that rich texture.
- 1 small box (3.4 oz) instant banana pudding mix, the secret weapon for that creamy, pudding-y goodness.
- Optional: A handful of chocolate chips or chopped walnuts, if you’re feeling extra fancy.
Step-by-Step Instructions
Okay, put on your apron (or don’t, I won’t judge). Let’s do this!
- Preheat your oven to 350°F (175°C). Grease and flour a standard loaf pan. We want this cake to slide out like a dream, not cling on for dear life.
- In a big ol’ bowl, mash those sad bananas with a fork. Get ’em nice and mushy. Nobody likes banana lumps in their pudding bread.
- Cream the softened butter and sugar together in another bowl until it’s light and fluffy. Think of it as a fluffy cloud of sweetness.
- Beat in the eggs, one at a time, then stir in the vanilla extract. Keep it moving!
- In a separate bowl, whisk together the flour, baking soda, salt, and cinnamon. This is your dry squad, ready to party.
- Now, here’s the magic. In a small bowl, whisk together the milk and the instant banana pudding mix. Let it sit for about 5 minutes until it thickens up. This is your banana pudding layer, folks!
- Add the dry ingredients to the wet ingredients (the butter/sugar/egg mix) alternating with the mashed bananas. Mix until *just* combined. Overmixing is the enemy of moist bread. Seriously.
- Gently fold in the thickened banana pudding mixture. If you’re adding chocolate chips or nuts, toss ’em in now!
- Pour the batter into your prepared loaf pan. It might look a little thick, that’s okay!
- Bake for 50-60 minutes, or until a toothpick inserted into the center comes out clean. **Keep an eye on it**, ovens can be divas.
- Let it cool in the pan for about 10 minutes, then carefully turn it out onto a wire rack to cool completely. Patience, my friend.
Common Mistakes to Avoid
Let’s talk about the booby traps in the baking world:
- Using rock-hard bananas: Seriously, the spottier, the better. They’re sweeter and easier to mash.
- Overmixing the batter: This makes your banana bread tough and sad. Mix until just combined.
- Not preheating the oven: It’s like starting a race without any legs. Just don’t.
- Opening the oven door too much: Every time you peek, you’re letting precious heat escape. Be strong!
- Eating it straight out of the pan: Unless you enjoy melted banana pudding burn, let it cool.
Alternatives & Substitutions
Got a pantry raid gone wrong? No worries:
- No instant banana pudding? You can try using vanilla instant pudding and just really lean into the banana flavor of the bread itself. It won’t be *exactly* the same, but it’ll still be delicious.
- Don’t have milk? A splash of buttermilk or even yogurt thinned with a bit of water can work in a pinch for the pudding mix, though milk is ideal.
- Gluten-free? Swap out the all-purpose flour for a good quality gluten-free baking blend. Make sure it has xanthan gum, or add some yourself.
- Vegan? This requires a bit more fiddling, but you can try flax eggs, plant-based milk, and vegan butter. It’ll be a different beast, but still tasty!
FAQ (Frequently Asked Questions)
Got burning questions? I’ve got casual answers:
- Can I use more bananas? Sure, but don’t go overboard, or it might get too wet.
- Why is my banana bread so dense? You probably overmixed it, or your baking soda is old and grumpy.
- How long does this last? In an airtight container at room temperature, about 2-3 days. In the fridge, a bit longer. But who are we kidding, it’ll be gone way before then.
- Can I freeze banana bread? Yep! Wrap it tightly and it’ll be good for a couple of months. Thaw it at room temp.
- What’s the best way to tell if it’s done? The toothpick test is your bestie. If it comes out clean with no wet batter, you’re golden. A few moist crumbs are fine.
- Can I make muffins instead? Totally! Bake at 375°F (190°C) for about 20-25 minutes.
Final Thoughts
There you have it! A banana bread that’s basically a hug in a loaf pan, with a creamy surprise inside. It’s the perfect treat for a lazy Sunday brunch, a pick-me-up snack, or just because you deserve something delicious. Now go impress someone—or yourself—with your new culinary skills. You’ve earned it!
