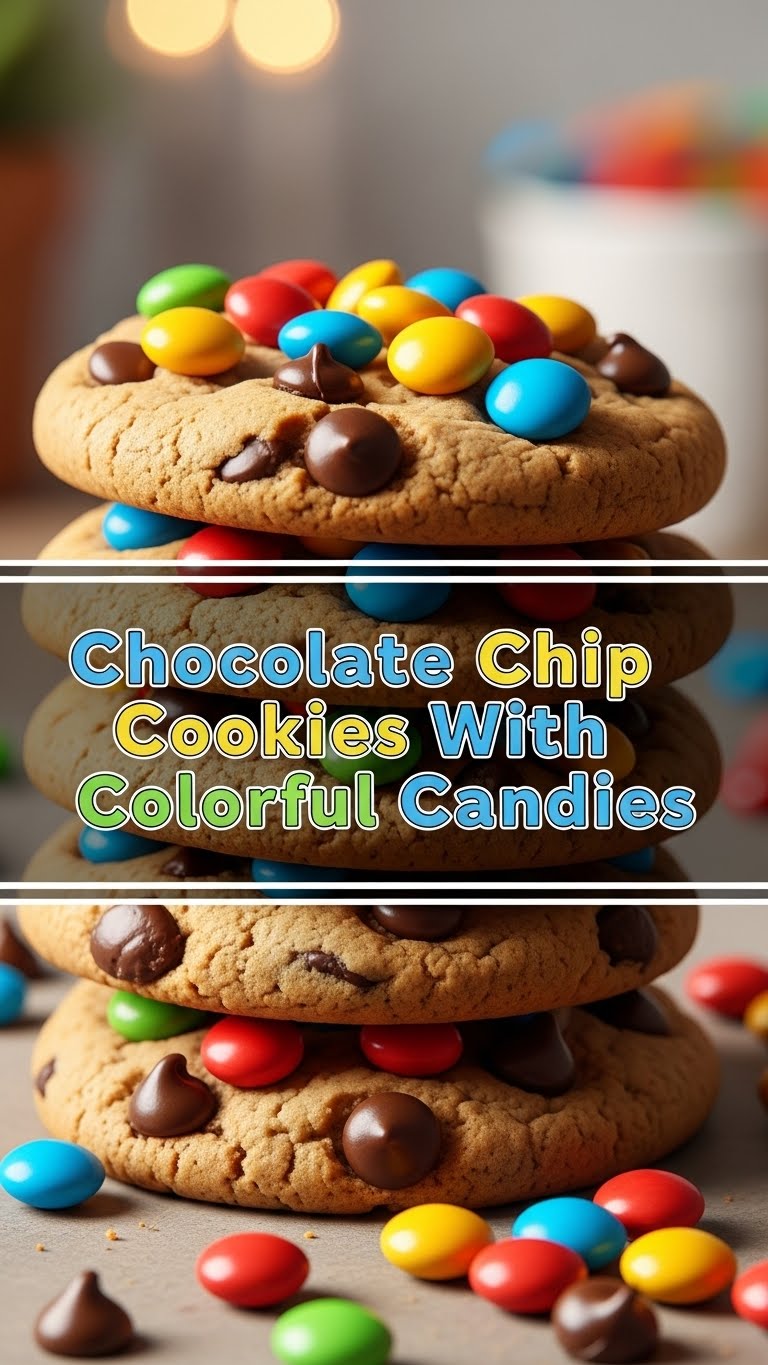
So, you’re staring into the abyss of your snack cupboard, and the usual suspects just aren’t cutting it? You’ve got a hankering for something sweet, a little bit chewy, and a whole lot of fun. Well, my friend, you’ve come to the right place! Forget those bland, boring chocolate chip cookies. We’re diving headfirst into a world of color and crunch with these absolute stunners: Chocolate Chip Cookies with Colorful Candies!
Why This Recipe is Awesome
Let’s be real. Who has time for complicated baking rituals that involve more steps than a Shakespearean play? This recipe is your new best friend because it’s ridiculously easy. Seriously, it’s so foolproof, even my cat could probably supervise and it would still turn out amazing. Plus, who doesn’t love a cookie that looks like a party in your mouth? The colorful candies aren’t just for show; they add that extra POP of texture and fun that makes these cookies seriously addictive.
Ingredients You’ll Need
- 1 cup (2 sticks) unsalted butter, softened (Not melted, unless you want cookie soup. We’re aiming for cookie, not puddle.)
- 3/4 cup granulated sugar (The sweet stuff. Duh.)
- 3/4 cup packed light brown sugar (For that irresistible chewy texture. Don’t skimp!)
- 2 large eggs (Room temperature is best, but if yours are still chilling, just roll with it.)
- 1 teaspoon vanilla extract (The fragrant magic potion.)
- 2 1/4 cups all-purpose flour (The backbone of our cookie empire.)
- 1 teaspoon baking soda (The puff-maker.)
- 1/2 teaspoon salt (Because life needs a little balance, and so do cookies.)
- 1 cup chocolate chips (Milk, dark, semi-sweet – your call, you magnificent baker.)
- 1 cup colorful candy pieces (Think M&M’s, Skittles, or your favorite chopped hard candies. Get wild!)
Step-by-Step Instructions
- Preheat your oven to 375°F (190°C). Line baking sheets with parchment paper. This is non-negotiable if you want easy cleanup.
- In a big bowl, cream together the softened butter, granulated sugar, and brown sugar until light and fluffy. Think of it as giving your butter a spa treatment.
- Beat in the eggs one at a time, then stir in the vanilla extract. Smells good already, right?
- In a separate bowl, whisk together the flour, baking soda, and salt. This ensures everything is evenly distributed, so you don’t get a bite of pure baking soda. Yuck.
- Gradually add the dry ingredients to the wet ingredients, mixing until just combined. Don’t overmix, or your cookies will be tougher than a week-old bagel.
- Now for the fun part! Stir in the chocolate chips and your colorful candy pieces. Swirl them in like a delicious, edible galaxy.
- Drop rounded spoonfuls of dough onto the prepared baking sheets. Give them some space to spread their wings (and their doughy goodness).
- Bake for 9-11 minutes, or until the edges are golden brown and the centers are still slightly soft. They’ll continue to bake on the sheet, so pull them out before they look *too* done.
- Let them cool on the baking sheets for a few minutes before transferring them to a wire rack to cool completely. Patience, grasshopper!
Common Mistakes to Avoid
- Using melted butter: This is a one-way ticket to flat, greasy cookies. Stick to softened!
- Overmixing the dough: Seriously, just stop when it’s combined. Your cookies will thank you.
- Skipping the preheat: Your oven needs time to get to temperature. Don’t rush perfection.
- Overbaking: A slightly underbaked cookie is pure joy. An overbaked one is a sad, crunchy disappointment.
- Not giving them space: Cookies need room to spread. Unless you like one giant cookie pizza, space them out!
Alternatives & Substitutions
Feeling adventurous or just raided your pantry and found something else? No worries!
- Butter: If you’re out of butter (gasp!), you *could* use margarine, but honestly, the flavor and texture won’t be the same. Stick with butter if you can!
- Chocolate Chips: Any kind of chocolate chip works! White chocolate, butterscotch, or even chopped chocolate bars are fair game.
- Candies: Got sprinkles? Use ’em! Chopped up gummy bears? Why not! This is your candy-coated canvas. Just make sure they can withstand a little heat.
FAQ
Q: Can I make these cookies vegan?
A: You sure can! Swap the butter for vegan butter sticks, use a flax egg (1 tbsp flaxseed meal + 3 tbsp water, let sit for 5 mins), and make sure your chocolate chips and candies are vegan-friendly. Easy peasy!
Q: My dough is too sticky. What gives?
A: It happens! Pop the bowl in the fridge for about 30 minutes. That helps firm up the butter and makes it much easier to handle.
Q: How long do these cookies last?
A: In an airtight container at room temperature, they’re usually good for about 3-4 days. But let’s be honest, they probably won’t last that long!
Q: Can I freeze the cookie dough?
A: Absolutely! Roll the dough into balls and freeze them on a baking sheet until solid, then transfer to a freezer bag. Bake from frozen, just add a couple of extra minutes. Genius, right?
Q: Do I *really* need to chill the dough?
A: For these cookies, not strictly necessary if you want them a bit flatter and chewier. If you prefer a thicker cookie, chilling for at least 30 minutes will help.
Final Thoughts
And there you have it! A ridiculously easy, wonderfully colorful, and utterly delicious batch of chocolate chip cookies. Go forth and bake with joy! Whether you’re sharing them with loved ones or devouring them in a glorious solo cookie session, you’ve earned this sweet, crunchy, chewy victory. Now go impress someone—or yourself—with your new culinary skills. You’ve earned it!


