So you’re craving something tasty but too lazy to spend forever in the kitchen, huh? Same. 🙂
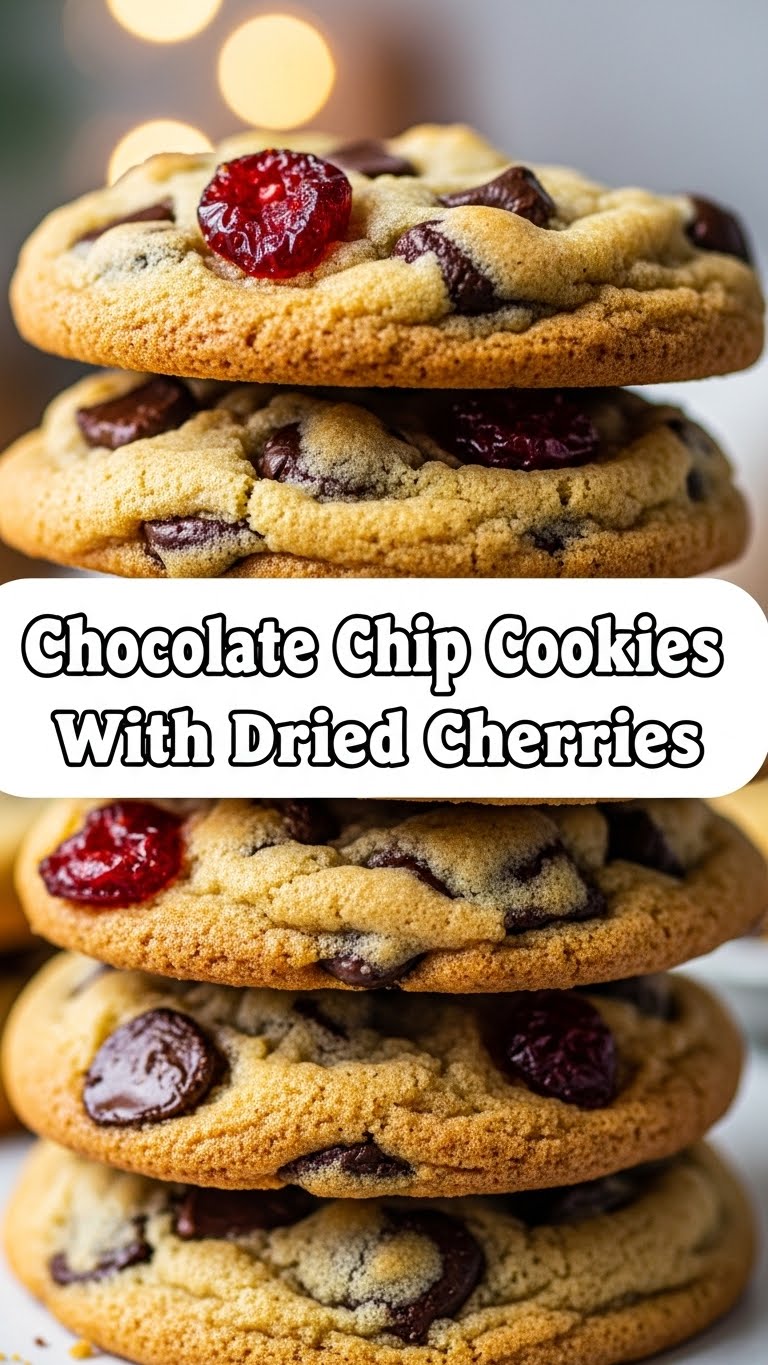
Let’s be real, sometimes you just need a cookie. A *good* cookie. One that isn’t bland, boring, or requires a PhD in pastry. Well, my friend, you’ve stumbled upon a gem. We’re talking about chocolate chip cookies, but with a twist. A delightful, chewy, slightly tart, ruby-red twist: dried cherries! It’s like a classic hug with a little wink.
Why This Recipe is Awesome
Because it’s ridiculously easy, that’s why! Seriously, if you can stir things in a bowl and operate an oven (even if you sometimes forget which way to turn the dial), you can make these. These cookies strike the perfect balance: chewy centers, slightly crisp edges, and pockets of melty chocolate mingling with those sweet-tart bursts of dried cherry. It’s basically a flavor party in your mouth, and everyone’s invited. Plus, they smell AMAZING while baking. Your house will smell like pure happiness.
Ingredients You’ll Need
- 1 cup (2 sticks) unsalted butter, softened (crucial! Don’t be that person using cold butter.)
- 3/4 cup granulated sugar
- 3/4 cup packed brown sugar (light or dark, I’m not judging.)
- 2 large eggs
- 1 teaspoon vanilla extract (the good stuff, please.)
- 2 1/4 cups all-purpose flour
- 1 teaspoon baking soda
- 1/2 teaspoon salt
- 1 cup chocolate chips (your favorite kind! Semi-sweet is a classic for a reason.)
- 3/4 cup dried cherries (tart or sweet, your call!)
Step-by-Step Instructions
- Preheat your oven to 375°F (190°C). This is not a suggestion; it’s a sacred ritual. Line baking sheets with parchment paper so your cookies don’t stage a Great Escape.
- In a big bowl (like, *really* big), cream together the softened butter, granulated sugar, and brown sugar until it’s light and fluffy. Think of it as giving the butter a good massage.
- Beat in the eggs one at a time, then stir in the vanilla extract. Don’t overmix here; we’re not making concrete.
- In a separate, medium-sized bowl, whisk together the flour, baking soda, and salt. This ensures even distribution, so no one gets a mouthful of pure baking soda. Yuck.
- Gradually add the dry ingredients to the wet ingredients, mixing until *just* combined. Seriously, just combined. We’re not looking for tough cookies here.
- Now for the fun part! Fold in the chocolate chips and dried cherries. Get them in there!
- Drop rounded spoonfuls (about 1-2 tablespoons each) of dough onto your prepared baking sheets. Give them some breathing room; they like to spread out and mingle.
- Bake for 9-11 minutes, or until the edges are golden brown and the centers look slightly underbaked. They’ll continue to cook on the hot baking sheet. This is the secret to that perfect chewy texture.
- Let them cool on the baking sheets for a couple of minutes before transferring them to a wire rack to cool completely. Or, you know, just eat them warm. I won’t tell.
Common Mistakes to Avoid
- Using cold butter: Seriously, folks. Softened butter creams better and creates a lighter cookie. Don’t fight me on this.
- Overmixing the dough: This is a one-way ticket to tough, hockey-puck cookies. Mix until *just* combined.
- Skipping the salt: Salt isn’t just for savory dishes! It balances the sweetness and enhances the chocolate and cherry flavors. Don’t be shy.
- Baking them for too long: Nobody likes a dry, crumbly cookie. Aim for golden edges and a slightly soft center.
- Not preheating the oven: This is like asking for a cold shower. Just don’t do it.
Alternatives & Substitutions
- Chocolate Chips: Feel free to go wild! White chocolate chips? Dark chocolate chunks? Milk chocolate? All are welcome. Mini chips are also cute if you’re feeling fancy.
- Dried Cherries: Craisins (dried cranberries) are a decent stand-in if you can’t find cherries, though the flavor profile will be different. For a more intense cherry experience, you could try soaking the dried cherries in a little cherry juice or even a splash of Kirsch (if you’re feeling adventurous and 21+) for about 15 minutes before adding them to the dough. Drain them well, though!
- Butter: While butter is king here, if you *absolutely* must, you could try a good quality margarine, but IMO, the flavor won’t be quite the same.
FAQ (Frequently Asked Questions)
Can I make these dairy-free or gluten-free?
Technically, yes! You’d need to swap out the butter for a dairy-free alternative and use a good gluten-free flour blend. Just be aware that texture might change a bit. Worth a try if you have those dietary needs!
What’s the best way to store these?
In an airtight container at room temperature for up to 3-4 days. Or, you know, just eat them all on day one. Problem solved!
Why are my cookies spreading too much?
Likely culprits are using too much butter, not enough flour, or the dough being too warm. Try chilling the dough for 30 minutes before baking if this is an issue.
Can I add nuts?
Sure! About 1/2 cup of chopped walnuts or pecans would be lovely. Just be sure no one has nut allergies.
My dough looks a little dry, what’s up?
It’s probably fine! As long as you measured your flour correctly, it should come together when you mix in the wet ingredients. If it’s *super* dry and crumbly, add a *tiny* splash of milk or a bit more vanilla.
Do I *really* need brown sugar?
Yes, the brown sugar adds moisture and that lovely chewy texture. White sugar alone will give you a crispier cookie.
Final Thoughts
There you have it! A ridiculously good cookie that’s surprisingly simple to whip up. They’re perfect for movie nights, care packages, or just a little “me time” treat. Don’t be afraid to experiment, have fun with it, and most importantly, enjoy every single bite. Now go impress someone—or yourself—with your new culinary skills. You’ve earned it!


