So you’re craving something tasty but too lazy to spend forever in the kitchen, huh? Same. 🙂
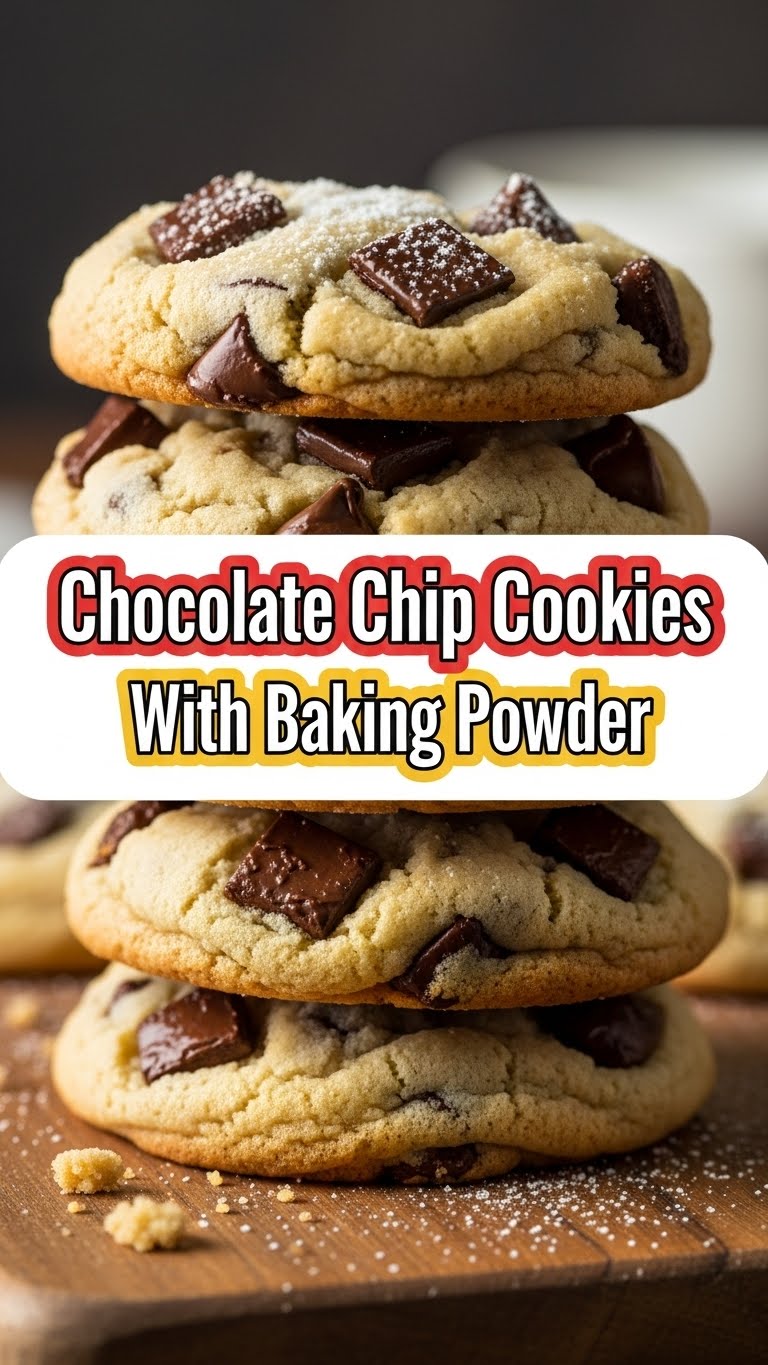
Let’s be honest, sometimes the siren song of a perfectly baked chocolate chip cookie is too loud to ignore. But the thought of slogging through a complicated recipe? *Immediately* makes me want to order pizza. Thankfully, my friends, I’ve got your back. We’re diving into the magical world of chocolate chip cookies, but with a little *oomph* from baking powder. Why? Because we want cookies that are a little puffier, a little chewier, and a whole lot more delightful. Get ready to become the undisputed champion of snack time.
Why This Recipe is Awesome
Okay, confession time: I’m not exactly a Michelin-star chef. My kitchen often looks like a flour bomb went off. But THIS recipe? It’s practically **idiot-proof**. Even I, with my questionable baking track record, can whip these up without turning them into hockey pucks or sad, flat puddles. The baking powder is the secret sauce here, giving us that perfect balance between a slightly crisp edge and a wonderfully soft, chewy center. It’s a little bit of magic in every bite, and it requires minimal brainpower. You’re welcome.
Ingredients You’ll Need
Here’s the lowdown on what you’ll need to raid your pantry for. Don’t panic, it’s mostly standard stuff!
- 1 cup (2 sticks) unsalted butter, softened (but not, like, melted into a puddle. Just nicely squishy.)
- ¾ cup granulated sugar (for that classic sweet vibe)
- ¾ cup packed brown sugar (this is where the chewy magic happens, yo!)
- 2 large eggs (the glue that holds this deliciousness together)
- 1 teaspoon vanilla extract (because, duh, it’s cookies!)
- 2 ¼ cups all-purpose flour (the foundation of our cookie empire)
- 1 teaspoon baking powder (our secret weapon for puffiness!)
- ½ teaspoon baking soda (just a little help for spread and color)
- ½ teaspoon salt (to balance out all that sweetness, a pro move!)
- 2 cups chocolate chips (or chunks, or wafers. Whatever makes your heart sing!)
Step-by-Step Instructions
Let’s get this dough party started!
- First off, preheat your oven to 375°F (190°C). Don’t skip this. Seriously.
- In a big ol’ bowl, cream together that softened butter with both the granulated and brown sugars. Beat ’em until they’re nice and fluffy. Think of it as giving them a mini spa treatment.
- Now, beat in those eggs, one at a time, followed by the vanilla. Mix until everything is smoothly combined. No weird eggy pockets allowed!
- In a separate, slightly less glamorous bowl, whisk together the flour, baking powder, baking soda, and salt. This ensures everything is evenly distributed, so you don’t get a concentrated pocket of weirdness.
- Gradually add the dry ingredients to the wet ingredients, mixing on low speed until *just* combined. Overmixing is the enemy of tender cookies, so be gentle.
- Stir in your glorious chocolate chips. Get ’em in there!
- Drop rounded spoonfuls of dough onto ungreased baking sheets. I like to use a cookie scoop for uniform perfection, but a spoon works too. Just try to keep them roughly the same size.
- Bake for 9-11 minutes, or until the edges are golden brown and the centers are still slightly soft. They’ll continue to cook a bit on the hot baking sheet, so don’t overbake them!
- Let them cool on the baking sheets for a few minutes before transferring them to a wire rack to cool completely. Patience is a virtue, especially when cookies are involved.
Common Mistakes to Avoid
Let’s talk about the cookie catastrophes we’re steering clear of:
- Melted Butter: Softened is the key. Melted butter leads to flat, greasy cookies. Sad.
- Overmixing the Dough: We want fluffy, not tough. Mix until *just* combined.
- Skipping the Preheat: A cold oven is a cookie’s worst nightmare. Make sure it’s nice and hot!
- Overbaking: Those centers should look a *tad* underdone when they come out. They’ll set up as they cool. Trust the process!
- Not Measuring Flour Correctly: Don’t just scoop the flour directly from the bag. **Spoon it into your measuring cup and level it off.** This makes a big difference!
Alternatives & Substitutions
Feeling adventurous? Or maybe just out of something? No worries!
- Chocolate Chips: Feel free to go wild! White chocolate, dark chocolate, butterscotch, M&Ms, nuts… mix and match! Or go for a blend. My personal fave is a combo of semi-sweet and dark chocolate.
- Butter: If you’re in a pinch, you *can* use margarine, but IMO, butter gives the best flavor and texture. Your call, boss.
- Eggs: For a vegan twist, try using flax eggs (1 tbsp flaxseed meal + 3 tbsp water, let sit for 5 mins) or a commercial egg replacer. The texture might be slightly different, but still delicious!
FAQ (Frequently Asked Questions)
Let’s tackle those burning questions, shall we?
- Can I make these cookies dairy-free? Absolutely! Use vegan butter sticks and dairy-free chocolate chips. Easy peasy.
- Why are my cookies spreading too much? Probably too much butter or not enough flour. Double-check those measurements and ensure your butter is soft, not liquid.
- Can I freeze the cookie dough? Yes, you can! Roll it into balls and freeze them on a baking sheet until solid, then transfer to a freezer bag. Bake from frozen, adding a minute or two to the baking time.
- What if I don’t have brown sugar? You can make your own by mixing 1 cup of granulated sugar with 2 tablespoons of molasses. It’s not *exactly* the same, but it’ll get you close.
- How do I get those pretty little crackles on top? Often, it’s a combination of good ingredient ratios and slightly underbaking. Don’t overwork the dough, and pull them out when the center still looks soft.
- Can I add nuts? You bet! Add about a cup of chopped nuts along with the chocolate chips. Pecans and walnuts are classic choices.
Final Thoughts
And there you have it! A batch of ridiculously tasty chocolate chip cookies with a little lift from baking powder, made by YOU. See? Baking doesn’t have to be intimidating. It can be fun, delicious, and a fantastic way to chase away those cookie cravings. Now go impress someone—or yourself—with your new culinary skills. You’ve earned it! Happy baking, my friend!

