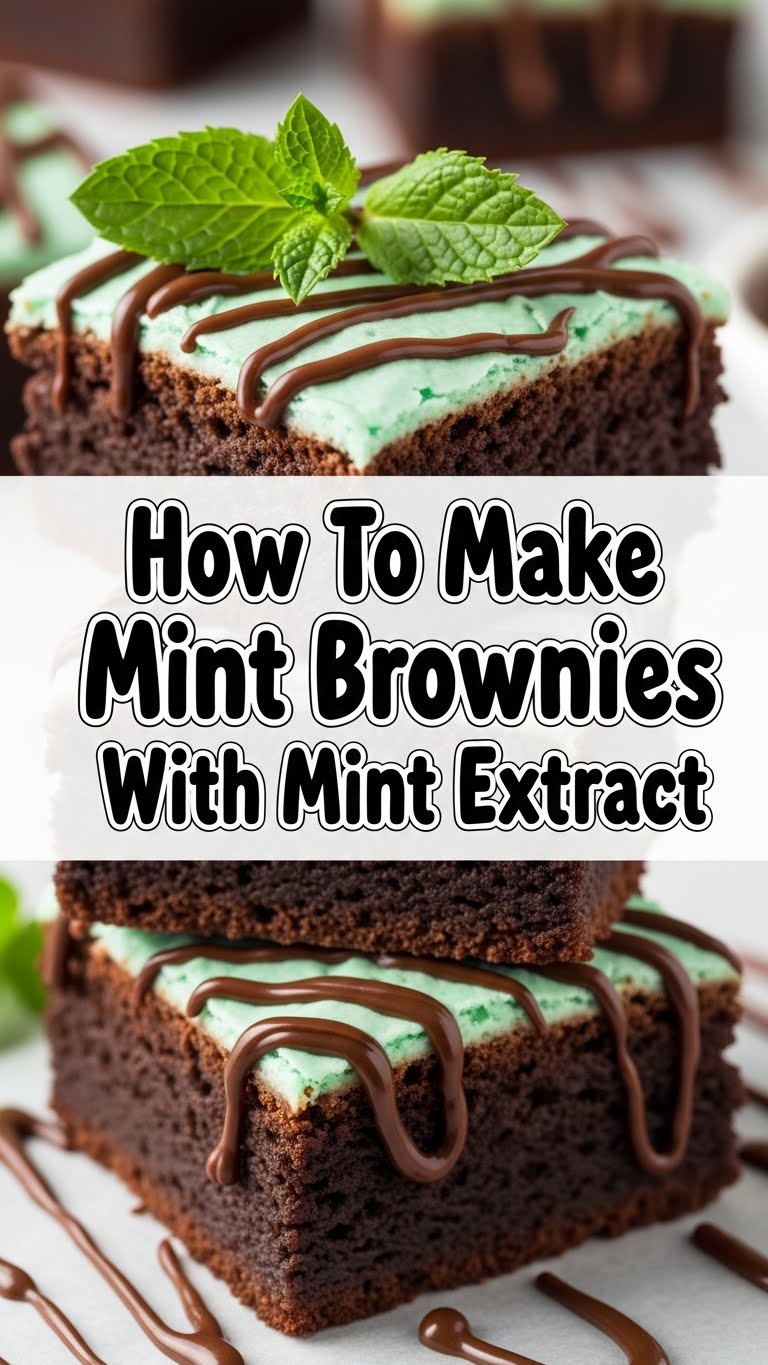
Mint Brownies: Because Life Needs More Chocolatey, Minty Hugs
So you’re craving something tasty but too lazy to spend forever in the kitchen, huh? Same. And when that craving hits, it’s usually for something decadent, something that screams “treat yo’ self,” and something that doesn’t involve a 4-hour prep time. Enter these ridiculously easy Mint Brownies. They’re basically a flavor explosion in your mouth, a sweet little party where chocolate and mint are the VIP guests, and everyone else is just trying to keep up.
Why This Recipe is Awesome (Seriously, It’s a Game Changer)
Let’s be real. Sometimes baking feels like performing open-heart surgery in a bouncy castle. But this recipe? It’s practically idiot-proof. I’m talking “I once burned water” levels of “idiot-proof.” It’s quick, it’s simple, and the payoff is HUGE. You’ll get fudgy, rich brownies with just the right amount of refreshing minty zing, all without breaking a sweat. Plus, they look *way* more impressive than they actually are to make. You can totally pass them off as a gourmet creation. Don’t tell anyone, though. It’ll be our little secret.
Ingredients You’ll Need (Don’t Panic, It’s Not a Grocery List from the Apocalypse)
- 1/2 cup (1 stick) unsalted butter, melted (because who has time to soften butter? Not us!)
- 1 cup granulated sugar (for that sweet, sweet life)
- 2 large eggs (the glue that holds this deliciousness together)
- 1 teaspoon pure vanilla extract (essential for flavor, obvi)
- 1/2 teaspoon pure peppermint extract (the star of the show! Don’t skimp here!)
- 1/3 cup unsweetened cocoa powder (dark or regular, your call, but dark is usually more dramatic)
- 1/4 teaspoon salt (to balance all that sweetness, like a good friend)
- 1/2 cup all-purpose flour (just enough to give it structure, we’re not making a wedding cake here)
- Optional: Chocolate chips (for those who believe more chocolate is *never* a bad idea)
- Optional: Green food coloring (if you’re feeling fancy and want that iconic mint green swirl. A few drops will do!)
Step-by-Step Instructions (Let’s Get Baking, Buttercup!)
- Preheat your oven to 350°F (175°C) and grease and flour an 8×8 inch baking pan. Because nobody likes brownies stuck to the pan. Nobody.
- In a medium bowl, whisk together the melted butter and sugar until they’re friends. Then, **stir in the eggs one at a time**, followed by the vanilla and peppermint extracts. Give it a good mix; we want it smooth and happy.
- In a separate small bowl, **whisk together the cocoa powder and salt**. Then, **gradually add this dry mixture to the wet ingredients**, stirring until just combined. Don’t overmix, or your brownies might get tough.
- Now, **gently fold in the flour**, again, just until you don’t see any dry streaks. If you’re adding chocolate chips, throw ’em in now!
- If you’re feeling adventurous and want that swirly minty magic, **divide the batter in half**. Leave one half as is. In the other half, **stir in a few drops of green food coloring** until you get a vibrant minty hue.
- **Dollop spoonfuls of both batters into your prepared pan**. Then, grab a knife or skewer and **swirl them together gently**. Don’t go crazy; a few elegant swirls are all you need.
- **Bake for 20-25 minutes**, or until a toothpick inserted into the center comes out with moist crumbs attached. We want fudgy, not cakey!
- **Let them cool COMPLETELY** in the pan before cutting. I know, I know, the hardest part. But trust me, it’s worth it. Once cooled, slice ’em up and prepare for brownie bliss.
Common Mistakes to Avoid (Don’t Say I Didn’t Warn You!)
- Overmixing the batter: Seriously, just mix until combined. Overworking the flour = tough brownies. Sadness.
- Not preheating the oven: This is like trying to run a marathon without warming up. Disaster waiting to happen.
- Cutting them too soon: Patience, grasshopper! Warm brownies are delicious, but cooled brownies are *structurally sound* brownies.
- Using stale mint extract: If your extract smells like it’s been in the pantry since the dawn of time, it might be time for a refresh. Your taste buds will thank you.
Alternatives & Substitutions (Because Life is All About Choices, Right?)
- No peppermint extract? You can try using a tiny bit of spearmint extract, but it’s a different flavor. IMO, peppermint is the classic for a reason.
- Want them extra chocolatey? Add some chopped chocolate or mini chocolate chips to the batter. I’m never going to say no to more chocolate, are you?
- No food coloring? No worries! They’ll still taste amazing. The green is just for aesthetics, darling.
- Don’t have an 8×8 pan? A 9×9 pan will work, but your brownies might be a little thinner, and bake time might be slightly shorter. Keep an eye on them!
FAQ (Because You Might Have Burning Questions, Or Just Be Bored)
Q: Can I add more mint extract?
A: You *can*, but I wouldn’t recommend it unless you want your brownies to taste like mouthwash. A little goes a long way!
Q: Can I use margarine instead of butter?
A: Well, technically yes, but why hurt your soul like that? Butter adds a richer flavor and better texture. It’s worth the splurge, even if it’s just a little bit.
Q: My brownies are too cakey! What did I do wrong?
A: Probably overmixed the flour, or you might have overbaked them. Next time, be gentler and pull them out when there are still moist crumbs on the toothpick!
Q: Can I make these dairy-free?
A: You could try using vegan butter and a flax egg (1 tbsp flaxseed meal + 3 tbsp water, let sit for 5 mins) instead of eggs. I haven’t personally tested it, but it’s worth a shot if you’re feeling adventurous!
Q: How long do these last?
A: In an airtight container at room temperature, they’re usually good for about 3-4 days. But let’s be honest, they’ll probably be gone way before then.
Final Thoughts (Go Forth and Bake!)
There you have it! Simple, delicious, and ridiculously satisfying Mint Brownies. They’re perfect for a quick treat, a potluck contribution, or just for bribing yourself to finish that one last chore. Now go impress someone—or yourself—with your new culinary skills. You’ve earned it! Happy baking, you magnificent human!


