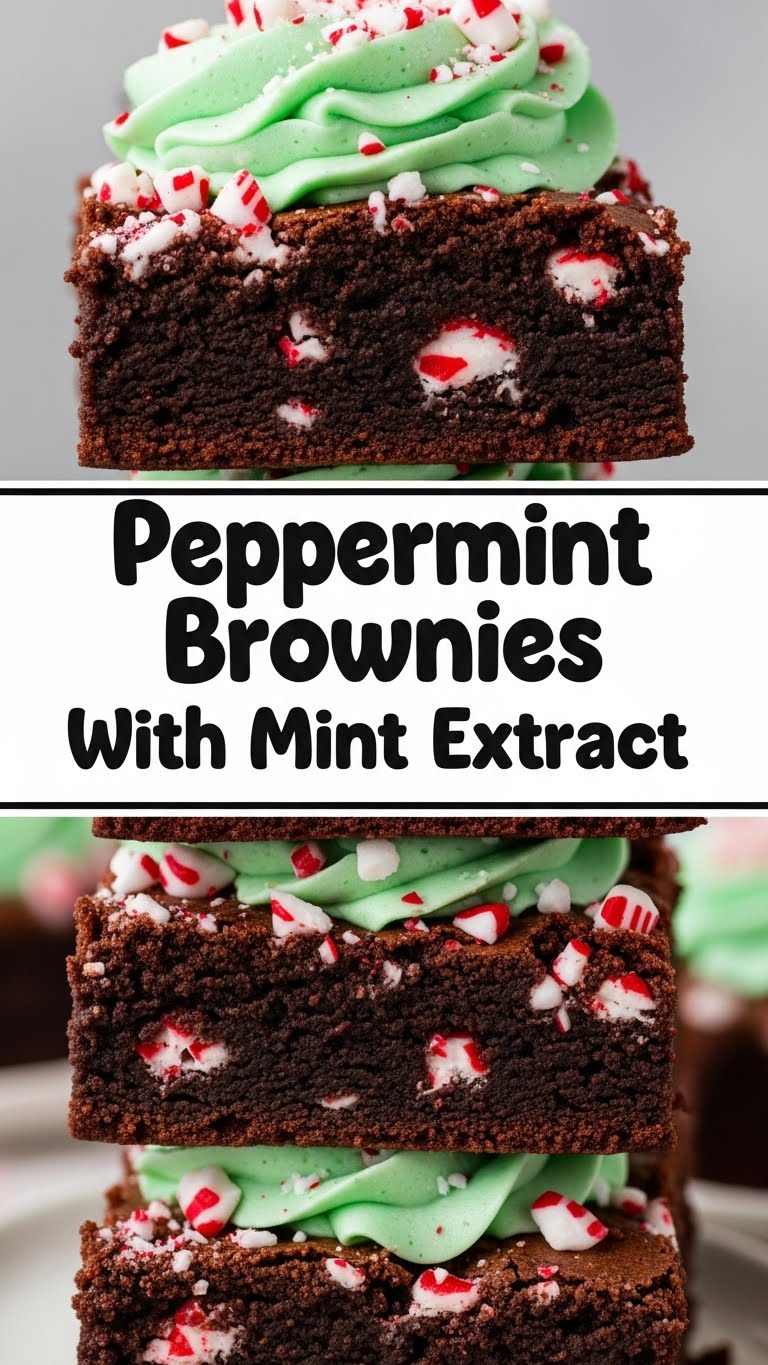
Peppermint Brownies: Because Life Needs More Minty Chocolatey Hugs!
So you’re craving something tasty but too lazy to spend forever in the kitchen, huh? Same. But what if I told you you could have fudgy, decadent brownies with a cool, refreshing burst of peppermint that practically taste like a holiday hug? Yep, you heard me. These Peppermint Brownies with Mint Extract are here to save your sweet tooth and your precious time. Get ready to ditch the store-bought stuff, my friend.
Why This Recipe is Awesome (AKA, Why You Should Totally Make It)
Let’s be real. Brownies are great. Peppermint is great. Combined? It’s a flavor explosion that’ll make your taste buds do a happy dance. And the best part? This recipe is ridiculously easy. Like, **’I-can-barely-boil-water-but-I-can-make-these’** easy. Seriously, it’s almost idiot-proof. Plus, the mint extract adds this sophisticated little zing that elevates your average brownie to fancy-pants status without the fancy-pants effort.
Ingredients You’ll Need (Don’t Sweat It, They’re Easy!)
- Butter: About 1 cup (2 sticks), softened. Don’t use that weird, watery stuff; we want real butter for real flavor!
- Sugar: 2 cups. Yes, it’s a lot, but we’re making brownies, not dieting.
- Eggs: 3 large ones. Fresh ones, please. No ancient eggs allowed.
- Vanilla Extract: 1 teaspoon. The OG flavor enhancer.
- Peppermint Extract: 1 teaspoon. This is our secret weapon, folks! Don’t go overboard unless you want your brownies to taste like toothpaste.
- All-Purpose Flour: 1 cup. Just regular flour. Nothing fancy.
- Unsweetened Cocoa Powder: 1/2 cup. The darker, the better for that intense chocolatey goodness.
- Salt: 1/4 teaspoon. It just balances everything out, trust me.
- Chocolate Chips: 1 cup (optional, but HIGHLY recommended). Milk, semi-sweet, dark – you do you!
Step-by-Step Instructions (Let’s Get Baking!)
- Preheat your oven to 350°F (175°C). Grease and flour an 8×8 inch baking pan. Nobody likes brownies stuck to the pan.
- In a big ol’ bowl, cream together the softened butter and sugar until light and fluffy. Think of it as giving your butter a nice spa treatment.
- Beat in the eggs one at a time, then stir in the vanilla and our star, the peppermint extract. **Smell that? That’s pure joy.**
- In a separate, smaller bowl, whisk together the flour, cocoa powder, and salt. This makes sure everything is evenly distributed, so no one gets a mouthful of just flour.
- Gradually add the dry ingredients to the wet ingredients, mixing until just combined. **Don’t overmix!** We’re not making bread here.
- If you’re feeling extra, stir in those glorious chocolate chips. Or don’t. But I will be judging you silently.
- Pour the batter into your prepared pan and spread it out evenly. It should look thick and delicious.
- Bake for 25-30 minutes, or until a toothpick inserted into the center comes out with moist crumbs attached (not wet batter). We want fudgy, not dry and sad.
- Let them cool completely in the pan before cutting. This is the hardest part, I know. **Patience, young grasshopper.**
Common Mistakes to Avoid (Don’t Be *That* Guy)
- Thinking you don’t need to preheat the oven: Rookie mistake. Your brownies will be sad and undercooked.
- Overmixing the batter: This leads to tough brownies. Gently does it!
- Using too much peppermint extract: Seriously, start with a teaspoon. You can always add more next time if you’re brave.
- Cutting them while they’re still hot: This is just asking for a messy disaster. Let them cool, I promise it’s worth it.
- Forgetting the salt: It might seem small, but it makes a big difference in flavor!
Alternatives & Substitutions (Because We’re All About Options)
- No peppermint extract? You can try a few drops of food-grade peppermint oil, but be VERY sparing. Or, just make regular awesome brownies and sprinkle some crushed candy canes on top after they’ve cooled. Easy peasy.
- Don’t have butter? You *could* use margarine, but IMO, the flavor and texture won’t be as good. Real butter is king here.
- Want it richer? Add some melted semi-sweet chocolate to the batter along with the cocoa powder. More chocolate = more happiness.
- Feeling fancy? Drizzle some melted white chocolate or a simple peppermint glaze over the cooled brownies. Your call!
FAQ (The Burning Questions You *Might* Have)
- Can I use milk chocolate instead of unsweetened cocoa powder? Nope, that’ll mess with the texture and sweetness way too much. Stick with the unsweetened cocoa for that deep chocolate flavor.
- My brownies are a little too dry. What went wrong? You might have overbaked them, or maybe your oven runs hot. Next time, keep a closer eye on them and test with a toothpick a few minutes earlier.
- Can I make these gluten-free? Yep! Use a good quality 1:1 gluten-free baking flour blend. Just make sure it’s a blend meant for baking, not just a direct substitute for all-purpose.
- How long do these bad boys last? In an airtight container at room temperature, they should be good for about 3-4 days. If you’re like me, they won’t last that long.
- Can I double the recipe? Absolutely! Just make sure you have a bigger pan (like a 9×13 inch) and adjust the baking time accordingly.
- Is the peppermint flavor too strong? If you followed the recipe, it should be a nice subtle hint. If you’re really sensitive to mint, try starting with 1/2 teaspoon of peppermint extract.
Final Thoughts (Go Forth and Bake!)
There you have it! Your new favorite, ridiculously easy, and incredibly delicious peppermint brownies. They’re perfect for potlucks, movie nights, or just because you deserve a treat. Seriously, they’re a crowd-pleaser and so simple to whip up. Now go impress someone—or yourself—with your new culinary skills. You’ve earned it! Happy baking!


