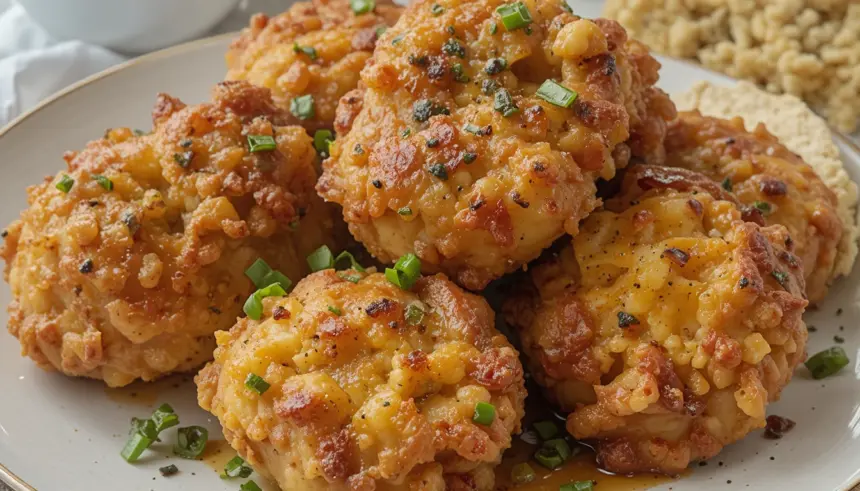
So, You Want Fried Chicken, But Like, Now?
Let’s be real. Sometimes you just need that crispy, golden, soul-satisfying fried chicken without a PhD in Culinary Arts or a whole Saturday to dedicate. We’ve all been there. Your stomach’s rumbling, your brain’s saying “nap,” and the thought of a multi-step, messy chicken situation is… well, a bit much. Fear not, my friend! I’ve got your back with a fried chicken recipe so easy, it practically makes itself. Almost. 😉
Why This Recipe is Freakin’ Awesome (Seriously)
Okay, so why should you trust *this* fried chicken recipe? Because it’s designed for people like us – awesome humans who appreciate deliciousness but don’t want to break a sweat (unless it’s from pure joy after the first bite). It’s quick, it’s relatively clean (we’re talking minimal splatters, people!), and the results are *chef’s kiss* good. Forget those complicated marinades and triple-dredging rituals. This is the shortcut to crispy chicken heaven, and it’s **practically idiot-proof**. I’m not saying you’re an idiot, of course, but if *I* can do it without setting off the smoke alarm, you definitely can.
Ingredients You’ll Need (Don’t Panic!)
Here’s the lowdown on what you’ll be grabbing from the grocery store (or, let’s be honest, probably already have lurking in your pantry):
- Chicken Pieces: About 2-3 pounds. Thighs and drumsticks are your best friends here – they’re forgiving and stay super juicy.
- All-Purpose Flour: About 1.5 cups. The crispy coating’s main squeeze.
- Salt: 1-2 tablespoons, depending on how much you love it (no judgment).
- Black Pepper: 1-2 teaspoons. Freshly ground is best, but whatever you have will do.
- Paprika: 1-2 teaspoons. For that gorgeous golden color and a hint of smoky sweetness.
- Garlic Powder: 1 teaspoon. Because garlic makes everything better.
- Optional Spices: Feeling adventurous? A pinch of cayenne for heat, or some dried herbs like thyme or oregano can be fun!
- Eggs: 2 large. The glue that holds the magic together.
- Milk (or Buttermilk!): About 1/4 cup. Just a little splash to help the egg mixture coat the chicken. Buttermilk is superior, IMO.
- Vegetable Oil (or another high-smoke-point oil): Enough to fill your skillet about 1/2 to 1 inch deep. Think canola, peanut, or sunflower.
Step-by-Step Instructions (Let’s Do This!)
Ready to turn that raw chicken into a crispy masterpiece? Follow these simple steps:
- Prep Your Station: Grab two shallow bowls or plates. In the first, mix your flour, salt, pepper, paprika, garlic powder, and any other spices you’re using. In the second, whisk your eggs with the milk until they’re nicely combined.
- Chicken Dunking Time: Pat your chicken pieces dry with paper towels. This is a **crucial step** for crispiness! Dip each piece into the egg mixture, letting any excess drip off. Then, transfer it to the flour mixture, pressing the flour onto the chicken to coat it really well. Make sure every nook and cranny is covered!
- Let it Chill (Briefly!): Place your floured chicken pieces on a wire rack set over a baking sheet. Let them sit for about 10-15 minutes. This little rest helps the coating stick better and prevents it from falling off in the hot oil.
- Heat Things Up: Pour your oil into a large, heavy skillet (cast iron is your pal here) and heat it over medium-high heat. You’re looking for the oil to reach around 350°F (175°C). If you don’t have a thermometer, test it by dropping a tiny bit of flour in; it should sizzle immediately. **Don’t overheat the oil**, or your chicken will burn on the outside before it cooks through!
- Fry ‘Em Up: Carefully place your floured chicken pieces into the hot oil, being careful not to overcrowd the pan. You’ll want to cook them in batches. Fry for about 6-8 minutes per side for thighs and drumsticks, or until they’re golden brown and cooked through. Use tongs to flip them!
- Drain and Devour: Once they’re done, remove the chicken from the skillet and place it back on that wire rack to drain off any excess oil. This keeps them crispy! Let them cool for a minute (or five, if you have that kind of willpower) and then dig in!
Common Mistakes to Avoid (Don’t Say I Didn’t Warn You!)
Nobody’s perfect, but let’s try to dodge these fried chicken pitfalls:
- Skipping the Drying Step: Wet chicken + flour = soggy mess. Don’t do it.
- Overcrowding the Pan: This lowers the oil temperature, leading to greasy, limp chicken. Cook in batches, my friend. Your chicken deserves it.
- Not Preheating the Oil: Dunking cold chicken into lukewarm oil is a recipe for sadness. Be patient!
- Peeking Too Soon: Resist the urge to flip constantly. Let each side get nice and golden before you disturb it.
- Not Draining Properly: That wire rack is your best friend. It’s the difference between crispy perfection and a greasy puddle.
Alternatives & Substitutions (Get Creative!)
This recipe is pretty forgiving, so feel free to tweak it:
- Gluten-Free? Swap out the all-purpose flour for a gluten-free all-purpose blend. Just make sure it’s a good one for frying!
- No Eggs? A mixture of milk and a tablespoon of cornstarch or a little yogurt can work in a pinch, though eggs are definitely the gold standard for binding.
- Spice it Up (or Down): If you’re not a fan of spice, skip the cayenne. Love garlic? Add more! This is your chicken, your rules.
- Air Fryer? You can absolutely do a version of this in an air fryer! Just spray the coated chicken with a little oil and air fry at around 380°F (190°C) for 20-25 minutes, flipping halfway. It won’t be *exactly* the same as pan-fried, but it’s a healthier and still delicious option.
FAQ (The Burning Questions Answered)
Got questions? I’ve got answers (probably).
- Can I use chicken breast? Technically, yes. But chicken breast is leaner and can dry out faster. Thighs and drumsticks are way more forgiving and yield a juicier result. If you must use breast, cut it into smaller, uniform pieces and keep a close eye on it!
- How do I know when the chicken is cooked through? The juices should run clear when you pierce the thickest part with a knife or fork. For extra reassurance, you can use a meat thermometer – it should read 165°F (74°C).
- What if I don’t have a skillet deep enough for frying? A Dutch oven is ideal, but a sturdy, deep pot will work too. Just make sure you have enough oil for the chicken to be partially submerged.
- Can I make the flour mixture ahead of time? Yup! You can mix up your dry ingredients a day or two in advance and store them in an airtight container. Just whisk the eggs right before you plan to coat the chicken.
- Is buttermilk really *that* much better? For fried chicken? IMO, yes. It adds a subtle tang and helps tenderize the chicken. But regular milk is perfectly fine if that’s what you’ve got.
- Why the wire rack for draining? It allows air to circulate around the chicken, preventing the bottom from getting soggy from sitting in its own grease. Crispy bottoms are a must!
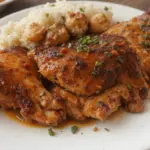
Final Thoughts (Go Forth and Fry!)
See? Fried chicken doesn’t have to be a monumental undertaking. This recipe is all about getting that satisfying crunch and juicy goodness without all the fuss. It’s perfect for a quick weeknight dinner, a lazy weekend lunch, or honestly, just because you deserve it. Now go impress someone – or yourself – with your new culinary skills. You’ve earned it! Happy frying! 🍗✨

