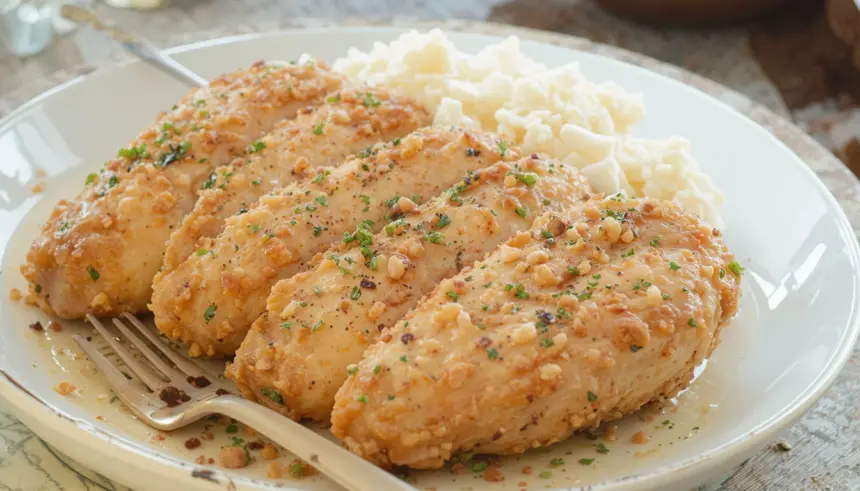
So you’re craving something tasty but too lazy to spend forever in the kitchen, huh? Same. Good news, my friend, because today we’re tackling the humble chicken tenderloin in the oven, and trust me, it’s so easy you’ll wonder why you ever ordered takeout.
Why This Recipe is Awesome
Okay, first off, it’s chicken tenderloins. They cook super fast! Secondly, it’s the oven, which basically means ‘set it and forget it’ while you scroll TikTok or contemplate life’s mysteries. Plus, it’s idiot-proof, I swear. Even I didn’t mess it up, and my kitchen adventures often involve smoke alarms. It’s healthy, versatile, and requires minimal cleanup. What’s not to love?
Ingredients You’ll Need
- Chicken Tenderloins: About 1-1.5 lbs. The skinny ones! Quick cookers.
- Olive Oil: A couple of tablespoons. Your tenderloins need a little spa treatment.
- Seasoning:
- Garlic Powder: 1 tsp. Because garlic makes everything better. It’s science.
- Onion Powder: 1 tsp. Garlic’s best buddy.
- Paprika: 1 tsp. For a little color and a smoky kiss.
- Salt & Black Pepper: To taste. Don’t be shy, but don’t turn it into a salt lick either.
- (Optional: your favorite dried herbs like oregano, thyme, or rosemary – go wild!)
- Lemon (optional): Half a lemon, for squeezing after. A little zing for your zing.
Step-by-Step Instructions
- Preheat & Prep: First things first, get that oven nice and toasty to 400°F (200°C). Line a baking sheet with parchment paper or foil. Trust me, future you will thank present you for the easy cleanup.
- Tenderloin Spa Day: Grab those chicken tenderloins. Pat them dry with a paper towel. This helps them get a nice sear, or, you know, just not be soggy.
- Oil ‘Em Up: Drizzle the olive oil over the chicken in a bowl or directly on the baking sheet. Toss them around gently to ensure every piece gets a nice coat.
- Seasoning Party: In a small bowl, mix your garlic powder, onion powder, paprika, salt, and pepper. Then, sprinkle this magical mix all over your chicken. Use your hands to really get it in there.
- Spread ‘Em Out: Arrange the seasoned tenderloins on your prepared baking sheet in a single layer. Make sure they’re not overcrowding each other; they need space to breathe (and cook evenly).
- Bake It Baby!: Pop that tray into the preheated oven. Bake for 15-20 minutes. The exact time depends on your oven and the thickness of the tenderloins. You’re looking for an internal temperature of 165°F (74°C).
- Rest & Serve: Once cooked, take them out and let them rest for 5 minutes. This is super important! It lets the juices redistribute, keeping them moist. Squeeze a little fresh lemon juice over them if you’re feeling fancy.
Common Mistakes to Avoid
- Not preheating the oven: Rookie mistake! Your chicken will cook unevenly and take forever. Always preheat.
- Overcrowding the pan: This steams your chicken instead of roasting it. Give them space! If you have too many, use two pans.
- Skipping the pat dry: Soggy chicken tenders are a sad sight. Pat ’em dry for better texture.
- Overcooking: Chicken tenderloins cook fast. Don’t leave them in there for an hour, unless you’re aiming for chicken jerky. Use a meat thermometer.
- Not letting them rest: Impatience is a virtue… sometimes. Not when it comes to chicken. Let it rest, or all those lovely juices will just run out onto your cutting board.
Alternatives & Substitutions
- Veggie Power-Up: Want a full meal on one pan? Toss some chopped veggies (broccoli, bell peppers, zucchini, cherry tomatoes) with a little olive oil and the same seasoning mix, and roast them alongside the chicken. Add them about halfway through the chicken’s cooking time, or roast them on a separate tray.
- Different Seasonings: Don’t like paprika? Swap it for Italian seasoning, chili powder, or even a pre-made lemon-herb blend. The world is your oyster… or, well, your chicken!
- Butter vs. Olive Oil: You can totally use melted butter instead of olive oil for an extra rich flavor. Or half and half! It’s your kitchen, play around!
- Spice It Up: Add a pinch of cayenne pepper or red pepper flakes for a kick. Or a dash of your favorite hot sauce after cooking.
- Marinade Magic: Got a little more time? Marinate the tenderloins in a simple mixture of olive oil, lemon juice, garlic, and herbs for 30 minutes to a few hours. OMG, flavor overload!
FAQ (Frequently Asked Questions)
- Can I use chicken breasts instead of tenderloins? Absolutely! Just be aware they’re thicker, so you’ll need to adjust cooking time (usually 20-30 minutes) and might want to pound them a bit for even cooking.
- Do I have to use parchment paper? Well, *have* to? No. But do you *want* to scrub sticky chicken bits off your baking sheet? Probably not. So, yes, use it for your sanity!
- My chicken looks dry, what did I do wrong? Chances are, you overcooked it, or didn’t let it rest. Remember, 165°F is the magic number!
- Can I freeze cooked chicken tenderloins? You bet! Once cooled, store them in an airtight container for up to 3-4 months. Perfect for meal prep!
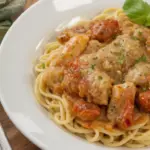
- What should I serve this with? Oh, honey, anything! A simple side salad, some roasted potatoes, rice, quinoa, steamed green beans. It’s the ultimate chameleon protein!
- Can I use margarine instead of butter? Well, technically yes, but why hurt your soul like that? If you absolutely *must*, go for it, but butter truly adds a superior flavor. IMO, life’s too short for margarine.
Final Thoughts
See? I told you it was easy! Now you’ve got perfectly cooked, flavorful chicken tenderloins with minimal fuss. This recipe is your secret weapon for those busy weeknights or when you just want something delicious without the drama. So go ahead, pat yourself on the back, and enjoy your culinary triumph. Now go impress someone—or yourself—with your new culinary skills. You’ve earned it!

