“`html
So, You’ve Got a Brownie Emergency?
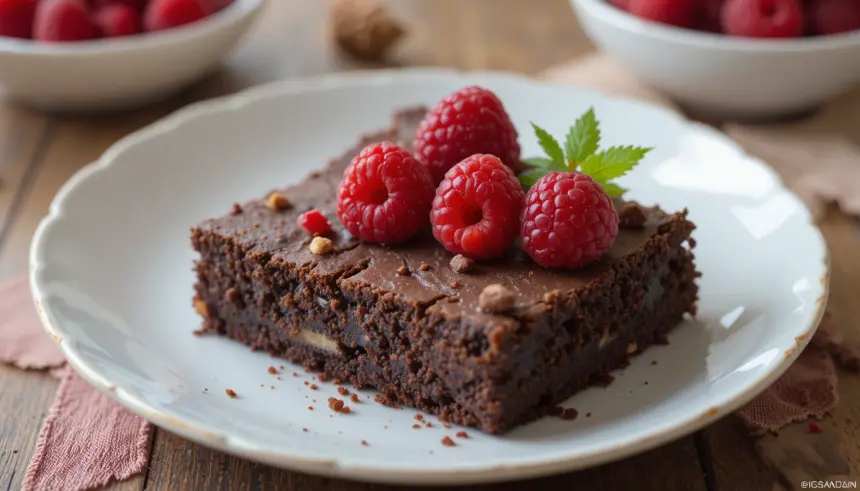
Let’s be real. Sometimes, life throws curveballs, and the only thing that can make it better is a fudgy, chocolatey hug in edible form. And when that emergency strikes, we’re not talking about some sad, pre-packaged imposter. We’re talking about a homemade masterpiece, a warm, gooey, slightly-sophisticated-but-still-totally-decadent brownie. And guess what? We’re about to make that happen with a little help from our fruity friends: fresh raspberries!
Why This Recipe is Basically Magic (and Also Delicious)
Look, I’m not saying I’m a Michelin-star chef, but I can follow directions. And this recipe? It’s so ridiculously easy, even your cat could probably make it if they had opposable thumbs and a serious sweet tooth. It’s the perfect balance of rich chocolatey goodness and that delightful little tart pop from the raspberries. Plus, it smells like heaven while it’s baking, which is basically a win-win-win situation. It’s practically idiot-proof, even I didn’t mess it up (and trust me, that’s saying something).
Ingredients You’ll Need (Try Not to Eat Them All Before Baking)
- 1 cup (2 sticks) unsalted butter, melted (because butter is life, duh)
- 2 cups granulated sugar (your dentist might send me a thank-you note later)
- 4 large eggs (the yolker ones, obviously)
- 1 teaspoon vanilla extract (the good stuff, if you have it)
- 1 cup all-purpose flour (don’t go crazy with the sifting, we’re not making angel food cake)
- 1 cup unsweetened cocoa powder (the darker, the better, IMO)
- 1/2 teaspoon baking powder (just a little lift, not a circus act)
- 1/4 teaspoon salt (to balance out all that sweetness, the unsung hero)
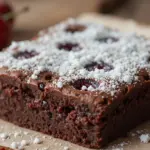
- 1 1/2 cups fresh raspberries (the star of the show, don’t skimp!)
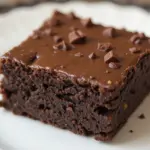
- Optional: Chocolate chips, because why not add more chocolate? (I never said this was healthy!)
Step-by-Step Instructions (Don’t Panic, It’s Easy!)
- Preheat your oven to 350°F (175°C). Grease and flour a 9×13 inch baking pan. Trust me, you want this brownie goodness to slide out easily.
- In a large bowl, whisk together the melted butter and sugar until it’s smooth and creamy. Think of it as giving your future brownie a luxurious spa treatment.
- Beat in the eggs one at a time, followed by the vanilla extract. Make sure it’s all well combined – no lumpy egg surprises here.
- In a separate bowl, whisk together the flour, cocoa powder, baking powder, and salt. This is your dry magic dust.
- Gradually add the dry ingredients to the wet ingredients, mixing until just combined. **Don’t overmix!** We want fudgy, not tough. A few little flour streaks are fine.
- Gently fold in the fresh raspberries and any extra chocolate chips you decided to throw in. Try not to mash all the raspberries; we want them to pop!
- Pour the batter into your prepared pan and spread it out evenly. It’s going to look thick and glorious.
- Bake for 25-30 minutes, or until a toothpick inserted into the center comes out with moist crumbs attached (not completely clean, that means you’ve baked it too long!).
- Let them cool in the pan for at least 15-20 minutes before cutting. Patience, my friend, is a virtue (especially when brownies are involved).
Common Mistakes to Avoid (So You Don’t Cry Over Spilled Brownie Batter)
- Thinking you don’t need to preheat the oven. Rookie mistake. Your brownies will be sad and undercooked.
- Overmixing the batter. This is how you get cakey brownies. We’re aiming for fudgy, remember?
- Baking them for too long. Dry brownies are a tragedy. Keep an eye on that toothpick test!
- Cutting them while they’re still lava-hot. Resist the urge! They need to set up a bit, or you’ll have a gooey mess (a delicious mess, but still).
- Using frozen raspberries. They’ll release too much water and can make your brownies soggy. Fresh is best!
Alternatives & Substitutions (Because Life Happens)
Don’t have raspberries? No problem!
- Other Berries: Fresh blueberries or blackberries work wonderfully. Just use the same amount!
- Chocolate Chips: If raspberries aren’t your jam, just skip ’em and add more chocolate chips. I won’t judge.
- Cocoa Powder: If you can only find Dutch-processed, go for it! It’ll give you a slightly darker, richer flavor.
- Flour: For a gluten-free version, you can try a 1:1 gluten-free baking flour blend. Results may vary, but it’s worth a shot!
FAQ (Your Burning Brownie Questions, Answered Casually)
- Can I use margarine instead of butter? Well, technically yes, but why hurt your soul like that? Butter makes everything better, and brownies deserve the best.
- My brownies look a little cracked on top. Is that bad? Nope! A slightly cracked top is actually a good sign of a well-baked brownie. Embrace the imperfections!
- Can I freeze these? Absolutely! Wrap them tightly in plastic wrap and then foil. They should last for a couple of months. Reheat them slightly in the oven or microwave for maximum gooeyness.
- What if I don’t have a 9×13 pan? You can use an 8×8 inch pan, but they’ll be thicker and will need to bake for a bit longer. Just keep checking with that toothpick!
- Can I make these ahead of time? Yep! They actually taste even better the next day. Just store them in an airtight container at room temperature.
- Are these brownies *really* easy? Seriously, if I can make them, you can make them. It’s pretty foolproof.
Final Thoughts (Go Forth and Bake!)
There you have it! Your ticket to brownie bliss. This recipe is a crowd-pleaser, a personal pick-me-up, and a fantastic way to use up those gorgeous fresh raspberries. So, get your aprons on (or don’t, I usually just wear my comfy sweats), gather your ingredients, and get baking. Now go impress someone—or yourself—with your new culinary skills. You’ve earned it! Happy baking!
“`
