So, You’ve Got the Brownie Bug, Huh?
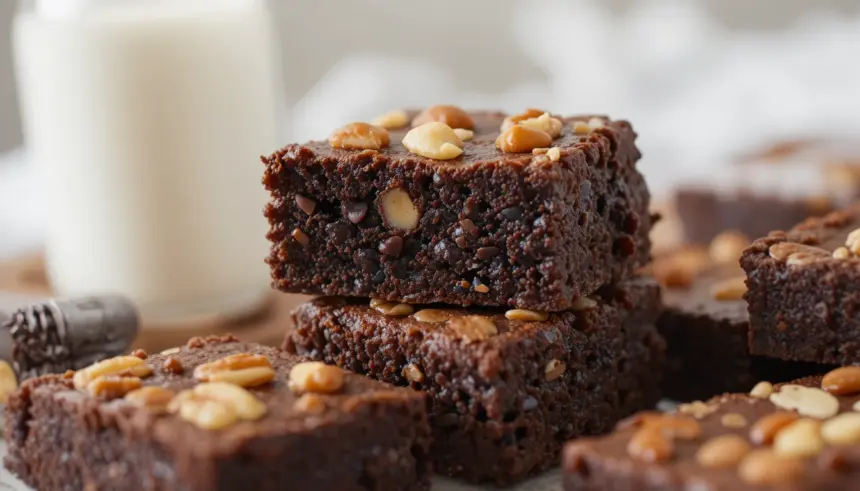
Alright, admit it. You’re scrolling, you’re dreaming, and your taste buds are doing a full-on flamenco dance for something fudgy, chocolatey, and with a satisfying crunch. You’re not looking for a five-star restaurant experience in your kitchen; you’re looking for pure, unadulterated deliciousness that doesn’t require a PhD in pastry. Well, my friend, you’ve landed in the right spot. These chocolate brownies with nuts and milk are about to become your new bestie.
Why This Recipe is Pure Genius (Even for Me!)
Let’s be real. Baking can be intimidating. All those precise measurements, the fear of over-mixing, the existential dread of a dry brownie. But this recipe? It’s basically foolproof. I’m talking melt-and-mix simplicity. No fancy techniques, no obscure ingredients. Just pure, unadulterated chocolatey joy delivered straight to your oven. Plus, the nuts add that *oomph* factor that makes you feel like a gourmet baker, even if you’re still wearing your PJs. It’s the perfect balance of effort and reward, IMO.
Ingredients You’ll Need (Don’t Freak Out, It’s Easy!)
Here’s the lineup for your brownie glory:
- 1 cup (2 sticks) unsalted butter, melted (Don’t skimp here, butter is your friend!)
- 2 cups granulated sugar (Yep, we’re going for decadent.)
- 4 large eggs (At room temp, if you can remember, but no sweat if not.)
- 1 teaspoon vanilla extract (The little flavor fairy.)
- 1 cup all-purpose flour (Just the regular stuff, no need to get fancy.)
- 3/4 cup unsweetened cocoa powder (The darker, the better, in my book.)
- 1/2 teaspoon baking powder (Just a smidge for lift.)
- 1/4 teaspoon salt (To make the chocolate sing.)
- 1 cup chopped nuts (Walnuts or pecans are classic, but go rogue if you’re feeling brave!)
- 1/2 cup milk (Whole milk is best for richness, but use what you have!)
Let’s Get Baking! (The Fun Part)
- **Preheat & Prep:** Crank that oven to 350°F (175°C). Grease and flour a 9×13 inch baking pan. Or, line it with parchment paper for super-easy cleanup – a life hack I highly recommend.
- **Melt & Mix Magic:** In a big bowl, pour in your melted butter. Add the sugar and whisk it all together until it looks slightly lighter in color. It’s like magic happening right before your eyes.
- **Egg-cellent Addition:** Crack in the eggs, one at a time, whisking well after each addition. Stir in the vanilla. Don’t over-beat; we’re not making meringue here.
- **Dry Meets Wet:** In a separate, *clean* bowl (yes, another one, sorry!), whisk together the flour, cocoa powder, baking powder, and salt.
- **Combine and Conquer:** Gradually add the dry ingredients to the wet ingredients, mixing until *just* combined. Seriously, stop mixing as soon as you don’t see any more flour streaks. Overmixing is the enemy of fudgy brownies.
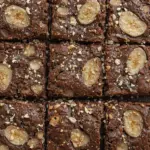
- **Nutty Business:** Fold in your chopped nuts. You want them distributed, not pulverized.
- **Milk It for All It’s Worth:** Gently stir in the milk until the batter is smooth and luscious. It should be thick but pourable.
- **Bake It ‘Til You Make It:** Pour the batter into your prepared pan and spread it out evenly. Bake for 25-30 minutes, or until a toothpick inserted into the center comes out with moist crumbs attached (not wet batter!). We’re aiming for gooey, not chalky.
- **Cool Your Jets:** Let them cool in the pan for at least 15-20 minutes before cutting. This is crucial for that perfect fudgy texture. Patience, grasshopper!
Common Mistakes to Avoid (Don’t Say I Didn’t Warn You!)
- Overbaking: This is the cardinal sin of brownie-making. Seriously, pull them out when they look *slightly* underdone. They’ll continue to cook as they cool.
- Not Measuring Properly: Especially for the flour and cocoa. Too much flour = dry hockey pucks. Too little cocoa = sad, bland brownies.
- Skipping the Cooling Step: Resist the urge to dive in immediately. Your patience will be rewarded with superior fudginess.
- Using Cold Butter: Melted butter is key for that smooth, fudgy texture. Don’t try to soften it; melt it!
Alternatives & Substitutions (Because Life Isn’t Always Perfect)
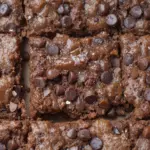
- Nuts: Not a nut person? No problem! Chocolate chips (milk, dark, or white) are a fantastic alternative. Or go wild and use a mix of both!
- Milk: If you’re out of regular milk, any milk will do. Almond milk, soy milk, oat milk – they’ll all work in a pinch. Just remember that whole milk offers a richer taste.
- Cocoa Powder: If you only have sweetened cocoa powder, you might need to reduce the sugar a smidge, but I’d stick to unsweetened for best results.
FAQ (The Burning Questions You Might Have)
- Can I make these gluten-free? You bet! Just swap out the all-purpose flour for a good quality gluten-free all-purpose baking blend. Make sure it has xanthan gum in it.
- My brownies came out cakey, what went wrong? Likely overbaking or too much flour. Try to err on the side of underbaking next time and double-check your flour measurement.
- Can I use margarine instead of butter? Ugh, technically, but why would you hurt your brownies (and your taste buds) like that? Butter is non-negotiable for superior flavor and texture.
- How long do these last? In an airtight container at room temperature, they’re good for about 3-4 days. But let’s be honest, they won’t last that long.
- Can I freeze them? Absolutely! Wrap them well in plastic wrap and then foil. They’ll be delicious for up to 3 months. Thaw at room temperature.
- Is it okay if they are a little shiny on top? YES! That’s a sign of a good brownie, my friend. It means you’ve got that perfect fudgy center.
Final Thoughts (Go Forth and Bake!)
And there you have it! Your ticket to brownie bliss. These aren’t just any brownies; they’re a warm hug in edible form. They’re perfect for movie nights, post-breakup survival, or just because it’s Tuesday and you deserve something amazing. So, ditch the guilt, grab your apron (or don’t, I won’t judge), and get baking. Now go impress someone—or yourself—with your new culinary skills. You’ve earned it!
