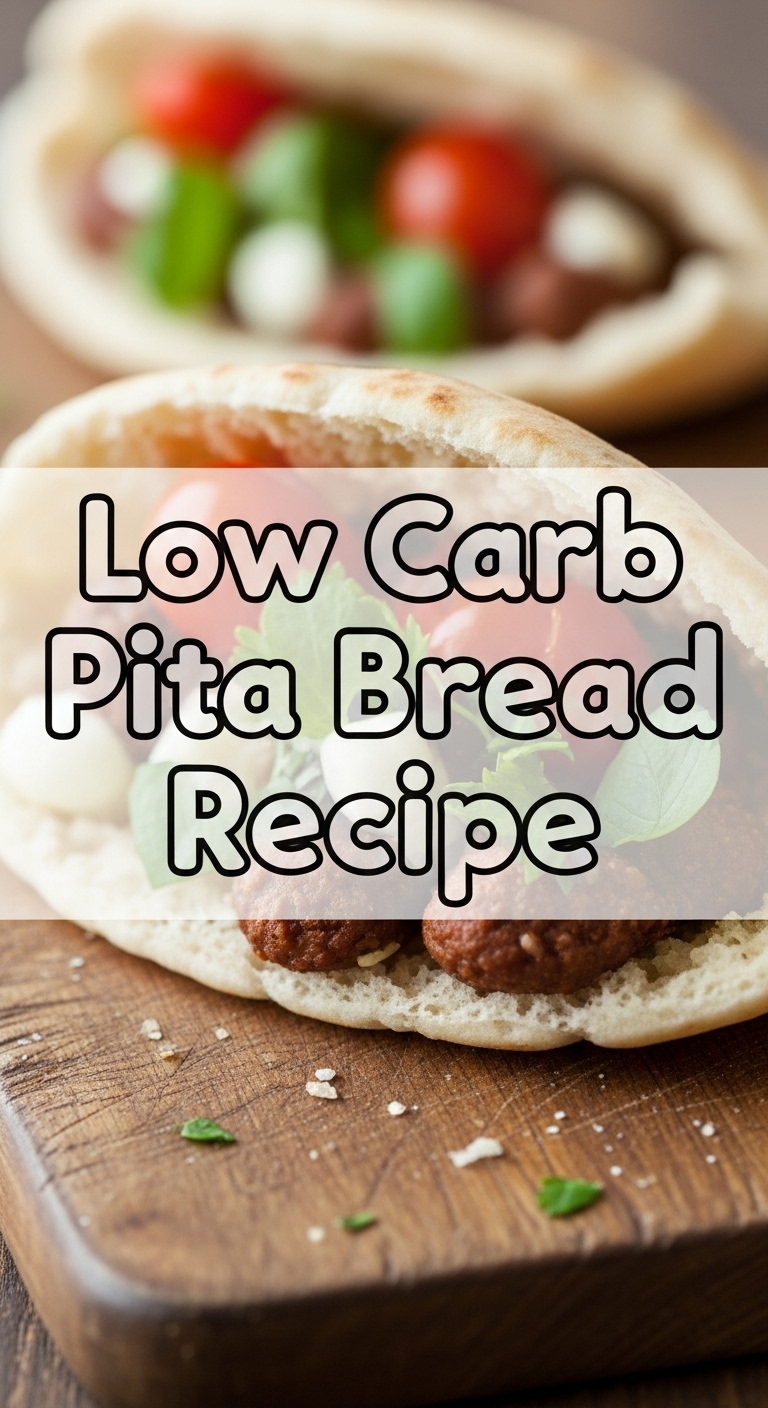
Hangry and craving something carby but, like, without all the carbs? Story of my life, friend. You want that satisfying chew, that perfect vessel for dips or fillings, but your macros are giving you the side-eye. Don’t worry, I get it. We’re about to make low-carb pita bread that’ll blow your mind (and not your diet). Get ready to feel like a kitchen wizard without actually doing any complicated spells.
Why This Recipe is Awesome
Seriously, this recipe is so forgiving, it practically makes itself. You could probably make it in your sleep, though I don’t recommend trying – hot pan, y’know? It’s quick, tastes amazing, and won’t send you into a carb coma. Plus, it only uses a handful of ingredients you probably already have stashed away. Consider it your new culinary superpower. It’s basically magic, and **it’s idiot-proof, even I didn’t mess it up.**
Ingredients You’ll Need
Gather your troops, chef! Here’s what you’ll be needing for this low-carb pita party:
- 1 ½ cups (about 170g) Shredded Low-Moisture, Part-Skim Mozzarella Cheese: Our low-carb dough hero. Don’t use the fresh, watery stuff unless you want a soupy mess. Go for the pre-shredded bag.
- 2 oz (56g) Cream Cheese: Full fat, please. We’re not trying to be *too* healthy here, just low-carb. It adds softness and a bit of tang.
- ¾ cup (about 75g) Superfine Almond Flour: Your new best friend. Make sure it’s superfine, not almond meal (unless you like rustic, clumpy pita, which… no).
- 1 tsp Baking Powder: For that little puff. Don’t skip it, or you’ll have pita pancakes, which, while delicious, isn’t what we’re aiming for.
- ¼ tsp Salt: Just a pinch, because bland is boring.
- Optional: ½ tsp Garlic Powder, Onion Powder, Italian Seasoning – level up your pita game if you’re feeling fancy.
Step-by-Step Instructions
Alright, apron on (or not, we don’t judge). Let’s get cooking!
- Melt the Cheeses: Pop your shredded mozzarella and cream cheese into a microwave-safe bowl. Zap it in 30-second intervals, stirring after each, until it’s a gloriously melty, gooey mess. It should be smooth and stir-able. **Don’t overheat!** Just melted.
- Combine Dry Ingredients: In a separate medium bowl, whisk together your almond flour, baking powder, salt, and any optional seasonings you’re using. Give it a good mix so everything is evenly distributed.
- Mix ‘Em All Up: Add the dry ingredients to your melted cheese concoction. Brace yourself, this will look weird and clumpy at first.
- Knead It Like You Mean It: Get in there with your hands (or a sturdy spoon, if you’re squeamish). Knead the dough vigorously until it’s a smooth, uniform, and slightly elastic ball. It’ll take a few minutes and some elbow grease. **Think of it as therapy for your arms.**
- Divide and Roll: Divide the dough into 4 to 6 equal balls. Place each ball between two pieces of parchment paper (this is key for no-stick rolling!) and roll it out into a thin circle, about 1/8 to 1/4 inch thick. Aim for pita-like shapes, not abstract art.
- Cook ‘Em Up: Heat a non-stick skillet or cast-iron pan over medium-high heat. No oil needed! Once hot, carefully peel one pita off the parchment and slap it onto the dry pan. Cook for 2-3 minutes per side, until golden brown and, here’s the fun part, **puffed up like a happy little balloon!**
- Repeat the Magic: Cook the remaining pitas, one by one. Keep an eye on them; they cook fast, so don’t wander off to check Instagram.
- Serve and Bask: Serve your delicious low-carb pita bread warm and bask in the glory of your low-carb wizardry. You did it!
Common Mistakes to Avoid
Even though this recipe is pretty forgiving, a few rookie errors can mess up your pita perfection. Learn from my past blunders, folks!
- **Not Melting the Cheese Enough:** If your cheese isn’t fully melted and smooth, you’ll have lumpy, unworkable dough. Nobody wants a clumpy pita.
- **Overheating the Cheese:** This can cause the cheese to separate and get greasy. Not the end of the world, but makes for a tougher, less pliable dough. Aim for just melted, not bubbling.
- **Skipping the Kneading:** Your pita won’t be smooth or hold together well if you don’t give it a proper knead. **Seriously, knead it!** This brings the dough together.
- **Rolling Too Thick:** If your pitas are too chunky, they’ll be dense ‘bread’ rather than a nice, foldable pita that can actually puff. Aim thin, but not so thin it tears.
- **Not Preheating the Pan:** A cold pan equals sad, unpuffed pita. Give that pan a minute or two to get sassy and hot before the pita hits it.
Alternatives & Substitutions
Sometimes you gotta work with what you got, right? Here are a few thoughts on tweaking this recipe:
- **Mozzarella Magic:** Can you use different cheeses? Maybe, but mozzarella gives the best ‘stretchy’ dough properties for rolling and puffing. I wouldn’t mess with a good thing, **IMO**, but hey, if you’re feeling adventurous, report back!
- **Almond Flour vs. Coconut Flour:** Coconut flour? Nope, not a 1:1 substitute here. Coconut flour is super absorbent and will give you a very different (read: crumbly and dry) result. Stick with almond flour for this one.
- **Seasoning Shenanigans:** Get creative! Onion powder, a pinch of chili flakes, dried oregano, everything bagel seasoning… make it yours. **No rules here, just vibes.**
FAQ (Frequently Asked Questions)
Got questions? I’ve probably asked them too. Here are the common ones:
- Can I make these ahead of time? Absolutely! They’re great for meal prep. Just store them in an airtight container in the fridge for up to 3-4 days. Reheat gently in a pan or microwave.
- Why didn’t my pita puff up? A few reasons, my friend! Your pan might not have been hot enough, the dough might have been rolled too thick, or perhaps you skimped on the baking powder. Practice makes perfect, and hot pan + thin dough is key!
- Can I bake these instead of pan-frying? You totally can! Bake them on a parchment-lined baking sheet at 400°F (200°C) for 5-8 minutes, flipping halfway. They might not puff *as much* as on the stovetop, but they’ll still be delicious and firm.
- Is this recipe gluten-free? Yep! Since we’re using almond flour, these are naturally gluten-free. Score one for dietary restrictions!
- What can I eat with these? Oh, the possibilities! Dips like hummus (low-carb version, of course!), Greek yogurt dip, use them for low-carb gyros or souvlaki, mini low-carb pizzas, or just slathered with butter. **The world is your low-carb oyster.**
- Can I freeze them? You betcha! Once cooled, wrap them individually in plastic wrap and then foil, then freeze for up to a month. Thaw at room temp or gently reheat from frozen.
Final Thoughts
And there you have it! Your very own batch of low-carb pita bread, ready to elevate your keto/low-carb game. You just conquered dough, my friend, and proved that eating low-carb doesn’t mean sacrificing flavor or fun. Now go impress someone—or yourself—with your new culinary skills. You’ve earned it! **Happy low-carb feasting!**
