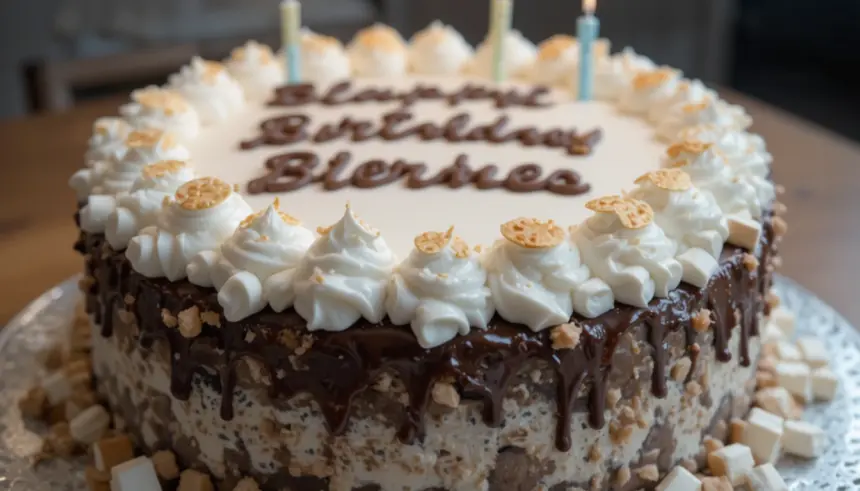
Ever found yourself staring into the fridge, wishing a magical cake would just appear? Especially one that screams “happy birthday” but also whispers “I regret nothing”? Oh, honey, same. But guess what? We’re about to make something even better than magic: a S’mores Birthday Cake. Because who needs a campfire when you’ve got a kitchen and a serious sweet tooth?
Why This Recipe Is Awesome
Okay, so why this S’mores cake and not, like, a sensible fruit salad? (Pfft, who are we kidding?). Because it’s a showstopper without being a stress-inducer. It looks fancy, tastes ridiculously good, and here’s the kicker: it’s surprisingly simple. You don’t need a pastry chef degree, just a willingness to embrace sticky fingers and pure joy. Seriously, it’s pretty much idiot-proof, even for those of us who occasionally burn water.
Ingredients You’ll Need
- Graham Cracker Crumbs: About 1 ½ cups. Crushed from a sleeve or two. Don’t buy the fancy pre-crushed stuff unless you’re feeling extra bougie.
- Unsalted Butter: 6 tablespoons, melted. The good stuff. We’re not making friends with margarine today, people.
- All-Purpose Flour: 1 ¾ cups. Standard issue.
- Granulated Sugar: 1 ½ cups. For sweetness, duh.
- Baking Powder: 1 tablespoon. To make it fluffy, not flat.
- Salt: ½ teaspoon. Just a pinch, to balance the sweetness.
- Milk: 1 cup, whole milk preferred. Adds richness. Don’t skimp.
- Vegetable Oil: ½ cup. Keeps it moist. Trust me on this.
- Vanilla Extract: 2 teaspoons. The soul of almost every dessert.
- Large Eggs: 3. Room temp, if you’re feeling *really* pro.
- Milk Chocolate Bars: 2 standard-sized (around 3.5 oz each), chopped into chunks. Hershey’s is classic, but hey, live a little!
- Marshmallow Fluff/Creme: One 7 oz jar. The sticky, gooey goodness. Or actual marshmallows, about 2-3 cups mini.
Step-by-Step Instructions
- Crust Time: Preheat your oven to 350°F (175°C). Lightly grease and flour two 8-inch round cake pans. Mix graham cracker crumbs with melted butter. Press firmly into the bottom of one of the prepared pans. Bake for 8-10 minutes until fragrant. Set aside to cool.
- Dry Mix: In a large bowl, whisk together flour, sugar, baking powder, and salt. Give it a good whisk, no lumpy surprises!
- Wet Mix: In another bowl, combine milk, vegetable oil, vanilla, and eggs. Whisk until well blended.
- Combine & Conquer: Gradually add the wet ingredients to the dry ingredients, mixing on low speed (or by hand) until just combined. Don’t overmix! Lumps are okay. Divide the batter evenly between both prepared cake pans.
- Bake It Off: Bake for 25-30 minutes, or until a toothpick inserted into the center comes out clean. Let cakes cool in pans for 10 minutes, then invert onto a wire rack to cool completely.
- Assemble the Dream: Once cool, place the cake layer without the graham cracker crust on your serving plate. Spread half the marshmallow fluff over it. Sprinkle with half the chocolate chunks.
- Stack & Repeat: Carefully place the graham cracker crust cake layer on top. Spread the remaining marshmallow fluff and sprinkle with the rest of the chocolate chunks.
- Toast It Up! (Optional but highly recommended): If you’re feeling extra, use a kitchen torch to lightly toast the marshmallow fluff until it’s golden brown and bubbly. If no torch, you can pop it under the broiler for a *very* short time (like 30 seconds, watch it like a hawk!).
Common Mistakes to Avoid
- Overmixing the batter: You want a tender cake, not a hockey puck. Mix until just combined, a few lumps are fine. Seriously, don’t go crazy with the mixer.
- Not greasing and flouring your pans properly: Hello, stuck cake! A tragedy we want to avoid.
- Broiling without supervision: Marshmallows go from perfectly toasted to charcoal in a nanosecond. Stay glued to the oven door!
- Skipping the cooling step: Trying to assemble a warm cake is like trying to wrangle a greased pig. It’s messy, and your fluff will melt into oblivion. Patience, young grasshopper.
Alternatives & Substitutions
- Graham Cracker Crust: No graham crackers? Use digestive biscuits or even vanilla wafers. The vibe will be slightly different, but still delicious. IMO, graham is peak s’mores, though.
- Chocolate: Milk chocolate is classic, but dark chocolate will give it a richer, less sweet kick. White chocolate? You’re brave, but go for it! Chocolate chips work too, FYI.
- Marshmallow Fluff: If you can’t find fluff, mini marshmallows melt beautifully. Just spread them on the cake layers and give them a quick torch/broil.
- Dietary Restrictions? Gluten-free flour works pretty well in this recipe, and dairy-free milk can often be swapped too. Just manage expectations slightly!
FAQ (Frequently Asked Questions)
- Can I make this cake ahead of time? Absolutely! The cake layers can be baked a day in advance and stored covered at room temperature. Assemble closer to serving for optimal ooey-gooey marshmallow.
- What if I don’t have a kitchen torch? Like I said, the broiler is your friend! Just remember the “watch it like a hawk” rule. Alternatively, you can skip the toasting altogether; it’ll still be delicious, just not *quite* as authentic s’mores.
- My marshmallow fluff is too sticky to spread! Help! A little trick: lightly grease your spatula or offset knife with a tiny bit of neutral oil (like vegetable oil). Makes spreading a dream.
- Can I add more chocolate? Is that even a question?! Always. More chocolate is rarely a bad idea, unless you’re trying to hide the cake itself.
- How long does this cake last? Best enjoyed within 1-2 days. The graham cracker crust can get a little soft after that, but it’s still edible! Store covered at room temp.
- Is this recipe good for beginners? Yes! It’s super forgiving. If you can measure and mix, you can make this cake. TBH, it’s a great confidence builder.
Final Thoughts
See? You’re practically a pastry wizard now! This S’mores Birthday Cake is going to be the star of your next celebration (or Tuesday night, no judgment here). Go on, bask in the glory of your baking prowess. You’ve earned it, and a huge slice of this cake! Now go impress someone – or yourself – with your new culinary skills. Happy baking, my friend!
