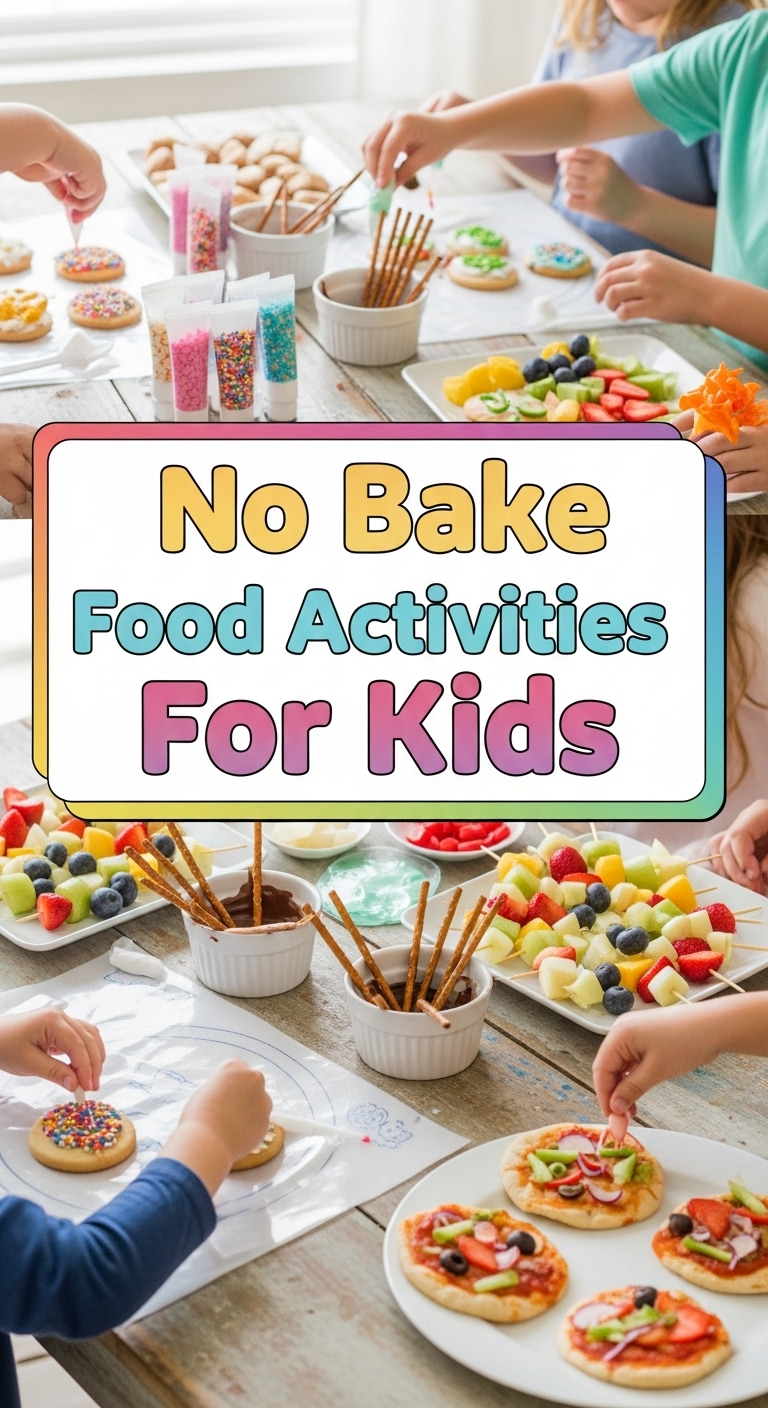
So, the kids are bouncing off the walls, the fridge is looking emptier than your patience, and the thought of turning on the oven makes you sweat more than a hot yoga class? Honey, I feel you. Sometimes, you just need a win – a tasty, easy, kid-friendly win that doesn’t involve wrestling with complicated machinery or waiting an eternity for something to bake. Enter: the magical world of no-bake food activities!
Why This Recipe is Awesome
Seriously, this isn’t just a recipe; it’s a life hack. We’re talking about whipping up some adorable, delicious
that are so simple, even I couldn’t mess them up (and trust me, I’ve tried). No oven means no burnt disasters (hallelujah!), no waiting forever, and frankly, way less cleanup than when little hands get hold of flour and decide to “decorate” the entire kitchen. It’s instant gratification for both you and your hungry little monsters. Plus, they get to be the chefs, which means you get five minutes of peace. You’re welcome.
Ingredients You’ll Need
Gather your troops (ingredients, that is). Most of these are probably already lurking in your pantry, just waiting for their moment to shine.
- 1 cup creamy peanut butter (or sunbutter/almond butter for nut-free zones): The delicious glue that holds dreams—and these bites—together.
- 1/2 cup powdered sugar: For that extra touch of sweetness, because let’s face it, we all need it sometimes.
- 1/4 cup honey or maple syrup: Nature’s sticky goodness. Also acts as a binder. Win-win.
- 2 cups crispy rice cereal (like Rice Krispies): The crunch factor! Or Cheerios, crushed graham crackers… get creative!
- 1 teaspoon vanilla extract (optional, but highly recommended): Because everything tastes better with vanilla, IMO.
- Optional decorations: Sprinkles (a must!), mini chocolate chips, cocoa powder, shredded coconut, edible glitter… the sky’s the limit for fun!
Step-by-Step Instructions
Get ready for some serious no-bake action! These steps are so easy, you’ll wonder why you ever bothered with an oven in the first place.
- Prep Your Workspace: Line a baking sheet or large plate with parchment paper. This is key, trust me. It makes cleanup a breeze and prevents stickiness-induced meltdowns.
- Mix the Wet Stuff: In a large mixing bowl, combine the peanut butter, powdered sugar, honey (or maple syrup), and vanilla extract (if you’re using it). Stir until it’s super smooth and well combined. This is where the muscles come in!
- Introduce the Crunch: Add the crispy rice cereal to your peanut butter mixture. Now, gently fold it in. You want to coat all those little cereal bits without crushing them too much.
- Get Your Hands Dirty (the Fun Part!): This is where the kids shine! Have them roll the mixture into small, bite-sized balls, about 1-inch in diameter. If it’s too sticky, wet your hands slightly.
- Decorate Like a Pro: Now for the grand finale! Roll your cereal bites in sprinkles, press in some mini chocolate chips, or whatever fun toppings you chose. Let the kids go wild with their edible artistry!
- Chill Out: Place your masterpieces on the prepared baking sheet. Pop them into the fridge for at least 30 minutes to firm up. This step is non-negotiable for perfectly portable bites.
Common Mistakes to Avoid
Even though this is “idiot-proof,” there are still a few pitfalls that can turn your no-bake dream into a sticky nightmare. Learn from my trials and errors, people!
- Impatience is NOT a Virtue Here: Skipping the chilling step? Rookie mistake! You’ll end up with gooey, shapeless blobs instead of firm, delicious bites. **FYI**, good things come to those who wait (at least 30 minutes).
- Underestimating the Power of Parchment Paper: Seriously, don’t skimp on this. Unless you enjoy chiseling food off your counters or plates, use parchment paper. Your future self will thank you.
- Letting the Kids Eat All the Sprinkles Pre-Decoration: A tale as old as time. Hide some for the actual recipe. It’s for the greater good.
- Ignoring the “Sticky vs. Dry” Balance: If your mixture is too sticky to roll, add a tiny bit more powdered sugar. Too dry and crumbly? A touch more honey or peanut butter will fix it. It’s a delicate dance!
Alternatives & Substitutions
This recipe is like a culinary choose-your-own-adventure. Don’t have something? No problem! Feel free to mix and match.
- Nut-Free Zone: Swap the peanut butter for sunbutter (sunflower seed butter) or tahini. They work just as well and keep everyone safe!
- Sweetener Swaps: Not a fan of honey? Agave nectar, corn syrup, or brown rice syrup are all excellent substitutes.
- Crunch Factor: Instead of crispy rice cereal, try crushed graham crackers, pretzel sticks (for a sweet and salty kick!), oats, or even finely crushed cookies.
- Extra Goodies: Amp up the flavor by adding shredded coconut, mini marshmallows, finely chopped dried fruit, or even a dash of cinnamon or nutmeg.
- Coat It Up: Instead of sprinkles, try rolling the balls in cocoa powder, extra powdered sugar, or even melted chocolate (then chill again!).
FAQ (Frequently Asked Questions)
Got questions? I’ve got answers! (Mostly.)
- Can I make these vegan? Absolutely! Just ensure you’re using maple syrup instead of honey (bees need their honey!) and check that your chocolate chips/sprinkles are vegan-friendly.
- How long do these magic bites last? Stored in an airtight container in the fridge, they’re typically good for up to a week. If they even last that long, that is.
- My mixture is too sticky/dry, help! Ah, the eternal struggle! If it’s too sticky, add a little more powdered sugar or crushed cereal. Too dry? A tiny bit more peanut butter or honey will bring it together. Adjust until it’s rollable!
- Do I *really* have to chill them? Yes, my friend, you really, really do. Otherwise, they’ll be sad, melty, and won’t hold their shape. Trust the process!
- Can adults eat these too? Um, rhetorical question much? Of course! These are the perfect guilt-free (ish) snack for anyone. I often make a double batch just for “quality control” purposes.
- What if my kids just want to eat the dough? Let’s be real, who hasn’t done that? While the ingredients are safe to eat raw, try to convince them the sprinkles are worth the wait for the final product!
Final Thoughts
So there you have it, superstar! You’ve just conquered kitchen chaos without even breaking a sweat (or an oven). These little bites are perfect for snacks, lunchbox treats, or just bribing your kids into five minutes of blissful silence. Go forth and create, you magnificent no-baker, you! And hey, don’t forget to ‘accidentally’ drop a few in your own mouth while no one’s looking. You deserve it after all that ‘hard work’. 😉


