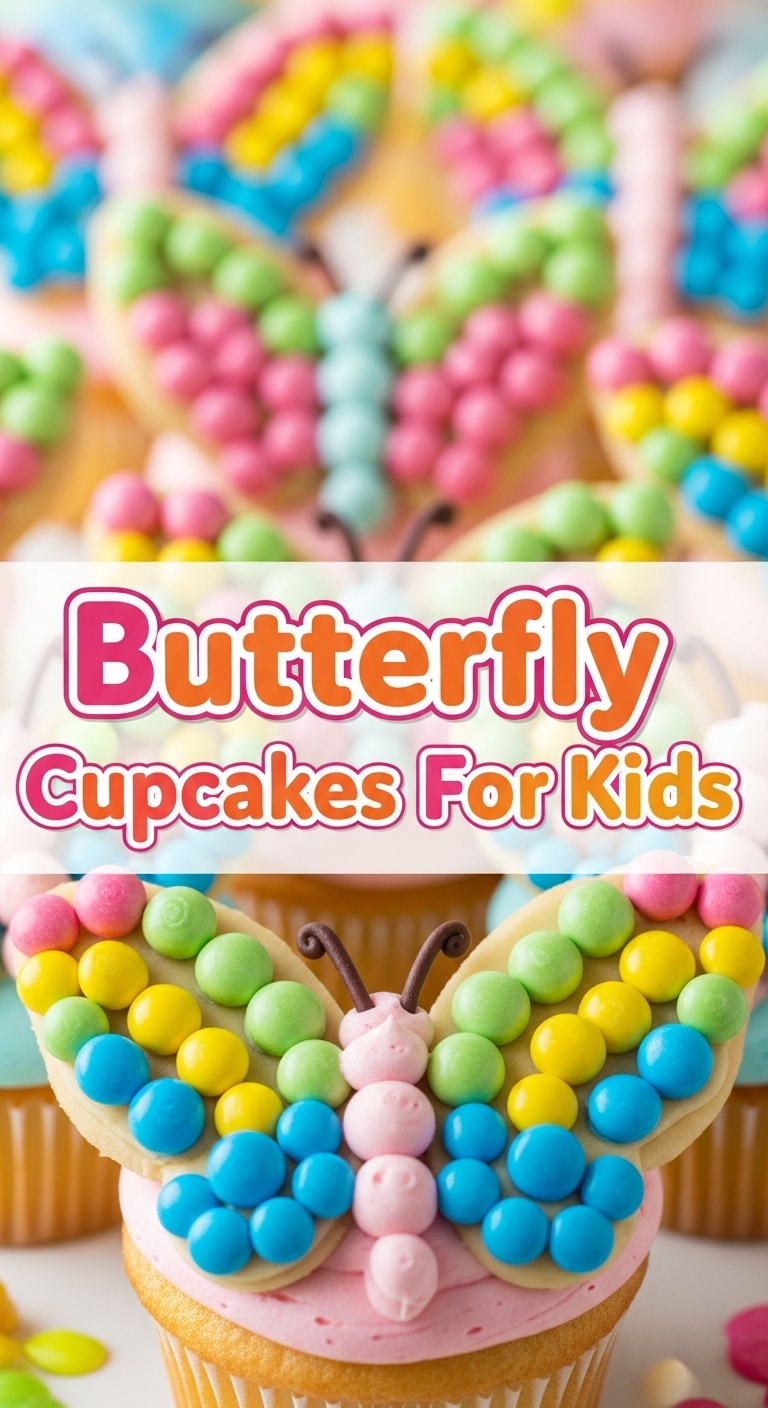
So, you’re craving something super cute, a little bit magical, and definitely something that screams “I’m a domestic goddess/god… but also kinda chill,” right? And let’s be real, you want to whip up something for the kiddos (or your inner child, no judgment here) without getting into a full-blown culinary marathon. You’ve come to the right place, my friend. Forget those boring old round cupcakes; we’re talking **Butterfly Cupcakes**! They’re like little edible works of art, but without the “art school tuition” price tag or effort. Let’s get flappy, shall we?
Why This Recipe is Awesome
Okay, let’s cut to the chase. Why this particular recipe? Because it’s practically **idiot-proof**. And believe me, if I can do it without setting off the smoke alarm (most of the time), you definitely can. This isn’t just a cupcake; it’s a mini edible illusion. You take a humble cupcake, perform a little surgery, and BAM! Instant butterfly magic. It’s incredibly satisfying, super fun for kids to help with (or just watch you do all the hard work, bless their hearts), and looks waaaay more impressive than the actual effort involved. Plus, who doesn’t love a cupcake with a secret jammy surprise inside? No one, that’s who.
Ingredients You’ll Need
Time to gather your edible art supplies! Don’t fret, most of this stuff is probably lurking in your pantry already. If not, a quick dash to the store will do the trick.
- 12 ready-baked cupcakes: Seriously, grab a box mix, follow the instructions, and bake ’em up. Or buy pre-made ones. No one’s judging your shortcuts here, darling.
- 1 tub of vanilla buttercream frosting: Again, store-bought is your BFF. Or whip up a quick batch if you’re feeling ambitious (250g unsalted butter, 500g icing sugar, a splash of milk/vanilla extract – beat until fluffy!).
- 2-3 tablespoons of your favorite jam or fruit curd: Strawberry, raspberry, lemon curd… whatever makes your heart sing. This is the “nectar” for our butterflies!
- Sprinkles, glorious sprinkles!: The more colorful, the better. Jimmies, nonpareils, edible glitter – go wild!
- Optional: Food coloring: If you want to get fancy with your frosting colors.
Step-by-Step Instructions
Alright, apron on (or not, live dangerously), let’s get these butterflies ready to fly! Keep it chill; this is supposed to be fun, not a stressful cooking show.
- Bake & Cool (Crucial Step!): First things first, if you haven’t already, bake your cupcakes according to package directions. This is super important: let them cool completely. I mean it. Like, go watch an episode of your favorite show, walk the dog, meditate – just make sure they’re cold. Warm cupcakes will melt your frosting faster than a popsicle in July. Rookie mistake, trust me.
- The Wing Operation: Once your cupcakes are cool, grab a small, sharp knife (a paring knife works great). Carefully cut a circle out of the top of each cupcake. Think of it like carving a little dome. Don’t go too deep! You want to leave a good base.
- Slice & Dice: Now, take that little dome you just cut out and slice it in half. Ta-da! These are your butterfly wings. Set them aside carefully.
- Jam Session!: Spoon a little bit of your chosen jam or fruit curd into the hollowed-out center of each cupcake. This is the sweet “body” of our butterfly. Don’t overfill, or it’ll get messy.
- Frosting Time!: Now for the fun part. Grab your buttercream and a spoon or a small offset spatula (or even a butter knife). Spread a generous dollop of frosting over the jam-filled hole and smooth it out. This will be the butterfly’s body, where the wings will rest. If you’re using food coloring, now’s the time to tint your frosting!
- Wing Placement: Gently press the two “wings” (the halved domes you cut earlier) into the frosting, standing them upright at an angle. Make them look like they’re about to take flight!
- Sprinkle Magic: The grand finale! Shower your beautiful butterfly cupcakes with a generous amount of sprinkles. This is where the kids can really go wild, IMO. No such thing as too many sprinkles!
Common Mistakes to Avoid
We all make mistakes, darling. It’s part of the learning curve (and sometimes, the hilarious anecdotes). But here are a few to dodge for maximum butterfly success:
- Cutting Warm Cupcakes: As mentioned, this is a no-go. You’ll end up with crumbly messes instead of neat wings. Patience, young padawan!
- Overfilling the Cupcake Liners: When baking, if your batter goes too high, you get massive muffin tops. While delicious for muffins, for cupcakes that need surgery, it makes cutting neatly a nightmare. Fill them about two-thirds full.
- Forgetting the Jam/Curd: It’s the secret little “oomph” that makes these extra special. Don’t skip it! It’s like the soul of the butterfly.
- Being Too Precise: Seriously, relax. These are for fun! If your wings aren’t perfectly symmetrical, who cares? It’s homemade charm!
Alternatives & Substitutions
Feel like experimenting? Go for it! This recipe is super flexible, like a yoga instructor after a double espresso.
- Frosting Flavors: Vanilla is classic, but chocolate buttercream, cream cheese frosting, or even a zesty lemon frosting would be amazing. Mix it up!
- “Nectar” Fillings: Instead of jam, try a dollop of Nutella, some lemon curd, or even a mini marshmallow for an extra gooey surprise.
- Cupcake Base: Not a vanilla fan? Use chocolate, red velvet, or even funfetti cupcakes as your base. The world is your oyster… or, well, your cupcake.
- Decorations: Beyond sprinkles, you could use small candies for antennae, edible flowers, or even finely chopped nuts. Get creative!
- Dietary Swaps: Easily use gluten-free cupcake mix or dairy-free frosting. The butterfly magic still works!
FAQ (Frequently Asked Questions)
Got burning questions? I’ve got (casual) answers!
Can I make the cupcakes ahead of time?
Oh, absolutely! Bake your cupcakes a day or two in advance, store them in an airtight container at room temp, and then do the “butterfly surgery” closer to serving time. Fresh is best for the decorating part!
What if I don’t have jam? Can I use something else?
For sure! Any thick, spreadable fruit preserve, lemon curd, chocolate spread, or even a dollop of caramel would work beautifully. Get creative with your “nectar”!
Are these hard for kids to help with?
The baking part, yes! The cutting part, maybe with very close supervision or let you do it. But the frosting and sprinkling? That’s their moment to shine! Hand over the sprinkles and watch the magic (and mess) happen.
How should I store leftover butterfly cupcakes?
Pop them into an airtight container. They’ll be good for 2-3 days at room temperature. If it’s super hot or your frosting is dairy-heavy, the fridge is a safer bet, but let them come to room temp before serving for the best flavor.
Do I need any special tools?
Nope! A small, sharp knife (like a paring knife) and a spoon are really all you need for the “surgery” and filling. For frosting, a butter knife or a small spatula works perfectly. See? Easy-peasy.
Can I use margarine instead of butter for the frosting?
Well, technically yes, you can. But why hurt your soul (and your taste buds) like that? For truly delicious, fluffy buttercream, real butter is the way to go. It just tastes better, FYI.
My wings broke! Help!
Don’t panic! It happens. Just carefully press them together. Once they’re nestled into the frosting, no one will even notice. It’s rustic charm!
Final Thoughts
And there you have it, my friend! You’ve just transformed simple cupcakes into a whimsical fleet of edible butterflies. Give yourself a pat on the back, because you totally nailed it. Now go impress someone—or yourself—with your new culinary skills. Take a picture, brag a little, and then, most importantly, devour those delicious little masterpieces. You’ve earned it!


