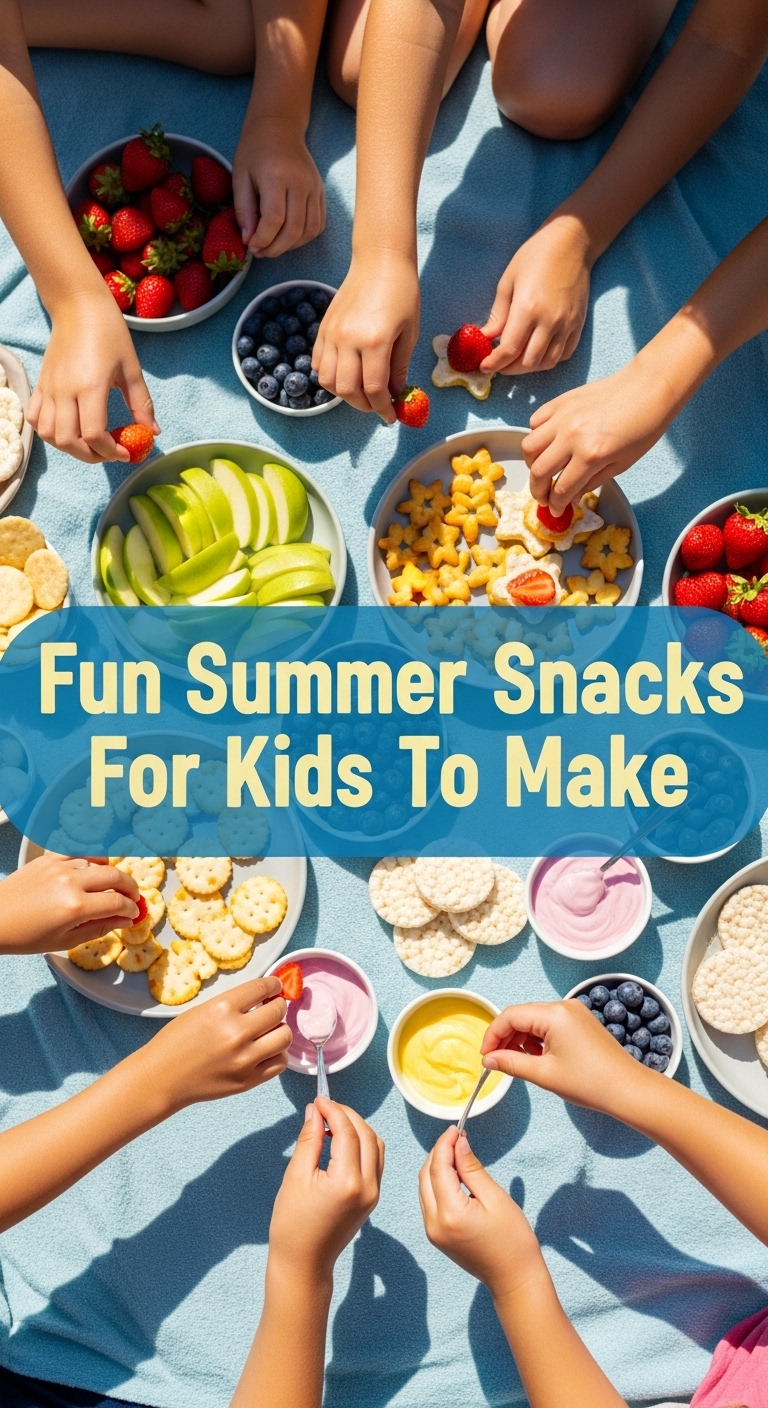
Summer’s here, kids are bouncing off the walls, and you’re probably dreaming of five minutes of peace that doesn’t involve refereeing a LEGO battle, right? Same. But what if I told you there’s a super fun, surprisingly easy, and deliciously cool snack that the little munchkins can actually help make? No, I haven’t lost my mind. We’re talking about **Funky Frozen Banana Pops!** It’s basically a magic trick to get them to eat fruit without a fight. Prepare to become the coolest parent/aunt/uncle/babysitter on the block. Or at least the one with the least sticky kitchen counter.
Why This Recipe is Awesome
Okay, so “awesome” might be an understatement. This recipe is like the superhero of summer snacks. First off, it’s **ridiculously easy**. Like, “even I didn’t mess it up” easy. No oven needed, which means your kitchen stays cool, and your electric bill doesn’t skyrocket. Secondly, it’s a brilliant way to sneak some fruit into those picky eaters – they’ll be too busy admiring their sprinkle-covered masterpiece to notice it’s a banana. Third, and perhaps most importantly, it’s a fantastic activity to get the kids involved. They can dip, they can roll, they can decorate. And the best part? The mess is mostly contained to a small area, which, IMO, is a win in any kid-cooking scenario. Plus, it’s cool, refreshing, and just plain fun to eat. What’s not to love?
Ingredients You’ll Need
Get ready for a super short shopping list. You probably have half this stuff already!
- **Bananas:** About 3-4 medium ones. The riper, the sweeter, but not so ripe they’re soup. Think firm-ish with a few spots.
- **Chocolate Chips:** About 1 cup. Semi-sweet, milk, dark – whatever floats your boat (or your kid’s boat). This is the “glue” for the fun stuff.
- **Popsicle Sticks:** (Optional, but highly recommended for the “pop” experience!) About 6-8.
- **Your Favorite Toppings:** This is where the party’s at! Think:
- Rainbow sprinkles (a must, obviously)
- Crushed nuts (peanuts, almonds, walnuts)
- Shredded coconut
- Mini M&Ms or other small candies
- Crushed cereal (think Cheerios or cornflakes for a little crunch!)
- **Parchment Paper or Wax Paper:** To prevent sticking and future meltdowns.
Step-by-Step Instructions
Alright, let’s get down to business! Follow these simple steps, and you’ll have a batch of frozen delights in no time. (Well, after the freezing part, that is.)
- **Prep Your Bananas:** First, peel those bananas like you’re unwrapping a secret treasure. Then, slice each banana into 3-4 thick rounds. If you’re using popsicle sticks, carefully insert one into the center of each banana piece, not too deep, not too shallow. Line a baking sheet with parchment paper – this is their future chilling spot.
- **Melt the Chocolate:** Grab a microwave-safe bowl (or a double boiler if you’re feeling fancy). Dump in your chocolate chips. Microwave in 30-second intervals, stirring after each, until the chocolate is smooth and melty. Don’t rush it; burned chocolate is a sad, sad thing.
- **Dip ‘Em Good:** Now for the fun part! Take each banana piece (holding the stick, if you’re using one) and dip it into the melted chocolate. Make sure it’s fully coated. Let any excess drip off back into the bowl.
- **Roll in the Fun:** Immediately after dipping, roll or sprinkle your chocolate-covered banana in your chosen toppings. Get creative! A little bit of everything never hurt anyone.
- **Freeze ‘Em Out:** Place your decorated banana pops on the parchment-lined baking sheet. Make sure they’re not touching each other, or they’ll become one giant banana blob (tasty, but messy). Pop the whole sheet into the freezer for at least 2-3 hours, or until they’re solid.
- **Devour!** Once frozen solid, pull them out and enjoy! You’ve earned it.
Common Mistakes to Avoid
Even though this recipe is pretty foolproof, there are a couple of rookie errors you might want to steer clear of:
- **Not Freezing Long Enough:** Patience, young padawan! Pulling them out too early means a gooey, chocolatey, slippery mess that will quickly end up on the floor. Give them at least 2 hours, preferably more.
- **Over-Melting the Chocolate:** Burnt chocolate is chunky, bitter, and totally unusable. Go slow and stir often. If it looks like it’s seizing up, a tiny bit of coconut oil can sometimes rescue it.
- **Skimping on Toppings:** What’s the point if they’re not ridiculously loaded with sprinkles and crunch? Don’t be shy! This is where the kids really get to express their inner artist.
- **Letting Kids Eat All the Sprinkles First:** A classic. Keep a close eye on the topping bowls. FYI, some of those sprinkles *are* supposed to make it onto the bananas.
Alternatives & Substitutions
Feeling adventurous? Or just out of sprinkles? No problem! This recipe is super flexible:
- **Different Dips:** Not a chocolate fan (gasp!)? You could try melting some peanut butter or almond butter for dipping. Just make sure it’s smooth enough. Yogurt (thick Greek yogurt works best) mixed with a little honey and then frozen is also a fun, healthier alternative.
- **Other Fruits:** While bananas are king here, you can totally try this with strawberry halves, grape clusters (on a toothpick), or even apple slices. Just remember smaller fruits might be harder for kids to dip and roll.
- **No Sticks? No Worries!** If you don’t have popsicle sticks, just make “banana bites.” Cut the bananas into smaller chunks and use a fork to dip. They’ll be just as delicious, just a little less “pop-like.”
- **Dietary Needs:** Use dairy-free chocolate chips and nut-free toppings for allergy-friendly versions.
FAQ (Frequently Asked Questions)
Got questions? I’ve got answers! (Mostly.)
- **Can I use super ripe bananas that are almost black?**
Well, technically yes, but they might be a bit too mushy to stick on a popsicle stick. For bites, go for it! The riper, the sweeter, which means less added sugar needed. - **How long do these last in the freezer?**
Honestly? Not long in my house! But if they miraculously survive, they’ll be good for up to a week in an airtight container. After that, they might start to get a bit freezer-burned or lose some texture. - **My chocolate isn’t melting smoothly, what gives?**
Could be too much heat, or maybe a tiny bit of water got into it. If it’s clumpy, try stirring in a teaspoon of coconut oil or vegetable oil to thin it out. Low and slow is the key! - **Can adults enjoy these too?**
Um, are you kidding me? Of course! These are amazing for any age. Maybe swap the rainbow sprinkles for some sea salt or chili flakes on your adult version. Just sayin’. - **What if I don’t have parchment paper?**
Aluminum foil will work in a pinch, but you might want to lightly grease it. The goal is just to prevent the bananas from sticking to the tray when they freeze. - **Can I use flavored chocolate, like white chocolate or dark chocolate?**
Absolutely! White chocolate is super fun for coloring, and dark chocolate adds a nice bittersweet contrast to the sweet banana. Mix and match!
Final Thoughts
And there you have it! Your new go-to summer snack that’s fun to make, fun to eat, and gives you a few precious minutes of quiet time while the kids are busy dipping and decorating. Don’t stress about perfection; it’s all about the joy of creating (and eating!). Now go impress someone – or yourself – with your new culinary skills. You’ve earned it!
