Okay, so your little munchkins are currently using your living room as a personal trampoline, and you just realized their last vegetable intake was… well, *never*? High five, you’re in good company! Or maybe you’re just trying to sneak some actual nutrition past their highly sophisticated palates without starting a full-blown food war. Either way, my friend, you’ve stumbled upon a culinary revelation.
Why This Recipe is Awesome
Look, I get it. Cooking can feel like a chore, especially when the main goal is just to avoid a sugar crash tantrum. But this recipe? It’s the MVP of easy, healthy, and genuinely tasty. Seriously, it’s so simple, even I (who once set off the smoke alarm making toast) didn’t mess it up. Plus, it transforms humble carrots into these sweet, slightly caramelized sticks of pure joy. Kids, and even reluctant adults, usually devour them. It’s practically magic, I tell ya! No fuss, minimal cleanup, maximum deliciousness. What’s not to love?
Ingredients You’ll Need
Gather ’round, my fellow kitchen wizard! Here’s your loot list:
- 1 lb Carrots: The orange kind, ideally. The ones that look like they’re ready to party.
- 2 Tablespoons Olive Oil: Or avocado oil, or whatever neutral oil is currently living in your pantry.
- 1/2 Teaspoon Salt: Just regular table salt is fine. We’re not getting fancy here, unless you want to.
- 1/4 Teaspoon Black Pepper: Optional, but it adds a tiny zing. Don’t worry, it won’t make it “spicy.”
- Optional: 1 Tablespoon Maple Syrup or Honey: If your carrots aren’t sweet enough, or you want to lean into that “candy-like” vibe. Trust me, this is a game-changer for picky eaters.
Step-by-Step Instructions
- Preheat Party Time: First things first, get that oven ready! Crank it up to **400°F (200°C)**. While it’s heating, line a baking sheet with parchment paper for easy cleanup. You’ll thank me later, *FYI*.
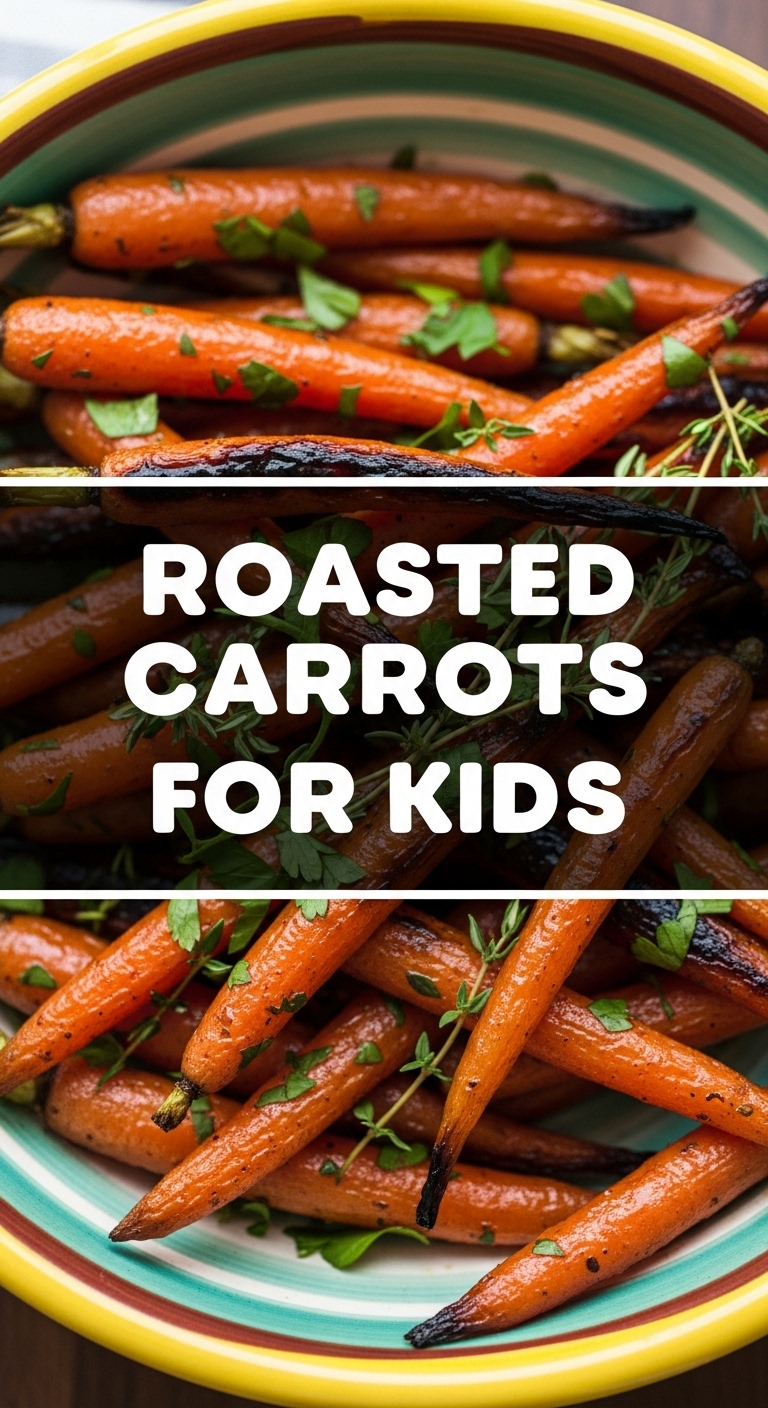
- Carrot Prep School: Time to clean those orange beauties. Give them a good scrub under cold water. If they look a bit rough, you can peel them, but honestly, I often skip it for roasted carrots because the skin gets nice and tender. Then, chop them into roughly 1/2-inch thick sticks or rounds. Try to keep them uniform in size so they cook evenly.
- The Great Toss: In a medium bowl, combine your chopped carrots with the olive oil, salt, and pepper. If you’re using maple syrup or honey, add it now too. Toss everything together until the carrots are nicely coated. Get in there with your hands if you want – it’s fun!
- Spread ‘Em Out: Arrange the seasoned carrots in a single layer on your prepared baking sheet. Don’t overcrowd them! Give them some space; they like to get crispy, and overcrowding leads to steaming (which is not what we want). If you have too many, use two baking sheets.
- Roast to Perfection: Pop that baking sheet into your preheated oven. Roast for **20-25 minutes**, flipping them once halfway through. You’re looking for tender carrots with slightly browned, caramelized edges. That’s where the magic happens!
- Taste Test & Serve: Once they’re beautifully roasted, pull them out, let them cool for a minute (they’re hot!), and then do a quick taste test. Adjust salt if needed. Serve ’em up warm!
Common Mistakes to Avoid
- The Overcrowded Pan Debacle: Seriously, don’t do it. Carrots need personal space to roast properly. If they’re piled on top of each other, they’ll steam instead of roast, and you’ll end up with sad, soggy carrots.
- Forgetting to Preheat: Rookie mistake! Don’t just shove cold carrots into a cold oven. Preheating ensures an even cook and that lovely caramelization.
- Uneven Chopping: If you have some tiny slivers and some chunky logs, they won’t cook at the same rate. You’ll end up with burnt bits and raw bits. Aim for consistency, friend!
- Ignoring the Flip: While not strictly mandatory, flipping them halfway helps achieve even browning on both sides. Plus, it gives you a chance to check on their progress.
Alternatives & Substitutions
Feeling a little adventurous? Or maybe you’re out of something crucial? No sweat, we’ve got options!
- Oil Swap: No olive oil? Avocado oil, grapeseed oil, or even melted coconut oil works great. Just avoid anything with a strong flavor profile unless you *want* your carrots to taste like sesame.
- Sweetener Switch: If you’re out of maple syrup or honey, a pinch of brown sugar or even regular white sugar can do the trick. Just sprinkle it on with the other seasonings.
- Spice It Up (or down): Want a little extra oomph? A dash of garlic powder, onion powder, or even a tiny pinch of cinnamon (especially with maple syrup!) can be delightful. For the kids, I usually keep it simple, but for grown-ups, a little smoked paprika is divine, IMO.
- Herbaceous Friends: Fresh thyme or rosemary sprigs thrown onto the baking sheet with the carrots during roasting add a lovely, earthy aroma and flavor. Just remove the woody stems before serving.
FAQ (Frequently Asked Questions)
Got questions? I’ve got (mostly sarcastic) answers!
- Can I use baby carrots? Oh, absolutely! They’re already peeled and chopped (mostly), making this recipe even *more* ridiculously easy. Just adjust cooking time slightly, as they might be smaller.
- My kids only eat beige food. Will they actually eat these? Look, I’m not a miracle worker, but these are pretty darn close to candy. The sweetness and slight char make them irresistible. Worth a shot, right? What’s the worst that can happen? More for you!
- How do I store leftovers? If there ARE leftovers (a big if!), pop them in an airtight container in the fridge for up to 3-4 days. Reheat gently in the oven or microwave.
- Can I make these ahead of time for a party? You *can*, but they’re definitely best fresh out of the oven when they’re crispy and warm. If you must, roast them, let them cool, then reheat quickly in a hot oven just before serving to crisp them up again.
- What if my carrots aren’t sweet at all? Some carrots are just… less enthusiastic. Don’t be shy with the maple syrup or honey in step 3! A little extra sweetness can really make them shine.
Final Thoughts
So there you have it, folks! A ridiculously easy, unbelievably tasty way to get some vibrant veggies into your life (and maybe your kids’ lives too). This recipe is proof that healthy food doesn’t have to be boring, complicated, or a battle. It’s quick, it’s comforting, and honestly, it’s just plain good. Now go impress someone—or yourself—with your new culinary skills. You’ve earned it!


