Ever feel like your kids have a sixth sense for anything green you try to sneak onto their plate? Mine too! But fear not, fellow parent (or cool aunt/uncle/guardian), because I’ve cracked the code for veggie snacks that aren’t just tolerated, but actually *requested*. Yes, you read that right. Requested! And the best part? You won’t need a culinary degree or a whole afternoon to pull them off. Let’s make some magic, shall we?
Why This Recipe is Awesome
Honestly, if I can make these without setting off the smoke detector, *you* can too. These aren’t just ‘easy’; they’re ‘I-could-do-this-in-my-sleep-and-probably-have-on-a-Tuesday’ easy. They’re quick enough to whip up when the ‘I’m huuuungry!’ wails start, healthy enough to make you feel like Parent of the Year (even if it’s just for five minutes), and colorful enough to trick even the pickiest eaters into thinking they’re eating a rainbow, not just, y’know, *vegetables*. **Bonus:** Less junk food consumption, more happy kiddo tummies. Win-win, IMO.
Ingredients You’ll Need
Gather ’round, my friends, for the grand list of essentials. Nothing fancy, I promise!
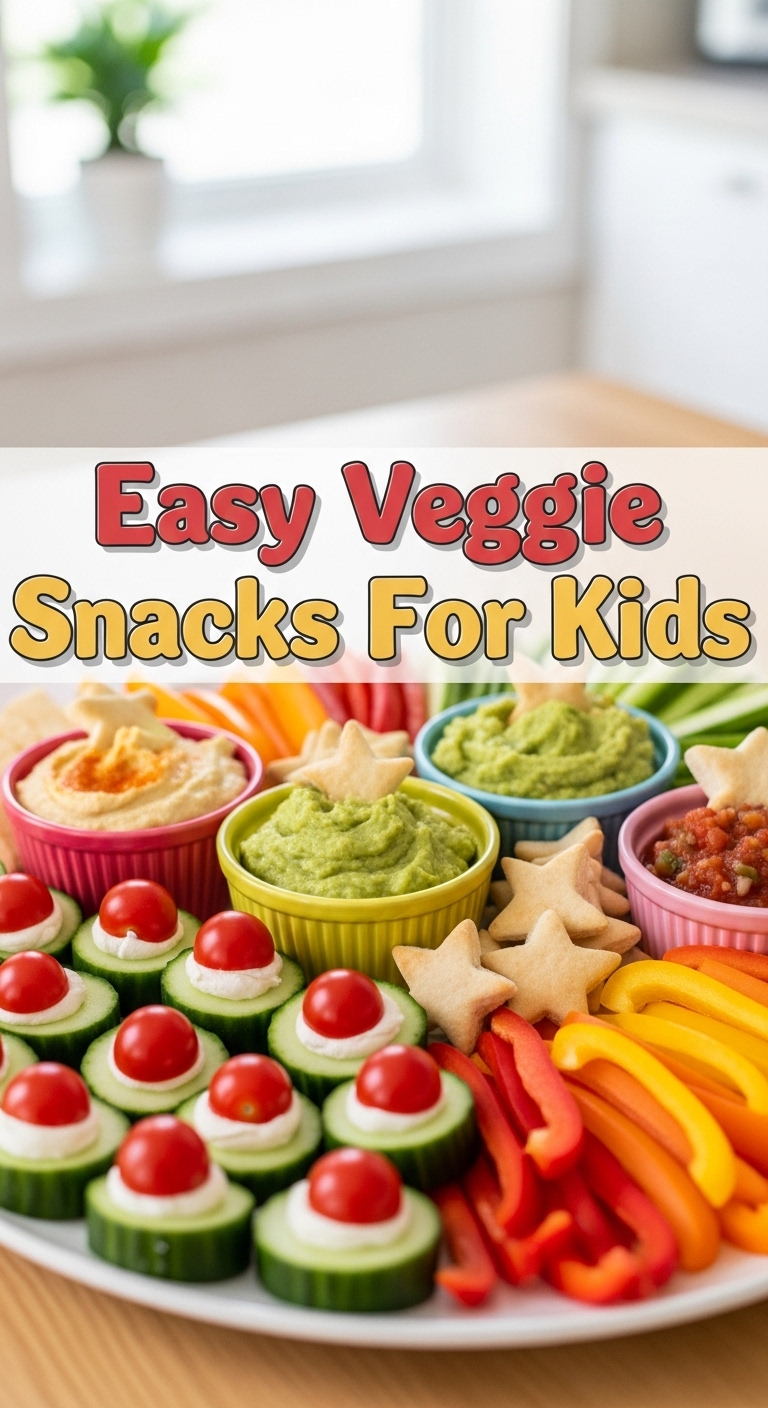
- **The Rainbow Crew (Veggies!):**
- 2-3 large Carrots (for that classic orange crunch)
- 1 English Cucumber (cool green, less seeds, fewer complaints)
- 1 Red Bell Pepper (sweet, vibrant red, basically candy)
- 1 Yellow Bell Pepper (same as above, but yellow!)
- A handful of Cherry Tomatoes (easy pop-in-your-mouth goodness)
- *Optional*: A few celery sticks (if your kids are brave)
- **The Dreamy Creamy Dip:**
- 1/2 cup Plain Greek Yogurt (full-fat for extra yum, but any works)
- 2 tablespoons Cream Cheese (softened, because nobody likes lumpy dip)
- 1 teaspoon Lemon Juice (a little zing!)
- 1/2 teaspoon Garlic Powder (because garlic makes everything better, even for kids)
- Pinch of Salt & Pepper (to taste, obviously)
- *Optional*: 1 tablespoon finely chopped fresh dill or parsley (for fancy pants flavor)
Step-by-Step Instructions
Ready? Set? Snack!
- **Prep Your Veggies:** Give all your colorful produce a good wash. No one wants crunchy dirt, right? Then, get to chopping! Cut the carrots, cucumber, and bell peppers into thin, kid-friendly sticks. Think “finger food” size. Halve the cherry tomatoes if they’re a bit big.
- **Whip Up the Dip:** In a small bowl, combine the Greek yogurt, softened cream cheese, lemon juice, garlic powder, salt, and pepper. If you’re feeling fancy, toss in that fresh dill or parsley.
- **Mix it Good:** Stir everything together until it’s smooth and creamy. Give it a little taste test. Does it need more salt? More lemon? You’re the chef!
- **Assemble and Serve:** Arrange your beautifully cut veggie sticks on a plate or in a snack container. Place the creamy dream dip in a small ramekin right in the middle. **Presentation is key, even for tiny humans!**
- **Watch the Magic Happen:** Present your masterpiece to the hungry hoards. Stand back and enjoy the sounds of crunching.
Common Mistakes to Avoid
We’ve all been there, trust me. Learn from my (many) culinary missteps!
- **Not Washing Veggies:** I mean, seriously? This isn’t a foraging expedition, folks. **Always wash your produce!**
- **Cutting Pieces Too Big:** Little hands, little mouths. Choking hazards are a no-go. Keep those sticks slim and manageable.
- **Forgetting the Dip:** The dip is the MVP here. It’s what makes the veggies fun! Don’t skip it, or you’ll just have sad, naked veggies.
- **Expecting Instant Enthusiasm:** Kids are tiny critics. If they don’t love it the first time, try again another day. Persistence, my friend, persistence!
Alternatives & Substitutions
Feeling adventurous? Or just working with what’s in the fridge? No worries!
- **Veggie Swap-Outs:** Don’t have red bell pepper? Use orange! Not a fan of cucumber? Try sugar snap peas or even steamed broccoli florets (chilled, of course). Celery sticks, radishes (if your kids are brave!), or even blanched green beans work too.
- **Dip Diversions:** If Greek yogurt isn’t their jam, a simple store-bought hummus or a classic ranch dressing (homemade or store-bought) will do the trick. Guacamole is another fantastic option, BTW.
- **Add Some Protein:** Want to make it a mini-meal? Add some cheese cubes, hard-boiled egg quarters, or even some rolled-up deli meat alongside the veggies and dip.
FAQ (Frequently Asked Questions)
Got questions? I’ve got answers (mostly).
- **Can I make the dip ahead of time?** Absolutely! Whip it up the night before and store it in an airtight container in the fridge. Give it a good stir before serving.
- **How long do these veggie sticks last?** The cut veggies will stay crisp in an airtight container in the fridge for about 2-3 days. The dip is good for 3-4 days. For best results, keep them separate until serving.
- **My kid hates [insert veggie here], what now?** Don’t force it! Offer a variety, and let them pick. Exposure is key. Keep trying different veggies and eventually, they might surprise you.
- **What if my kid won’t eat dip?** Some kids are just anti-dip, and that’s okay! Try offering the veggies plain, or maybe a tiny bit of melted cheese on top of some bell pepper sticks (if you don’t mind a quick oven visit).
- **Any tips for really picky eaters?** Try involving them in the prep! Let them wash the veggies, or choose which colors to put on the plate. Kids are often more likely to eat something they helped create. Call them “rainbow sticks” or “power-up fuel” to make it fun!
- **Can I use regular yogurt instead of Greek?** You can, but Greek yogurt is thicker and creamier, giving you a better dip consistency. Regular yogurt might make the dip a bit too runny.
- **Can I roast these veggies instead?** For a different texture, absolutely! Toss the veggies with a little olive oil, salt, and pepper, then roast at 400°F (200°C) until tender-crisp (about 15-20 minutes). Chill before serving with the dip. Delicious!
Final Thoughts
There you have it, superstar! A simple, stress-free way to get those kiddos (and let’s be real, yourself) munching on something genuinely good. You’ve just unlocked a new level in the parenting game – the ‘sneaky veggie ninja’ level. Go on, give yourself a pat on the back. Now go impress someone—or yourself—with your new culinary skills. You’ve earned it!


