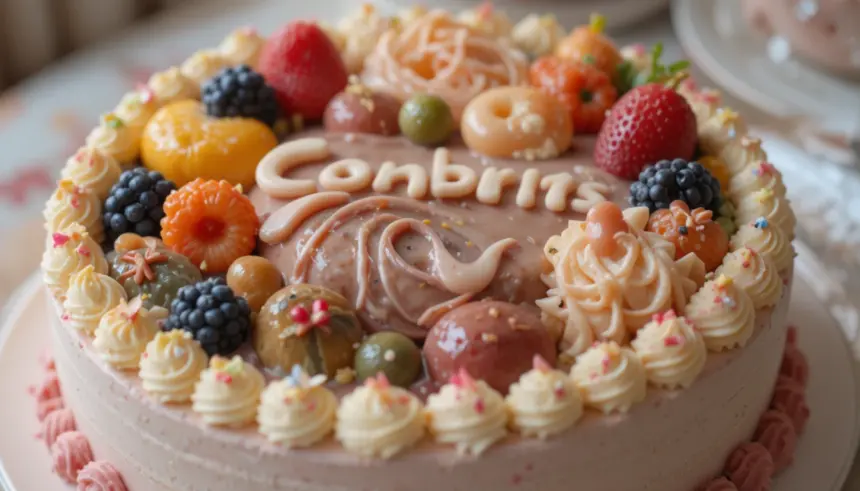
So you’re craving something tasty, adorable, and celebratory but also want to keep things chill, not kitchen-meltdown-level complicated, huh? Same. High five! Enter the glorious, Instagram-ready, and utterly delightful world of **Congrats Bento Cakes**.
Why These Cake Ideas Are Awesome
Let’s be real, life’s busy. Sometimes you need to celebrate someone’s win (big or small!) without committing to a full-on, multi-tiered baking saga. That’s where bento cakes swoop in like tiny, delicious superheroes. They’re individual-sized (or shareable for two, if you’re feeling generous), packed with cuteness, and surprisingly easy to assemble and decorate. No need to stress about baking a perfect 8-inch layer cake, folks! It’s basically a canvas for your celebratory vibes, without the hours of dishes. Plus, they look incredibly chic and thoughtful. It’s so easy, even your perpetually-stressed friend can whip one up without therapy (mostly).
Ingredients You’ll Need
Think of these less as “ingredients” and more like “fun components” for your mini masterpiece!
- Your favorite mini cake or cupcakes: Store-bought is absolutely a vibe, no judgment here. Think mini sponge cakes, plain cupcakes, or even a pre-baked mini layer cake from the grocery store. Vanilla or chocolate are classic starting points.
- Frosting, glorious frosting: Buttercream is king for decorating, but cream cheese or even a simple whipped ganache works too. Grab a tub of your favorite pre-made stuff, or whip up a quick batch if you’re feeling ambitious (check out my “idiot-proof” buttercream recipe if you’re feeling brave!).
- Food coloring (gel is best!): Because boring white frosting is, well, boring. Get some vibrant gel colors to match the celebratory mood.
- Sprinkles, edible glitter, or other tiny adornments: Go wild! Confetti sprinkles, metallic pearls, edible stars – anything that screams “party!”
- Piping bags & tips (optional, but highly recommended): For fancy lettering or pretty borders. A simple round tip and a star tip are great for beginners. If you don’t have these, a Ziploc bag with a tiny snip off the corner works in a pinch!
- A cute bento box or small container: This is where the “bento” comes in! It’s all about the presentation.
- Your creative genius (and maybe a glass of wine): Essential for maximum fun.
Step-by-Step Instructions
- Prep Your Canvas: If using cupcakes, gently level the tops. If you have a mini cake, ensure it’s cooled completely. Slice it in half horizontally if you want to add a filling.
- Color Your Frosting: Divide your frosting into bowls. Add a tiny drop of gel food coloring to each and mix until you get your desired shade. Remember, a little goes a long way! Now’s your chance to create some fun, festive colors.
- Frost Away: Spread a thin layer of frosting over your cake. This is your crumb coat, trapping any loose crumbs. Pop it in the fridge for 10-15 minutes to chill. Don’t skip this, it makes the final frosting so much smoother!
- Second Coat & Smooth It Out: Apply a thicker, more even layer of your main frosting color. Use an offset spatula or the back of a spoon to smooth the top and sides. For extra smooth edges, dip your spatula in hot water, wipe it clean, and then smooth the frosting.
- Get Your Decor On: Now for the fun part! Fill your piping bags with different colored frostings. Pipe a border, add some swirls, or create a fun pattern.
- Write Your Message: Using a small round tip (or your snipped Ziploc bag), pipe “Congrats!” or “You Did It!” or whatever celebratory message suits the occasion. Don’t worry if it’s not perfect – homemade charm is the best charm!
- Sprinkle Magic: Immediately after piping, shower your cake with sprinkles, edible glitter, or whatever magical dust you’ve chosen. Press them gently into the frosting.
- Into the Bento Box: Carefully place your masterpiece into its bento box. This isn’t just for aesthetics; it helps protect your beautiful creation during transport.
Common Mistakes to Avoid
- Warm Cake, Frosting Fail: Trying to frost a cake that’s not fully cooled is a recipe for disaster. Your frosting will melt and slide off, creating a sad, crumbly mess. **Always ensure your cake is completely cold.**
- Over-mixing Food Coloring: You want vibrant colors, but too much mixing can incorporate air, making your frosting bubbly and hard to smooth. Add color in small batches and mix just until combined.
- Skipping the Crumb Coat: This is literally a lifesaver. Without it, you’ll have crumbs getting into your pretty final layer of frosting. Just say no to crumb-infested cakes!
- Too Much Frosting, Too Soon: When piping, don’t overfill your piping bags. It makes them hard to control. Fill them about two-thirds full, twist the top, and get squeezing.
- Thinking You Need to Be a Professional: You don’t! These are *fun* bento cakes. Embrace the quirky, the slightly off-center, the perfectly imperfect. It shows it was made with love, not by a robot.
Alternatives & Substitutions
Feeling adventurous? Here are some ways to switch things up:
- Cake Base: Not a fan of vanilla? Gasp! Kidding, mostly. Try a chocolate fudge cake, lemon poppy seed, red velvet, or even a spiced carrot cake as your base. The world is your oyster!
- Frosting Flavors: Beyond plain buttercream, experiment with coffee buttercream, raspberry cream cheese frosting, matcha frosting, or a zesty lime frosting. Match it to your cake base for a flavor explosion.
- Fillings: Slice your cake in half and add a layer of fruit jam, lemon curd, chocolate ganache, or even a little dulce de leche in between the cake layers. **Pro tip: create a “dam” of frosting around the edge before filling to keep everything neat.**
- Toppers: Instead of just sprinkles, consider edible flowers, fresh berries, chocolate shavings, or even tiny printed edible images for a personalized touch.
- Theme It Up: Go beyond “Congrats.” Make it a “Happy Birthday, Tiny Human,” “Good Luck,” or “Just Because You’re Awesome” cake. The possibilities are endless!
FAQ (Frequently Asked Questions)
Got questions? I’ve got (casual) answers!
- Can I bake my own mini cake? Bless your heart, yes, if you have the time and patience! Just make sure it’s fully cooled before you even *think* about frosting.
- How long do bento cakes last? Generally, about 3-5 days in an airtight container in the fridge. But honestly, who lets them last that long?
- What if my handwriting for ‘Congrats’ looks like a spider crawled in ink? Happens to the best of us! Embrace the rustic charm. Or, better yet, use alphabet cookie cutters to press letters into the frosting, then fill them in. Or just use cute little fondant letters!
- Do I need a special bento box? Nah, any small, sturdy container with a lid that fits your cake works. The “bento” part is more about the cute, compact presentation than a specific type of box.
- Can I make it boozy? Oh, you betcha! Add a tiny splash of liqueur (like Kahlúa for chocolate or Grand Marnier for vanilla) to your frosting, or brush a little simple syrup mixed with a shot of booze onto your cake layers before frosting. Just make sure your recipient is of legal drinking age, FYI!
- My frosting is too stiff/too runny, help! If too stiff, add a tiny bit of milk or cream (half a teaspoon at a time) and mix. If too runny, add a spoonful of powdered sugar and mix. You’ll get there!
Final Thoughts
See? Making a cute-as-a-button Congrats Bento Cake isn’t rocket science; it’s just pure, unadulterated fun. It’s the perfect way to show someone you care without breaking a sweat (or the bank). So grab your cake, your frosting, and your wildest sprinkle dreams, and get decorating! Now go impress someone—or yourself—with your new culinary skills. You’ve earned it!

