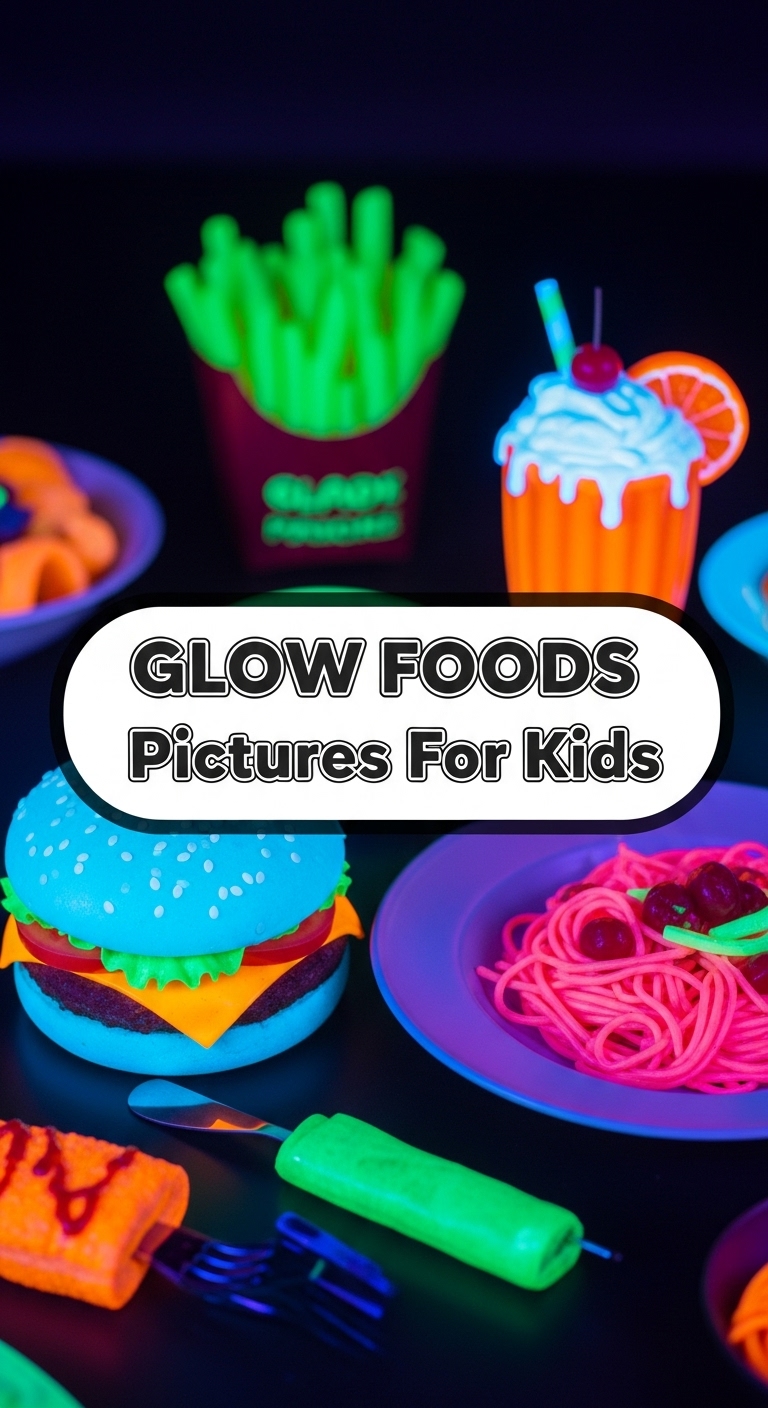
So you’re craving something tasty but too lazy to spend forever in the kitchen, huh? Same. But what if I told you we could “cook” something that’s not just delicious, but also super fun, healthy, and basically edible art? Forget gourmet soufflés; today, we’re making **Glow Food Pictures For Kids**! (And let’s be real, for us big kids too.) This isn’t just about eating; it’s about making food an adventure, turning healthy stuff into vibrant masterpieces that practically scream, “Eat me, I’ll make you sparkle!”
Why This Recipe is Awesome
Okay, “recipe” might be a strong word for something so delightfully simple, but hear me out. This isn’t just a snack; it’s an experience.
First off, it’s **idiot-proof**. Seriously, if you can arrange things on a plate, you’re basically a Michelin-star chef for this one. I even managed it without setting off the smoke alarm, which, IMO, is a personal best.
Secondly, it’s a sneaky way to get little humans (and let’s be honest, ourselves) excited about munching on all those vibrant, vitamin-packed fruits and veggies. We’re talking natural “glow up” foods that make you feel good from the inside out. Plus, it unleashes creativity! Who knew a carrot stick could be a sunbeam or a blueberry an eyeball? The possibilities are endless, my friend. It’s basically a playable, edible art project.
Ingredients You’ll Need
Here’s your “palette” of delicious, glowing goodness. No fancy stuff, just pure, colorful magic!
- Rainbow Fruits: Think strawberries (red!), oranges or mandarins (orange!), bananas or pineapple (yellow!), kiwi or green grapes (green!), blueberries or purple grapes (blue/purple!).
- Vibrant Veggies: Carrot sticks (hello, beta-carotene!), cucumber slices (cool green!), bell pepper strips (any color you like – red, yellow, orange!), broccoli florets (mini trees!), cherry tomatoes (tiny red gems!).
- “Edible Glue” (Optional but Fun): A dollop of plain yogurt, cream cheese, or hummus for dipping and sticking smaller pieces. Adds extra flavor and fun!
- “Canvas”: Plates, cutting boards, or even small serving trays. The bigger, the more epic your art can be!
- “Tools”: Kid-safe knives (if they’re helping), small cookie cutters (for fun shapes!), and maybe a few small bowls for different colors.
Step-by-Step Instructions
Time to unleash your inner Picasso… with food! This is where the magic happens, folks.
- Prep Your Glow Squad: First things first, wash all your fruits and veggies thoroughly. We want sparkle, not dirt, right? Then, chop them into manageable, kid-friendly pieces. Think slices, sticks, florets, halves – whatever inspires your inner artist.
- Choose Your Canvas: Grab a clean plate or cutting board. This is where your masterpiece will come to life! Maybe start with a solid background, like a base of cream cheese spread thinly, if you’re feeling extra fancy.
- Design Time! Now for the fun part: Start arranging your colorful produce into a picture! Think faces, animals, houses, rainbows, a flower garden – literally anything. Use the different shapes and colors to your advantage. A banana slice can be a moon, blueberries can be stars, carrot sticks can be rays of sunshine. Encourage creativity and don’t overthink it.
- Dip & Devour: Once your edible art is complete (or you just can’t resist anymore!), grab your “edible glue” for dipping. It adds another layer of flavor and makes the experience even more interactive. Then, the best part: admire your work, take a picture (duh!), and then munch away!
Common Mistakes to Avoid
Look, even culinary geniuses like us make mistakes. Learn from mine!
- Skipping the Wash: Seriously? You don’t want crunchy bits of garden soil in your edible rainbow. Always wash your produce! This isn’t a “rustic” look we’re going for.
- Too Many Ingredients at Once: Overwhelm much? Lay out a few choices at a time, especially with younger kids. Too many options can lead to decision paralysis (or just everything ending up on the floor).
- Expecting Perfection: Remember, this is about fun and creativity, not winning a culinary award. If your “sun” looks more like a wonky fried egg, who cares? It’s delicious!
- Forgetting the Camera: How will anyone believe you created such edible splendor if you don’t snap a pic? Rookie mistake! Get those glow food pictures for kids on the gram!
Alternatives & Substitutions
Don’t have exact ingredients? No prob, Bob! This “recipe” is super flexible.
- Fruit & Veggie Swap: Literally any colorful fruit or vegetable works! Think bell peppers, peas, corn, mango, pear, apple, radish, sweet potato (steamed and cooled). Use what you have and what your kids love (or are willing to try).
- Dips Galore: Instead of yogurt or hummus, try nut butter (if no allergies!), a light cream cheese spread, guacamole, or even a tiny drizzle of honey or maple syrup for a sweet touch.
- Theme It Up: Instead of free-form art, try a specific theme! Holiday shapes, letters of the alphabet, or a scene from their favorite book. Cookie cutters are your best friend here for quick shapes.
- Make it a Sandwich: Use whole wheat bread or a tortilla as a base, spread with your “glue,” and then arrange your glow foods on top. It becomes a delicious, open-faced sandwich masterpiece!
FAQ (Frequently Asked Questions)
Got questions? I’ve got (casual and hopefully amusing) answers!
- Can adults play too? Heck yes! Who says kids get to have all the fun? These glow food pictures are an awesome, healthy snack for anyone. Just maybe use a bigger plate for your more sophisticated fruit mosaic.
- What if my kid hates [insert healthy food here]? Well, exposing them to it in a fun, no-pressure way might just work wonders! They might not eat the broccoli, but they might just use it as a tree for their fruit-animal. And hey, small wins!
- How long do these “pictures” last? As long as it takes for eager hands to devour them! Realistically, fresh produce is best enjoyed soon after preparation. Don’t plan on saving your masterpiece for next week, unless you enjoy sad, wilted art.
- Do I need special tools? Nah! Fingers are the original tools, aren’t they? A regular knife, a cutting board, and a plate are all you *really* need. The cookie cutters are just for extra pizzazz.
- Is this a good party activity? Oh, absolutely! Set up a “Glow Food Art Station” with different bowls of prepped produce. It’s interactive, creative, and keeps everyone busy (and eating healthy!).
- Will this magically make my kids eat all their vegetables forever? Let’s not get *too* carried away, friend. It’s a step in the right direction, a fun way to engage with healthy eating. Consistency is key, but today, we celebrate the small victories!
Final Thoughts
And there you have it! A “recipe” that’s less about cooking and more about creating, munching, and having a blast. Making glow food pictures for kids isn’t just about nutrition; it’s about building positive associations with food, sparking creativity, and making mealtime (or snack time) genuinely enjoyable. So go forth, gather your colorful bounty, and create something beautiful and delicious. Now go impress someone—or yourself—with your new culinary *artistic* skills. You’ve earned it!


