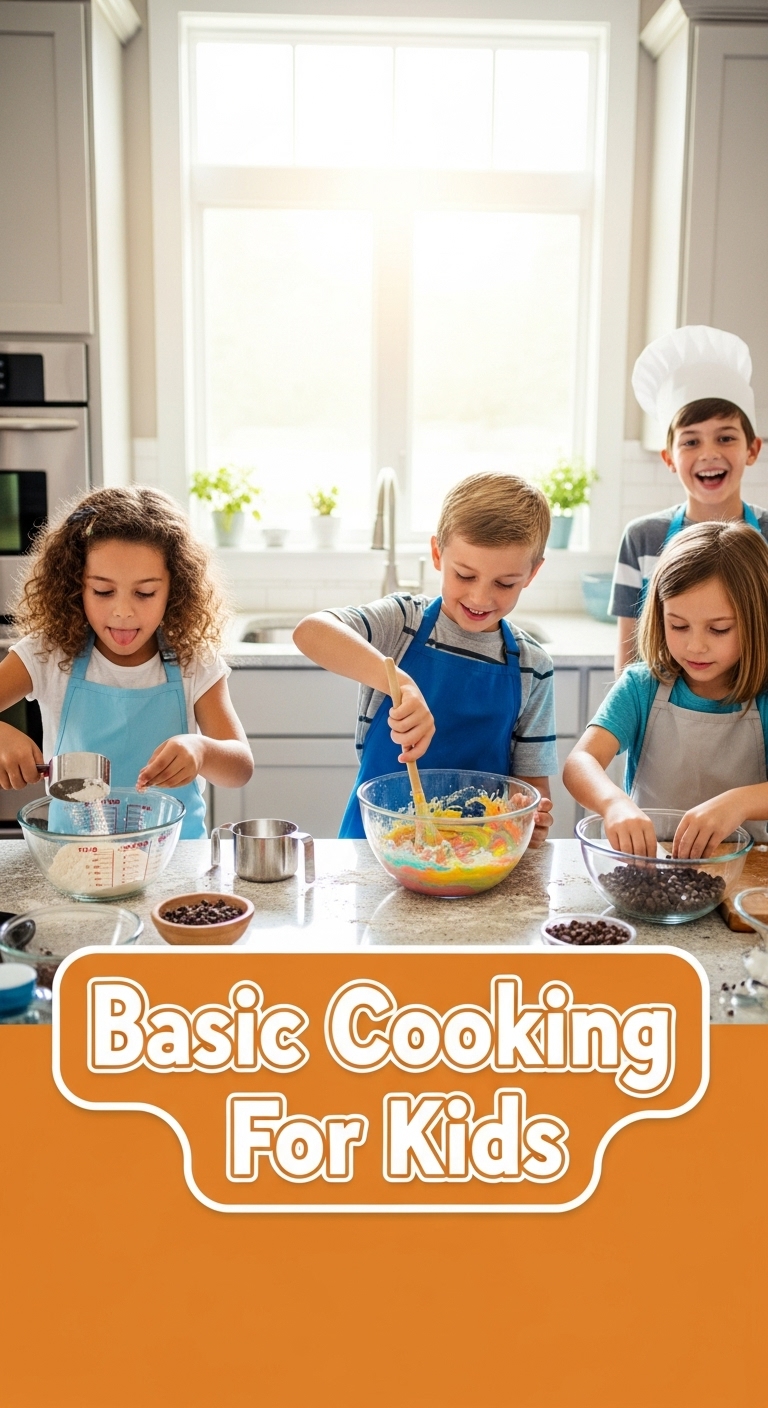
So, you’ve decided to unleash your tiny humans into the kitchen, huh? Or maybe *you’re* the tiny human finally ready to conquer something beyond cereal? Either way, you’re here because the fridge is looking a bit too empty and your stomach is rumbling a symphony of sadness. Fear not, my friend! We’re about to tackle some kitchen basics that are so easy, even your goldfish could probably follow along (if it had hands and opposable thumbs, which, sadly, it doesn’t). Let’s make some magic – and maybe a little mess – together!
Why This “Recipe” (It’s More of a Vibe) Is Awesome
Okay, so we’re not making soufflé. We’re making a **Super Scrambled Eggs & Awesome Toast Combo**, which is basically the culinary equivalent of a warm hug. Why is it awesome? Because it’s **idiot-proof**, teaches you like, *four* essential cooking skills without breaking a sweat, and tastes ridiculously good. Plus, you get to feel like a fancy chef without actually having to wear a toque. It’s the ultimate “I made this!” triumph for beginner cooks, and it’s fast enough to satisfy those urgent hunger pangs. Trust me, even *I* didn’t mess this up, and my kitchen adventures usually involve the fire extinguisher.
Ingredients You’ll Need
Gather ’round, my little culinary apprentice! Here’s what you’ll need for your delicious debut. Don’t worry, nothing too exotic here – just pantry heroes.
- **Eggs (2-3 per person):** The stars of our show! Pick the ones that look happy and ready to be scrambled.
- **Bread (2 slices per person):** Your trusty toast canvas. Any kind works, from fancy sourdough to humble white.
- **Butter or Oil (a small pat/drizzle):** For coating your pan and making things not stick. We like things *not* stuck, right?
- **Milk or Cream (a splash, optional):** This is our secret weapon for super fluffy eggs. Just a tiny splash, don’t drown them!
- **Salt & Pepper:** The dynamic duo of flavor. Don’t skip these, unless you like bland sadness.
- **Optional Toppings for Toast:**
- **Jam or Jelly:** For a classic sweet treat.
- **Avocado:** Smashed or sliced, if you’re feeling a bit boujee.
- **Cheese (shredded):** Melty goodness on your eggs or toast.
- **Everything Bagel Seasoning:** Because, well, it’s everything!
Step-by-Step Instructions
Time to get cracking! Follow these steps, and you’ll be a breakfast wizard in no time. **Remember: Adult supervision is key, especially with stoves and sharp objects!**
- **Egg-cellent Prep:** Grab a medium bowl. Carefully crack your eggs into it. If a tiny shell bit falls in, don’t panic! Use a larger piece of shell to scoop it out – it’s surprisingly effective.
- **Whisk Away!** Add that tiny splash of milk or cream (if using), and a pinch of salt and pepper. Now, grab a fork and whisk like you’re conducting a tiny orchestra! Beat those eggs until the yolks and whites are fully combined and slightly frothy. You’re aiming for a pale yellow, uniform liquid, not streaks of yellow and clear goo.
- **Toast Time!** Pop your bread into the toaster. If you’re using a toaster oven, ask an adult for help setting the temperature and time. Keep an eye on it – nobody likes burnt toast!
- **Heat It Up:** Place a non-stick frying pan over **medium-low heat**. Add a small pat of butter or a drizzle of oil. Let it melt or heat up gently. **Low and slow is the secret to fluffy eggs, FYI.**
- **Scramble Squad Go!** Once the pan is warm (the butter should be melted and sizzling gently), pour in your whisked eggs. Let them sit undisturbed for about 30 seconds until the edges start to set.
- **The Gentle Stir:** Now, using a rubber spatula, gently push the cooked egg from the edges towards the center of the pan. Tilt the pan to let the uncooked egg flow into the empty spaces. Repeat this gentle pushing and folding motion every 15-20 seconds.
- **Cook to Perfection:** Keep going until the eggs are mostly set but still look a *little* moist and shiny. This is **key** for creamy, not rubbery, scrambled eggs. Remove from heat immediately – they’ll keep cooking for a bit in the hot pan.
- **Assemble Your Masterpiece:** Your toast should be ready! Spread some butter (if you like), then add your chosen toppings. Slide those perfectly scrambled eggs onto your plate next to your awesome toast. Add a final grind of pepper if you’re fancy.
Common Mistakes to Avoid
Look, we’ve all been there. Learning is a journey, not a destination. But here are some common oopsies to dodge:
- **High Heat Hysteria:** Blasting your pan on high heat for eggs is a rookie mistake. It’ll give you sad, rubbery, overcooked eggs with burnt edges. **Low and slow wins the race for fluffy perfection!**
- **Over-Mixing/Under-Mixing:** Not whisking enough leaves you with weird clear bits. Whisking *too* much (like, for 5 minutes straight) can make them watery. Aim for combined, not exhausted.
- **Forgetting Seasoning:** Eggs without salt and pepper are like a joke without a punchline – just plain disappointing. Don’t forget them!
- **Walking Away from the Toaster:** That toaster has one job, and it’s very enthusiastic about it. One minute it’s bread, the next it’s charcoal. Keep an eye on it!
- **Leaving Eggs in the Hot Pan Too Long:** Even after you turn off the heat, that pan is still scorching. Take the eggs out as soon as they’re done to prevent overcooking.
Alternatives & Substitutions
Feeling adventurous? Or just out of something? No worries, we can totally adapt!
- **Bread Swap:** No toast? Use a bagel, an English muffin, a tortilla for a breakfast wrap, or even a rice cake if you’re feeling wild.
- **Egg Upgrade:** Stir in some shredded cheese (cheddar or mozzarella are faves!) right at the end for melty cheese eggs. Or add a tiny bit of diced bell pepper or spinach for some veggies (cook them first in the pan for a minute before adding eggs).
- **Topping Extravaganza:** Seriously, the world is your oyster here. Hot sauce, pesto, a sprinkle of fresh herbs, cottage cheese, baked beans (it’s a British thing, don’t judge!). **IMO**, avocado and a dash of hot sauce is a game-changer.
- **Dairy-Free Dream:** If you’re avoiding dairy, use plant-based milk (like almond or oat) for fluffiness, and oil (like olive or avocado oil) instead of butter in the pan.
FAQ (Frequently Asked Questions)
- **Can I make more than one serving at a time?**
Absolutely! Just increase your eggs and pan size. **Don’t overcrowd the pan though**, or your eggs will steam instead of scramble. You might need to cook in batches if you’re making a feast. - **My eggs always stick to the pan! What gives?**
A few things could be happening: Your pan might not be truly non-stick, or it’s not hot enough when you add the butter/oil, or you’re not using enough fat. Make sure the pan is warmed and coated well! - **Can I add ingredients *before* I whisk the eggs?**
For additions like cheese or finely diced veggies, it’s usually best to add them *during* the cooking process of the eggs, or right after whisking for cheese. If you add too many solid things to the raw eggs, it can make whisking harder and cooking uneven. - **What’s the best way to get crispy toast?**
It’s all about that toaster setting! Go for a medium-dark setting and let it do its thing. Some people also swear by lightly buttering the bread *before* toasting it in a pan, but that’s a whole other adventure. - **My kids hate the runny parts of eggs. How do I make them fully cooked but still soft?**
Cook them a little longer than you think, but keep stirring and removing from heat *just* before they look completely done. They’ll finish cooking in the residual heat. The key is constant, gentle movement and medium-low heat.
Final Thoughts
So there you have it! You’ve successfully navigated the thrilling world of scrambled eggs and toast. You’ve learned about heat, timing, seasoning, and not burning your kitchen down. That’s like, half of cooking right there! Now go impress someone – or just yourself – with your new culinary skills. You’ve earned it! Remember, cooking should be fun, a little bit messy, and always delicious. Keep experimenting, keep tasting, and keep enjoying the journey. Happy cooking, chef!

