So, you’ve hit that sweet spot in life where you love food, want to cook, but also have tiny humans who demand attention (and snacks!)? And maybe, just maybe, you’re tired of making the same mac ‘n’ cheese for the zillionth time? My friend, you’ve come to the right place. We’re diving into the glorious, sometimes messy, but always memorable world of fun cooking projects for kids. Think less “Martha Stewart perfection” and more “mad scientist in a sprinkle factory.” Let’s get sticky!
Why These Cooking Projects Are Awesome
Okay, let’s be real. Cooking with kids can sometimes feel like trying to herd cats through a flour storm. But hear me out: it’s not just about whipping up a meal; it’s about creating tiny kitchen wizards (or at least, tiny humans who can appreciate where food comes from). These projects? They’re **idiot-proof** enough that even I, Queen of “Oops, did I forget an ingredient?”, can manage them without a full-blown meltdown. They build confidence, teach basic life skills (hello, measuring!), and most importantly, they’re FUN. Plus, they double as an activity that keeps them off the screens for a bit. Win-win, right?
Ingredients You’ll Need
Instead of one specific recipe, we’re talking about a buffet of fun! Here are some common heroes for kid-friendly kitchen adventures:
- For the “Build-Your-Own” Mini Pizzas:
- Small pita breads, English muffins, or pre-made mini pizza bases (no judgment here, friend!)
- Tomato sauce (marinara works, or just plain crushed tomatoes with a pinch of salt)
- Shredded mozzarella cheese (the more, the merrier, IMO)
- Optional toppings: Mini pepperoni, chopped bell peppers, corn, cooked sausage bits (keep it simple, folks!)
- For the “Decorate-Your-Own” Cookies:
- Pre-baked plain cookies (sugar cookies are great, or even graham crackers for a super-easy cheat!)
- Store-bought icing in tubes or tubs (save your sanity, trust me)
- Sprinkles, edible glitter, mini chocolate chips, candy eyes (go wild!)
- For the “Rainbow” Fruit Skewers:
- Assorted colorful fruits: Strawberries, blueberries, grapes, banana slices, melon chunks, kiwi slices (think a rainbow!)
- Wooden skewers (blunt tips are best for little hands)
- Optional dip: Yogurt mixed with a drizzle of honey or a sprinkle of cinnamon.
Step-by-Step Instructions
Alright, apron up! Or don’t. Who cares? Let’s make some magic (and possibly a mess).
Project 1: Mini Pizza Masters
- First things first: **Preheat your oven** to about 375°F (190°C). This is key!
- Gather all your ingredients. Put the pita breads on a baking sheet.
- Give each kid a base. Let them spoon a dollop of sauce onto it. This is where their artistic flair truly shines (or splashes).
- Next, the cheese! Encourage them to cover the sauce. If they want to make a cheesy mountain, let them live their best life.
- Finally, the toppings. Let them pick and place. Remember, there’s no wrong way to top a pizza when you’re 5.
- Carefully (grown-up job!) put the baking sheet into the preheated oven. Bake for 8-12 minutes, or until the cheese is bubbly and the crust is golden.
- Let cool for a few minutes, then devour those personalized masterpieces!
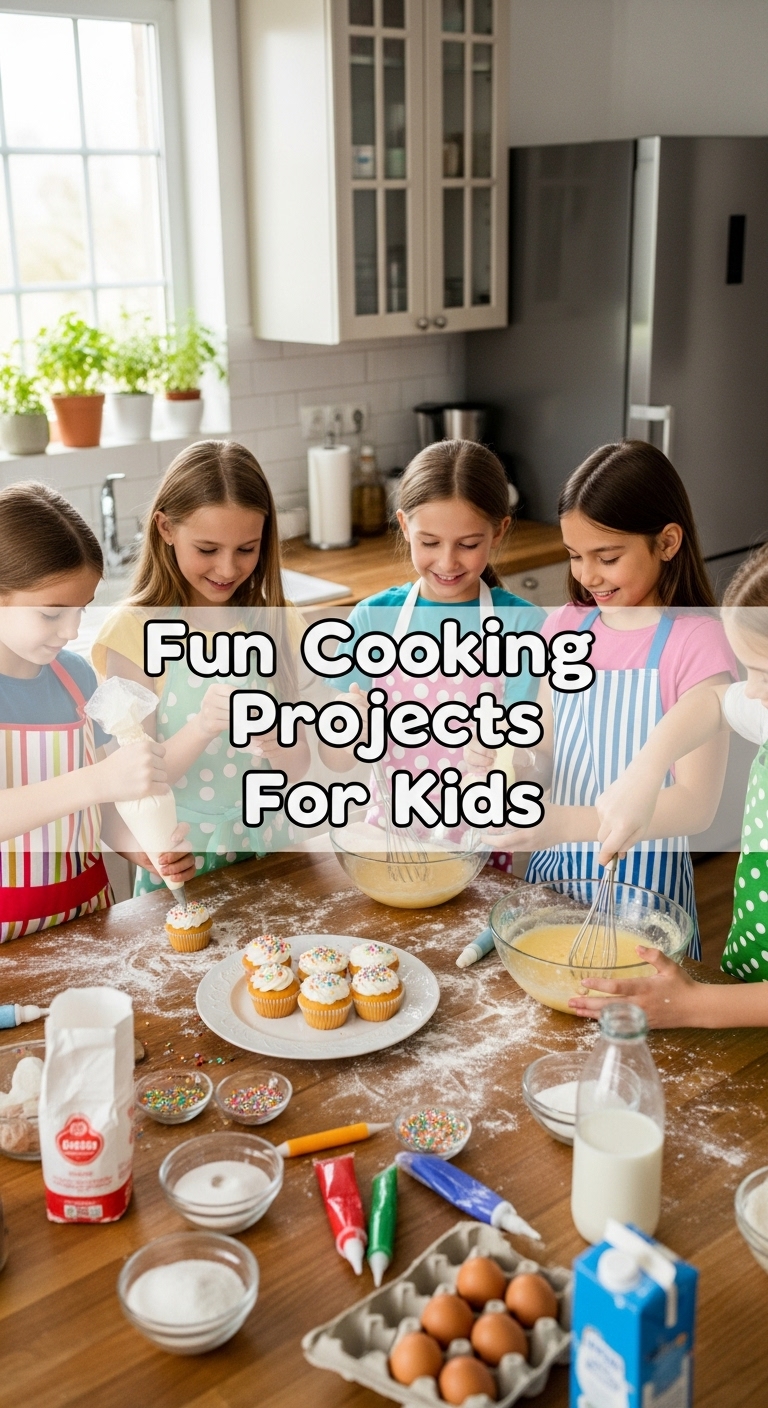
Project 2: Cookie Decorating Extravaganza
- Lay out your pre-baked cookies on a clean surface or plate.
- Open those icing tubes/tubs! Give each kid a spoon or a decorating tube.
- Let them go to town decorating their cookies. Swirls, dots, entire icing landscapes – anything goes.
- Now for the fun part: SPRINKLES! Pour different types into small bowls and let them rain down on their creations. **This will be messy. Embrace it.**
- Let the icing set a little if you can resist eating them immediately. Enjoy your edible art!
Project 3: Rainbow Fruit Skewers
- Wash and cut all your fruits into kid-friendly chunks. For younger kids, you might do most of the cutting.
- Arrange the fruit on a platter, perhaps by color, to encourage a rainbow effect.
- Give each child a wooden skewer. Show them how to carefully slide the fruit onto the stick.
- Encourage them to create a colorful pattern. It’s like edible LEGO!
- Once their skewers are full, serve with the optional yogurt dip. Healthy *and* delicious!
Common Mistakes to Avoid
- **Thinking you’ll keep the kitchen pristine:** Rookie mistake. Accept the chaos. Flour on the floor is a badge of honor.
- **Not doing prep work beforehand:** Cutting fruit, portioning ingredients, setting out bowls *before* the kids arrive is a game-changer. Trust me on this one.
- **Expecting perfection:** Their pizza might have a giant hole in the middle, or their cookie might be 90% sprinkles. That’s the beauty of it! It’s about the process, not the Michelin star.
- **Forgetting to take photos:** These messy, joyful moments are gold. Capture them!
- **Trying to do too much at once:** Stick to one project, especially if you’re new to cooking with kids. Don’t overschedule your fun.
Alternatives & Substitutions
Feeling adventurous? Or maybe you’re out of sprinkles? No problem!
- **For the pizzas:** No pita bread? Use bagels, tortillas, or even slices of bell pepper for a low-carb twist. You can swap out mozzarella for cheddar, or even a mix of cheeses.
- **For the cookies:** If you don’t have pre-baked cookies, grab some pre-made sugar cookie dough from the grocery store. It’s almost as easy! No icing? Melt some chocolate chips and use that as a base, or mix powdered sugar with a tiny bit of milk for a quick glaze.
- **For the fruit skewers:** You can add marshmallows, small cubes of cheese, or even mini brownies to the skewers for a more dessert-like treat. Dip in chocolate or a sweet cream cheese frosting for extra indulgence.
- **Other easy projects:** Smoothie bowls (let them pick toppings!), “ants on a log” (celery, peanut butter, raisins), or even simple mug cakes are fantastic, low-commitment options.
FAQ (Frequently Asked Questions)
- Is it going to be super messy? Well, technically yes, but why hurt your soul by expecting otherwise? Embrace the mess! That’s half the fun (and why wet wipes exist).
- What age is this best for? Honestly, as soon as they can sit up and grab things (with supervision, obvi!). But realistically, 3+ is a great age to start with simple tasks like stirring or adding toppings. Older kids can do more cutting and measuring.
- Do I need fancy kitchen gadgets? Nope! A few bowls, spoons, and maybe a baking sheet are usually all you need. Keep it simple.
- What if my kid only wants to eat the raw ingredients? Happens to the best of us! A little taste-testing is fine, but remind them the best part is making it all together. Distraction is your friend.
- How do I keep them engaged if their attention span is, like, two seconds? Give them specific, manageable tasks. “Can you put three pepperonis on your pizza?” “Can you pour the sprinkles here?” Breaking it down helps. And don’t force it – if they lose interest, let them go play and come back later, or you can finish up.
- What if it doesn’t look like the picture on Pinterest? My friend, if it looks like the picture on Pinterest, you’re doing it wrong (or you’re a sorcerer). The joy is in *their* creation, not perfection.
Final Thoughts
So there you have it! Fun cooking projects for kids that are more about the giggles and less about the gourmet. It’s a fantastic way to bond, teach a thing or two, and fill those little bellies with something they’re proud to have “made themselves.” Now go impress someone—or yourself—with your new culinary *and* parenting skills. You’ve earned it!


