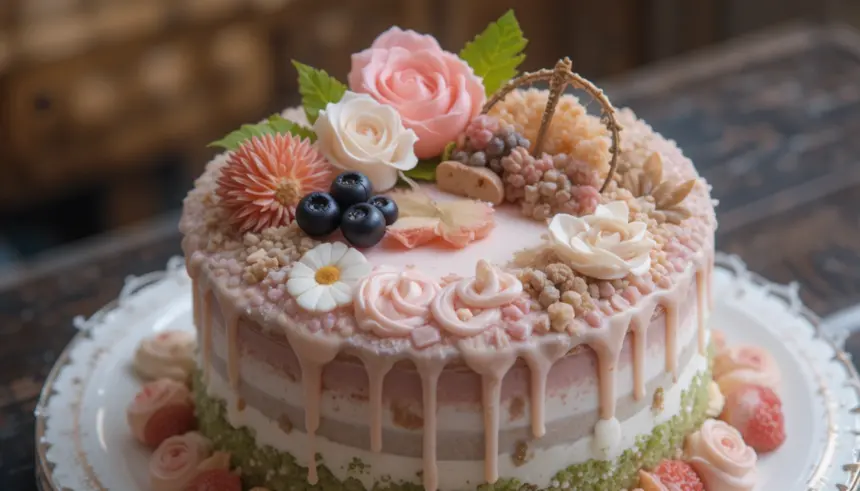
So you’ve scrolled through Instagram, drooling over those ridiculously cute mini cakes, right? The ones that look like a tiny edible work of art, tucked perfectly in a little box? Yeah, those are bento cakes, and guess what? You, my friend, can totally make them look that good. No art school degree required, promise! We’re not baking from scratch today (unless you’re feeling extra ambitious, you go-getter!). This is all about making already-made cakes look *chef’s kiss* gorgeous. Let’s get decorating!
Why This “Recipe” is Awesome
Okay, so this isn’t a *recipe* for cake batter (we’ll save that for another existential crisis involving flour and eggs). This is your cheat sheet to making those tiny cakes look ridiculously professional without, you know, actually being a professional. It’s awesome because it’s **low commitment, high reward.** You get all the “oohs” and “aahs” for minimal effort. Plus, it’s perfect for when you want a whole cake but also want to pretend you’re on a diet by eating a miniature one. It’s also pretty much idiot-proof; even I didn’t mess up the decorating part (the *eating* part, however, is a different story).
Ingredients You’ll Need
Think of these less as “ingredients” and more as “your secret weapons for aesthetic domination.”
- A pre-made mini cake: Round, about 4-6 inches. Don’t bake it unless you *want* to. We’re here for the fun part, not the measuring spoons.
- Buttercream frosting: Store-bought is your BFF. Seriously, no shame in that game. Or, if you’re feeling fancy, whip up your own. Just make sure it’s smooth and spreadable.
- Gel food coloring: Gels work best for vibrant hues without messing with your frosting consistency. Think rainbow, pastels, or moody tones – whatever your aesthetic heart desires.
- Piping bags & tips: A few basic ones (round, star) are your secret weapons for those cute details. Don’t worry, we’re not aiming for Michelin star precision here.
- Offset spatula or small palette knife: For smooth moves and even frosting application. It’s like a tiny magic wand for cakes.
- Sprinkles, edible glitter, tiny candies: Your bling, basically. Or, if you’re going for minimalist chic, skip ’em. Your call, boss.
- Small bento box: For the grand reveal and that iconic bento cake photo op. It completes the vibe, IMO.
Step-by-Step Instructions
Get ready to unleash your inner cake artist!
- Prep Your Canvas: Unwrap your mini cake. If it’s a bit domed or uneven on top, give it a quick trim with a serrated knife. A level cake is a happy cake, and way easier to decorate, trust me.
- Crumb Coat Magic: Apply a super thin layer of buttercream all over your cake. This isn’t about making it pretty yet; it’s about locking in all those pesky crumbs. Once coated, **chill it!** Pop your cake in the fridge for 15-20 minutes. This step is non-negotiable for a smooth finish.
- Color Me Impressed: While your cake chills, divide your buttercream into separate bowls. Add a drop or two of gel food coloring to each and mix until you get your desired shades. Don’t be shy with color!
- Smooth Operator: Retrieve your chilled cake. Now, apply a generous layer of your main color buttercream. Use your offset spatula or palette knife to smooth the top and sides. Take your time here; this is where the aesthetic truly comes alive. Don’t worry if it’s not perfect on your first try; practice makes progress!
- Piping Fun: Spoon your colored buttercreams into piping bags fitted with your chosen tips. If you’re nervous, practice a few swirls, dots, or borders on a piece of parchment paper first. It’s like a warm-up for your cake-decorating muscles.
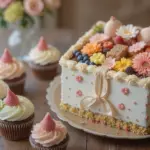
- Decorate & Dazzle: Now for the fun part! Pipe your chosen designs onto the cake. Think simple swirls, cute dots, little stars, or even a tiny written message. Then, strategically add sprinkles, edible glitter, or small edible decorations. Remember, for that signature bento vibe, **less is often more.** Keep it chic and charming.
- Box It Up: Carefully transfer your masterpiece into its designated bento box. Snap a pic for the ‘gram (because did it even happen if you didn’t post it?), and then admire your handiwork. You just made a tiny work of art!
Common Mistakes to Avoid
Learn from my blunders, so you don’t have to experience the same cake-related traumas.
- Too much frosting on the crumb coat: It’s called a crumb *coat* for a reason, not a main layer. Keep it thin! Otherwise, your final layer will be lumpy.
- Impatience is NOT a virtue here: Don’t skip chilling steps. Seriously. A warm cake + soft buttercream = a melty, crumbly mess. Nobody wants that.
- Over-decorating: A bento cake is about minimalist charm. Don’t throw the entire sprinkle jar, and all the piping tips, at it. Sometimes, a single perfect swirl is all you need.
- Using liquid food coloring: It thins out your buttercream, making it runny and harder to pipe. Gel colors are superior, **period.** Save the liquid stuff for tie-dyeing t-shirts.
- Forgetting to take a photo: I mean, come on. Did it even happen if it’s not on social media? #bentocake #cakelife
Alternatives & Substitutions
No rulebook in this kitchen, only suggestions!
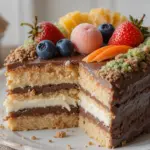
- Cake base: Don’t have a mini cake? No prob! Use giant cupcakes, brownies cut into rounds, or even thick cookies. Get creative! The goal is a small, personal-sized base.
- Buttercream: Not a fan? Try whipped cream (fair warning: less stable, but super light!), cream cheese frosting (yum, especially with red velvet), or a rich chocolate ganache. Just be mindful of their stability and how well they pipe.
- Decorations: Beyond sprinkles, think fresh berries (tiny ones!), small edible flowers, delicate chocolate shavings, or even small edible printed images for a super personalized touch.
- No piping bags? A sturdy Ziploc bag with a tiny corner snipped off works in a pinch. **Not as precise, but functional.** Just don’t squeeze too hard, or you’ll have an explosion.
FAQ (Frequently Asked Questions)
- Do I *have* to use gel food coloring? Well, technically yes, but why sabotage your vibrant dreams? Liquid food coloring can thin out your frosting, making it harder to pipe and less intense in color. Stick to gels for best results.
- How do I get super smooth sides? **Chill your cake between layers!** Also, use an offset spatula heated briefly in hot water (then dried completely) for an extra-smooth finish. It’s a little trick that makes a big difference.
- Can I make these ahead of time? Absolutely! Decorated bento cakes can last in the fridge for 2-3 days. Just make sure they’re covered loosely with plastic wrap or in their bento box to prevent drying out and absorbing fridge smells.
- What if my piping skills are… questionable? Embrace it! Imperfect is still charming and adds character. Or, stick to less intricate designs like simple dots, rustic swirls, or a textured finish using your spatula. It’s all about practice, sweetie, and having fun!
- Is a bento box essential? Not for taste, no. But for the *aesthetic* and for gifting, it really elevates the whole experience. Plus, it protects your masterpiece from getting smooshed on its way to its final destination!
Final Thoughts
See? That wasn’t so scary, was it? You just went from bento cake admirer to bento cake *creator*. Who knew you had such artistic flair hiding inside? Now go impress someone—or yourself—with your new culinary (and artistic!) skills. You’ve earned it! And don’t forget to savor every tiny, delicious bite. You worked hard for those “oohs” and “aahs.” Now go enjoy them!
