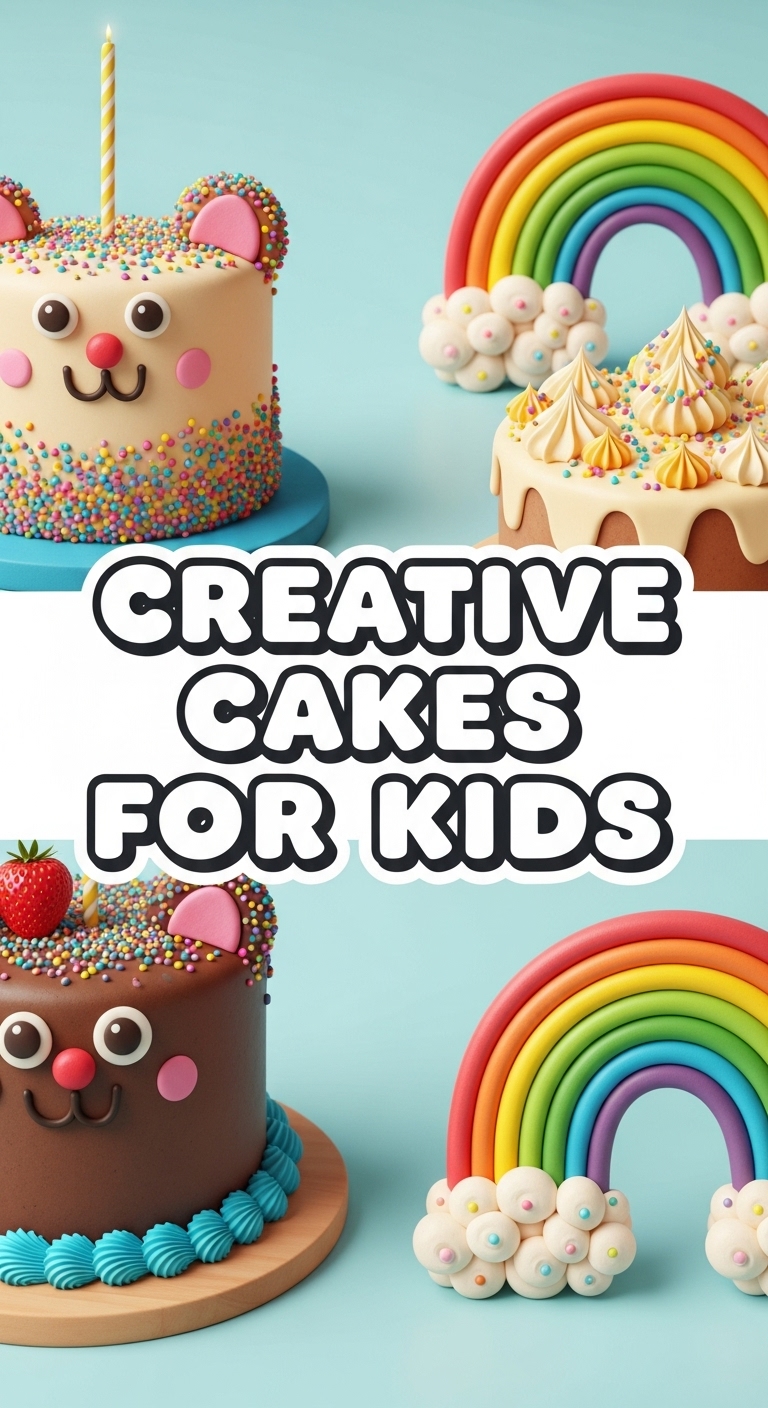
So, you’ve got a pint-sized human (or just a regular-sized one, no judgment!) bouncing off the walls, demanding cake, but you’re tired of those *perfectly* Pinterest-worthy creations that take a weekend and a therapy session to complete? Same, friend, same. Let’s make something gloriously fun, gloriously easy, and gloriously… well, edible! We’re talking “Creative Cakes For Kids,” but with a side of sanity for you. Think less Martha Stewart, more “did we just make art or a delicious mess?”
Why This Recipe is Awesome
Okay, spill the beans: what’s so great about *this* particular cake situation? First off, it’s pretty much **idiot-proof**. And trust me, if I can bake it without accidentally setting off the smoke alarm (a common occurrence, FYI), then anyone can. It’s a simple, fluffy vanilla base that’s just begging for some wacky, kid-friendly decoration. We’re not talking fondant sculptures here, folks. We’re talking sprinkles, candies, maybe a little strategic googly eye action. It’s awesome because it prioritizes FUN over perfection, and honestly, don’t we all need a little more of that in our lives? Plus, your kitchen will smell divine, which is a bonus, IMO.
Ingredients You’ll Need
Gather ’round, fellow bakers! Here’s what you’ll need for our “Rainbow Sprinkle Explosion Cake” base. Don’t worry, these aren’t rare unicorn tears; just your basic kitchen stuff.
- **1 ½ cups all-purpose flour:** The backbone of our cakey dreams. Don’t eyeball it; level it!
- **1 ½ teaspoons baking powder:** Our little lift-off agent. Makes things fluffy, not dense.
- **½ teaspoon salt:** Just a pinch, to make everything else taste better. Like a secret flavor superhero.
- **¾ cup (1 ½ sticks) unsalted butter, softened:** Let it sit out. Cold butter is the enemy of smooth batter.
- **1 ½ cups granulated sugar:** Sweetness! The more the merrier, says the kids (and me).
- **2 large eggs:** Room temperature, please! They mix better and make a happier cake.
- **1 teaspoon vanilla extract:** The soul of any good vanilla cake. Don’t skimp on the good stuff.
- **1 cup whole milk:** Again, room temperature is your friend.
- **For the Frosting:** Your favorite vanilla buttercream recipe (or a tub of store-bought, no shame in that game!).
- **For the Fun:** An obscene amount of sprinkles (rainbow! jimmies! nonpareils!), M&M’s, gummy worms, mini marshmallows, edible googly eyes – whatever makes your heart sing and your kids squeal.
Step-by-Step Instructions
Alright, let’s get down to business. No fancy equipment needed, just some enthusiasm and maybe a catchy playlist.
- **Preheat & Prep:** First things first, get your oven to **350°F (175°C)**. Grease and flour a 9×13 inch baking pan. Or, if you’re feeling fancy, line it with parchment paper for easy removal. Trust me, it’s worth the extra 30 seconds.
- **Dry Mix It Up:** In a medium bowl, whisk together your flour, baking powder, and salt. Give it a good whisk, like you’re conducting an orchestra of dry ingredients. Set aside.
- **Wet Mix It Up (Butter & Sugar):** In a large bowl (or your stand mixer if you’re fancy like that), cream together the softened butter and granulated sugar until it’s light and fluffy. This usually takes about 2-3 minutes. It should look pale and airy.
- **Egg-cellent Addition:** Beat in the eggs one at a time, making sure each is fully incorporated before adding the next. Then, stir in that glorious vanilla extract.
- **Combine & Conquer:** Now, for the magic! Gradually add your dry ingredients to the wet ingredients, alternating with the milk. Start and end with the dry ingredients. **Don’t overmix!** Mix until just combined. A few lumps are okay; overmixing makes a tough cake.
- **Bake Away!** Pour the batter evenly into your prepared pan. Pop it into the preheated oven and bake for **30-35 minutes**, or until a toothpick inserted into the center comes out clean.
- **Cool Down:** Let the cake cool in the pan for about 10-15 minutes before inverting it onto a wire rack to cool completely. **This is crucial!** Trying to frost a warm cake is a one-way ticket to frosting soup.
- **Decorate Your Masterpiece:** Once the cake is completely cool, frost it generously with your chosen frosting. Then, unleash the sprinkles! Let the kids go wild with the toppings. The messier, the better – that’s where the creativity truly shines!
Common Mistakes to Avoid
Nobody’s perfect, but we can definitely avoid some common baking blunders that’ll make you want to throw your spatula across the kitchen. (Don’t do it, your spatula loves you.)
- **Thinking you don’t need to preheat the oven:** Rookie mistake! Your cake won’t rise properly if it goes into a cold oven. Patience, young padawan.
- **Using cold ingredients:** Cold butter, cold eggs, cold milk… they don’t play nice together. **Room temperature is key** for a smooth, emulsified batter.
- **Overmixing the batter:** Once you add the flour, mix just until combined. Seriously, **stop when you see no dry streaks**. Overmixing develops gluten, leading to a tough, dense cake. No one wants that.
- **Not letting the cake cool completely before frosting:** This is probably the biggest offender. You’ll end up with a sliding, melting, sad excuse for a frosted cake. Walk away. Go watch an episode of your favorite show. The cake can wait.
- **Underestimating the power of sprinkles:** There’s no such thing as too many when it comes to kid-friendly cakes. Go big or go home!
Alternatives & Substitutions
Feeling adventurous or missing an ingredient? No stress! Here are some simple swaps:
- **Buttermilk for whole milk:** If you have buttermilk, it can add an amazing tang and tenderness. Just swap it 1:1. Don’t have buttermilk? Add **1 tablespoon of lemon juice or white vinegar to your regular milk** and let it sit for 5 minutes before using. Instant buttermilk!
- **Oil for butter:** You *can* swap vegetable oil for butter for a slightly moister, albeit less flavorful, cake. Use the same amount. The texture will be a little different, but still good!
- **Extracts:** No vanilla? Try almond extract for a different vibe, or even lemon extract if you want a citrusy twist. Just be mindful with strong flavors like almond; use a little less.
- **Gluten-free flour:** You can absolutely use a 1:1 gluten-free baking blend for this recipe. The texture might be slightly different, but it usually works quite well!
- **Frosting:** Instead of vanilla, chocolate frosting is always a winner. Or, grab a can of that vibrant colored frosting for extra fun!
FAQ (Frequently Asked Questions)
Got questions? I’ve got (casual, humorous) answers!
- **Can I make this into cupcakes?** Absolutely! Line a muffin tin with liners, fill about two-thirds full, and bake for about 18-22 minutes. Easy peasy lemon squeezy!
- **My cake turned out dry. What did I do wrong?** Uh oh! Likely culprits: overbaking (keep an eye on that toothpick!) or overmixing the batter. **Less is more when it comes to mixing!**
- **Do I *really* need room temperature ingredients?** Well, technically yes, but why hurt your cake’s chances like that? Seriously, it makes a huge difference in how the batter emulsifies, leading to a smoother, more even crumb.
- **How long will this cake last?** Covered tightly at room temperature, it’s usually good for 3-4 days. In the fridge, maybe a day or two longer, but it’s best fresh! Like a good joke, it loses its punch after a while.
- **Can I add food coloring to the batter?** Heck yeah! Divide the batter into bowls, add different colors, and then spoon them into the pan for a vibrant rainbow swirl. Go wild!
- **Is it okay if my kids help decorate and it gets super messy?** Is it okay?! It’s encouraged! That’s the whole point of “creative cakes for kids”! Let them express their inner pastry Picasso. Embrace the sprinkles on the floor; that’s just extra sparkle.
Final Thoughts
So there you have it! A super simple, ridiculously fun, and utterly delicious cake that’s perfect for getting the kids involved, celebrating a birthday, or just because it’s Tuesday and you deserve some cake. Don’t stress the small stuff; baking should be a joy, not a chore. Now go impress someone—or yourself—with your new culinary skills. You’ve earned it!


