So you’re craving something tasty but too lazy to spend forever in the kitchen, huh? Same, friend, same. Sometimes you just need a little sweet pick-me-up that screams, “I made this!” without, you know, actually making it feel like a grueling chore. And if you happen to have a soft spot for a certain talented idol (Mark Lee, anyone?), then buckle up, buttercup, because we’re about to make a Bento Cake that’s as charming and refreshing as he is!
Why This Recipe is Awesome
Okay, let’s be real. Bento cakes are tiny, adorable, and frankly, a genius invention for when you want cake but don’t want a *whole damn cake* lurking in your fridge, judging your life choices. This particular Mark Lee Bento Cake recipe is awesome because it’s **super forgiving**. We’re talking idiot-proof, even for me, and trust me, I’ve had my share of baking disasters that looked more like abstract art than edible treats. It’s quick, uses simple ingredients, and you get to unleash your inner artist with the frosting. Plus, it’s designed to give off those fresh, clean vibes – just like our main man Mark. It’s the perfect treat for a solo movie night or to share with a lucky pal. No intimidating tiered monstrosity here, just pure, unadulterated, cute cake joy!
Ingredients You’ll Need
Get ready to raid your pantry! Here’s what you’ll need for this mini masterpiece:
- All-Purpose Flour: 1 cup. The magical white powder that makes everything cake-y. Don’t skip it, obviously.
- Granulated Sugar: ½ cup. For that sweet, sweet goodness.
- Baking Powder: 1 teaspoon. Our little cake lifter. Don’t confuse it with baking soda, unless you want a science experiment.
- Salt: ¼ teaspoon. Just a tiny pinch to make all the other flavors sing.
- Unsalted Butter: ¼ cup (½ stick), softened. The good stuff. Make sure it’s room temp, not straight-from-the-fridge rock hard.
- Large Egg: 1. Your binding buddy.
- Milk: ½ cup. Any kind works, but whole milk gives it that extra lushness.
- Vanilla Extract: 1 teaspoon. Because vanilla makes everything better, IMO.
- Powdered Sugar (Confectioners’ Sugar): 2 cups. For our glorious buttercream.
- More Unsalted Butter: ½ cup (1 stick), softened. More butter, more happiness.
- Milk or Cream: 1-2 tablespoons. To get that frosting just right.
- Green Food Coloring: A few drops. For that iconic Mark Lee vibe! (Or any color you fancy, you do you.)
- Optional: Mint extract or a tiny bit of matcha powder for extra flavor/color if you’re feeling adventurous.
Step-by-Step Instructions
- Preheat & Prep: Preheat your oven to 350°F (175°C). Lightly grease and flour a couple of 4-inch round cake pans, or one 6-inch pan if you only have that (you’ll just cut a smaller circle out of it later!).
- Dry Mix Fun: In a medium bowl, whisk together the flour, sugar, baking powder, and salt. Make sure there are no lumps because nobody wants a lumpy cake.
- Wet Mix Wonder: In a separate, larger bowl, cream together the softened butter and egg until light and fluffy. Then, stir in the milk and vanilla extract.
- Combine Forces: Gradually add the dry ingredients to the wet ingredients, mixing until just combined. **Don’t overmix!** A few small lumps are okay; overmixing leads to tough cakes. No one likes a tough cake.
- Bake It Up: Divide the batter evenly between your prepped pans. Bake for 18-22 minutes, or until a toothpick inserted into the center comes out clean.
- Cool Down: Let the cakes cool in the pans for about 10 minutes before carefully inverting them onto a wire rack to cool completely. Patience is a virtue, especially in baking!
- Whip Up the Frosting: While your cakes are chilling, beat the softened butter for the frosting in a medium bowl until creamy. Gradually add the powdered sugar, one cup at a time, until smooth.
- Flavor & Color: Add the milk (or cream) and vanilla extract to the frosting. Beat until light and fluffy. Now for the fun part: add a few drops of green food coloring until you reach your desired “Mark Lee” shade.
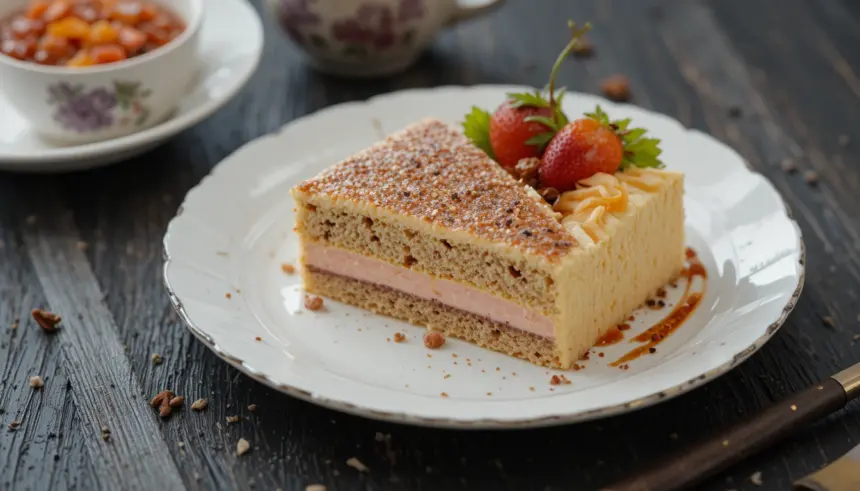
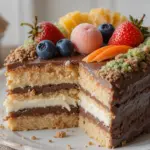
- Assemble Your Masterpiece: Once the cakes are *completely* cool (this is important, folks, otherwise your frosting will melt!), level them if needed. Spread a thin layer of frosting on top of one cake, place the second cake on top, and then frost the entire mini cake. Get creative with your frosting swirls!
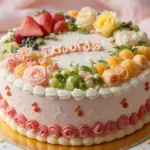
- Decorate! If you’re feeling extra, pipe a tiny “M” or a heart, or even just some cute dots. This is your cake canvas!
Common Mistakes to Avoid
Listen up, buttercups, because these are the pitfalls even I’ve stumbled into:
- Thinking you don’t need to preheat the oven: Rookie mistake! Your cake won’t rise properly, and it’ll bake unevenly. Always preheat!
- Overmixing the batter: This is a cardinal sin. It develops the gluten too much, making your cake dense and chewy instead of light and fluffy. Mix until just combined, then stop!
- Opening the oven door constantly: Resist the urge to peek! Especially in the first 15 minutes. Cold air rushing in can cause your cake to collapse.
- Frosting a warm cake: Oh, the horror. You’ll end up with a sliding, melty, frosting mess. **Always let your cake cool completely.** Like, hours.
- Eyeballing ingredients: Baking is a science, not an art (until the decorating part). Use measuring cups and spoons properly, especially for flour and leavening agents.
Alternatives & Substitutions
Feeling a little rebellious? Here are some ways to switch things up:
- Flour Power: If you’re out of all-purpose, you can technically use cake flour for an even finer crumb, or a 1:1 gluten-free flour blend, though texture might vary slightly.
- Milk Swap: Almond milk, oat milk, or soy milk work perfectly fine if you’re dairy-free or just prefer them.
- Flavor Frenzy: Instead of vanilla extract, try almond extract for a different vibe, or even a tiny bit of peppermint extract for a mint-chip feel with the green frosting!
- Buttercream Buzz: You can experiment with cream cheese frosting for a tangy kick, or even a chocolate ganache if you’re feeling fancy. But for simplicity and ease, classic buttercream is king, IMO.
- Cake Size: No small pans? Bake in a regular cupcake tin (adjust baking time down!) and just frost one or two for a mini treat.
FAQ (Frequently Asked Questions)
Got questions? I’ve got (casual) answers!
- “Can I use margarine instead of butter?” Well, technically yes, but why hurt your soul like that? Butter just tastes better and gives a superior texture, especially in frosting. Live a little!
- “How long does this Bento Cake last?” Wrapped tightly and stored in the fridge, it’s good for about 3-4 days. But let’s be real, it probably won’t last that long.
- “Can I make the cake ahead of time?” Absolutely! Bake the cake layers, let them cool completely, wrap them in plastic, and store them at room temp overnight, or freeze them for up to a month. Just thaw before frosting!
- “My frosting is too thin/thick, help!” Too thin? Add more powdered sugar, a tablespoon at a time. Too thick? Add more milk or cream, a teaspoon at a time. It’s all about finding that perfect, spreadable consistency.
- “Do I really need the small cake pans?” Not necessarily! You can bake it in a slightly larger pan (like a 6-inch) and then use a cookie cutter or a sharp knife to cut out smaller circles once it’s cool. Waste not, want not!
Final Thoughts
There you have it! Your very own Mark Lee-inspired Bento Cake. Wasn’t that way easier than you thought? Now go impress someone—or yourself—with your new culinary skills. You’ve earned this cute, delicious reward. And hey, if it’s not perfect, who cares? It’s homemade, made with love (and maybe a little bit of Mark Lee energy), and that’s what truly counts. Happy baking!
