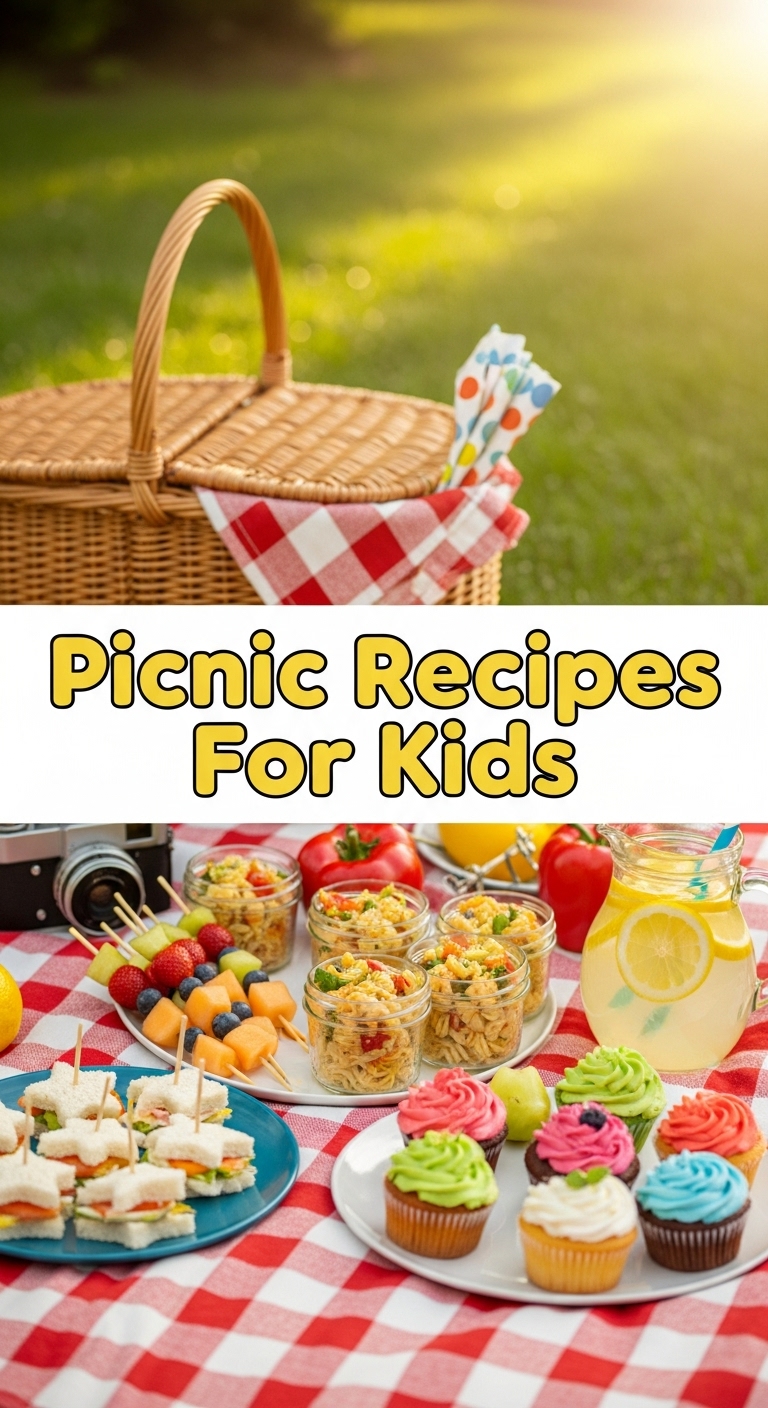
So, you’ve got these tiny humans who need feeding, and you’re dreaming of a chill picnic where they actually *eat* the food? But the thought of spending forever in the kitchen, only for said food to be rejected, sends shivers down your spine? Been there, bought the T-shirt, and it probably has a questionable food stain on it. Same.
Today, we’re making something so simple, so delicious, and so universally loved, you might just get a moment of peace at your next outdoor adventure. Get ready for… **Mini Pizza Muffins!**
Why This Recipe is Awesome
Okay, let’s be real. These Mini Pizza Muffins are basically magic. They’re ridiculously quick to whip up, infinitely customizable (meaning you can try to sneak in a veggie or two), and honestly, even *I* can’t mess them up – and that’s saying something, believe me. Plus, they pack perfectly for a picnic, hold up well, and your kids will actually eat them. No more sad, untouched crust-less sandwiches, folks! This recipe is idiot-proof, portable, and pretty much guarantees smiles. Winning!
Ingredients You’ll Need
Gather ’round, aspiring culinary legends! Here’s your loot:
- 1 package of pre-made puff pastry or refrigerated pizza dough: This, my friends, is the lazy person’s best friend. Don’t judge, it’s genius.
- About 1/2 cup pizza sauce: You know, that red stuff. For pizza.
- 1.5 cups shredded mozzarella cheese: The glorious glue that holds dreams (and toppings) together.
- Optional toppings (be brave):
- Mini pepperoni (because everything is cuter when it’s tiny, right?)
- Cooked, crumbled sausage or ham
- Finely diced bell peppers, mushrooms, or spinach (whatever veggies you can sneak in without a full-blown toddler rebellion. Godspeed.)
- A 12-cup muffin tin: The unsung hero of this operation.
- A little cooking spray or butter: To prevent sticky situations.
Step-by-Step Instructions
- Preheat & Prep: Crank that oven up to 375°F (190°C). While it’s getting toasty, lightly grease your 12-cup muffin tin with cooking spray or a dab of butter. You don’t want these beauties sticking around forever.
- Dough Duty: Unroll your puff pastry or pizza dough on a lightly floured surface. Using a round cookie cutter or the rim of a glass (around 3-4 inches in diameter), cut out 12 circles.
- Into the Muffin Tin They Go: Gently press each dough circle into the muffin tin cups, forming a little cup or nest. Try to get it up the sides a bit.
- Sauce It Up: Spoon about a tablespoon of pizza sauce into the bottom of each dough cup. Don’t overdo it, or you’ll have a saucy explosion!
- Cheese, Please! Sprinkle a good pinch of shredded mozzarella over the sauce in each cup. We like our cheese, don’t we?
- Topping Time: Now for the fun part! Add your chosen toppings. A few mini pepperonis, a sprinkle of finely chopped veggies (if you’re feeling adventurous), whatever makes your heart sing.
- Bake ‘Em Baby! Pop the muffin tin into your preheated oven. Bake for about 12-15 minutes, or until the dough is golden brown and the cheese is bubbly and melty. Ah, perfection!
- Cool Down: Let them cool in the tin for a few minutes before gently removing them to a wire rack. They’ll be hot, so resist the urge to immediately devour all 12. Or don’t, I won’t tell.
Common Mistakes to Avoid
- Overfilling the Cups: Rookie mistake! Too much sauce or too many toppings will lead to a giant, gooey, possibly exploded mess. Less is more, especially in a muffin tin.
- Forgetting to Grease the Tin: Unless you want to chisel your pizza muffins out of the tin, please, for the love of all that is holy, grease it.
- Not Preheating the Oven: Patience, my friend. A cold oven means uneven baking and soggy bottoms. Nobody wants that.
- Trying to Reason with a Toddler About Veggie Toppings: This isn’t a cooking mistake, but it’s a common life mistake. Just sprinkle them finely and hope for the best.
Alternatives & Substitutions
Feeling creative? Excellent! Here are some ideas to mix things up:
- Dough Swap: Don’t have puff pastry? You can totally use refrigerated biscuit dough – just flatten them a bit before pressing into the tin. Works like a charm!
- Cheese Whiz: Mozzarella is classic, but feel free to add a little Parmesan, cheddar, or even a fancy provolone for extra pizzazz.
- Veggie Power-Up: If your kids are on board (or oblivious), try adding finely chopped spinach, corn, or even a tiny bit of pre-cooked, mashed sweet potato for a nutritional boost.
- Protein Punch: Instead of pepperoni, consider cooked, crumbled turkey sausage, tiny pieces of ham, or even some shredded chicken.
- Sauce Savvy: No pizza sauce? A little pesto works wonders for a different flavor profile, especially for the grown-ups. Just sayin’.
FAQ (Frequently Asked Questions)
Got questions? I’ve got answers! (Mostly.)
- Can I make these ahead of time? Absolutely! They’re great warm or at room temperature, which makes them perfect for picnics. Just bake, cool, and pack ’em up.
- Can I freeze them? Yep! Once baked and fully cooled, pop them in an airtight freezer bag. Reheat in the oven or microwave when hunger strikes.
- What if my kids hate pizza sauce? Gasp! Okay, for the sauce-averse, try a thin layer of cream cheese (mixed with a tiny bit of garlic powder maybe?) or even a very light brush of olive oil.
- Can adults eat these? Well, technically yes, but why hurt your soul by thinking these are just for kids? They are delicious for *everyone*, IMO.
- Do I *have* to use a muffin tin? Nope! You can also make them as mini pizzas on a baking sheet, but the muffin tin gives them that perfect, portable cup shape.
- How long do they last? Fresh is best, but they’ll keep in an airtight container in the fridge for 2-3 days.
Final Thoughts
So there you have it! A super simple, ridiculously tasty, and picnic-perfect recipe that even the pickiest eaters (and the laziest cooks, like moi) will love. These Mini Pizza Muffins are your secret weapon for happy tummies and less stress. Now go impress someone – or yourself – with your new culinary skills. You’ve earned it!


