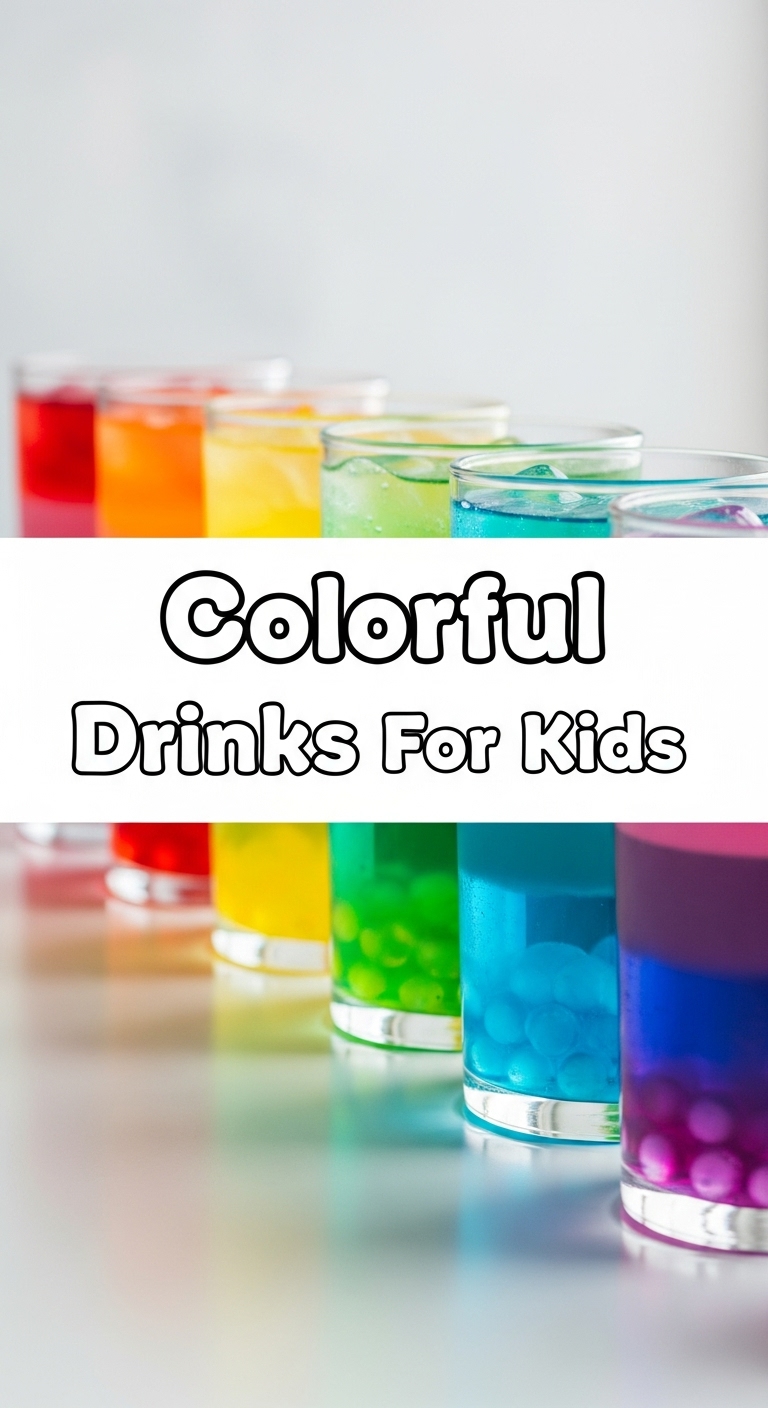
So, you’ve got a crew of tiny humans (or just one very demanding one) giving you the side-eye because their drink isn’t “magical” enough? Or maybe you’re just tired of plain water and want to inject some serious pizzazz into your afternoon without resorting to a glitter cannon. Same, friend. Same. Let’s make some colorful drinks that are so pretty, they’ll make even the pickiest kid say, “Whoa!”
Why This Recipe is Awesome
Okay, let’s be real. In the grand scheme of parenting, sometimes you just need a win. And this “recipe” (if you can even call it that, because it’s barely a recipe, it’s more like a suggestion for awesomeness) is exactly that. It’s **super easy**, involves minimal cooking (read: zero actual cooking), and makes you look like a total kitchen wizard who probably knows how to tame dragons in your spare time. Plus, you’re sneaking in some fruit, so it’s practically health food, right? Don’t look too closely at the sugar content if you add a splash of juice; we’re going for joy here, not a Ph.D. in nutrition. It’s basically foolproof. Even I, someone who once set off the smoke alarm making toast, can pull this off. You got this.
Ingredients You’ll Need
Get ready for a grocery list that doubles as a rainbow! The beauty here is flexibility, but here’s a good starting point for max color impact:
- For the Red Layer: About 1 cup frozen strawberries or raspberries. Fresh works too, but frozen makes it super chilly and thick!
- For the Orange/Yellow Layer: About 1 cup frozen mango chunks, pineapple, or even a peeled orange. Go wild!
- For the Green Layer: About 1 cup frozen spinach (yes, really! They won’t taste it, promise) combined with half a frozen banana or some pineapple for sweetness.
- For the Blue/Purple Layer: About 1 cup frozen blueberries or blackberries. These are natural show-stoppers.
- Liquid of Choice: A splash of apple juice, coconut water, or even regular water for each layer. You’ll need about 1/4 to 1/2 cup per color, depending on your blender and desired thickness.
- Optional Fun Stuff: A tiny drizzle of honey or maple syrup if your fruit isn’t sweet enough (or your kids are extra picky), and maybe some sprinkles or a fun straw for garnish.
Step-by-Step Instructions
Alright, let’s get our Picasso on! This is where the magic happens, one vibrant layer at a time.
- Prep Your Fruit (If Needed): If you’re using fresh fruit, give it a quick wash and chop. If it’s frozen, you’re already ahead of the game!
- Blend the Red Layer: Toss your red fruit (strawberries, raspberries) into a blender with just enough liquid (start with 1/4 cup) to get it moving. Blend until smooth and thick. You want it thick enough to hold its own, not watery. Pour this into the bottom of your clear serving glass(es). Pop the glass in the fridge or freezer for 5-10 minutes to firm up slightly while you do the next step. **This is key for distinct layers!**
- Blend the Orange/Yellow Layer: Rinse your blender (or don’t, we’re friends, I won’t tell) and repeat the blending process with your orange/yellow fruit. Remember, just enough liquid for a thick consistency. Once blended, gently spoon or pour this over the chilled red layer. Back to the fridge/freezer it goes!
- Blend the Green Layer: You know the drill! Green fruit + liquid. Blend it up. Layer it on top of the orange/yellow. Chill again. Don’t worry, the spinach flavor gets totally lost in all the fruit goodness.
- Blend the Blue/Purple Layer: Last but not least, your blue/purple fruit. Blend ’em, layer ’em. Give the whole beautiful creation a final chill for a few minutes to really set those layers.
- Garnish and Serve: Add a fun straw, maybe a few extra berries on top, or a tiny sprinkle of something shiny if you’re feeling extra. And boom! Instant colorful joy.
Common Mistakes to Avoid
Look, we all make mistakes. It’s part of the human condition. But let’s avoid these rookie errors, shall we?
- Too Much Liquid: Rookie mistake! Your layers will mix faster than you can say “oopsie.” **Start with very little liquid** and add more just a tablespoon at a time until your blender can handle it. We’re aiming for thick, almost-sorbet-like consistency for each layer.
- Impatience is NOT a Virtue: Seriously, don’t skip the chilling step between layers. It’s boring, I know, but it’s what makes those gorgeous distinct lines. Otherwise, you’ll end up with a brownish-purplish blob. Still tasty, but not nearly as Instagrammable.
- Using Only Fresh Fruit: While fresh fruit is great, using *only* fresh fruit might result in a less thick, less cold drink. Frozen fruit is your friend here for that perfect smoothie consistency.
- Not Tasting As You Go: This isn’t baking, so precision isn’t paramount. Taste each layer before you commit! Need more sweetness? Add a tiny bit of honey. Too thick? A splash more liquid. Don’t be shy!
Alternatives & Substitutions
Feeling adventurous? Or maybe you just ran out of blueberries (the horror!). No worries, here are some swap-outs:
- Fruit Swaps:
- **Red:** Cherries (pitted!), cranberries (might need more sweetener).
- **Orange/Yellow:** Peaches, apricots, carrots (surprise! Blend well with orange juice).
- **Green:** Kale (use less than spinach, it’s stronger), avocado (makes it super creamy, but changes color a bit), lime juice for a zesty green.
- **Blue/Purple:** Blackberries, purple grapes (seedless!), acai puree.
- Liquid Swaps: Almond milk, oat milk, or even a splash of orange juice or pineapple juice can add more flavor (and sugar, FYI!). For a creamier drink, use milk or yogurt in your layers.
- Hidden Veggies: Besides spinach, try blending in a tiny piece of cooked beet for a vibrant pink, or some raw carrot for extra orange. **The key is to blend them extremely well with a stronger-flavored fruit.**
- Protein Boost: Add a teaspoon of chia seeds to any layer—they won’t change the color much but will add some fiber and healthy fats. Just blend them in well!
FAQ (Frequently Asked Questions)
Got questions? I’ve got (casual) answers!
- **Can I make this ahead of time?** Well, technically yes, but why would you want to compromise that gorgeous layered effect? The layers will start to bleed into each other over time. **Best enjoyed immediately**, IMO.
- **Is this really healthy?** As healthy as you make it! Using mostly fruit, water/coconut water, and no added sugar (or just a little) makes it pretty darn good. If you load it with juice and honey, it’s more of a treat. Everything in moderation, right?
- **My kids hate spinach. Will they notice?** If blended properly with a stronger-tasting fruit (like banana or pineapple), absolutely not! It’s a magic trick. They’ll be too busy admiring the green to question it.
- **Can adults drink this too?** Um, is the sky blue? Yes! For an “adult” version, you could *theoretically* add a splash of rum or vodka to one of the layers, but you didn’t hear that from me! 😉
- **What if my blender isn’t super powerful?** You might need to add a tiny bit more liquid to get things moving, and be prepared to stop and scrape down the sides a few times. Small batches might work better too.
- **How many servings does this make?** This really depends on the size of your glass and how generous you are with each layer. I’d say enough for 1-2 happy kids per batch of fruit.
Final Thoughts
So there you have it, a super easy, super fun, and ridiculously pretty way to make drinks that are anything but boring. This isn’t just about making a drink; it’s about making a moment. A moment of “wow,” a moment of joy, and a moment where you feel like you’ve totally nailed this adulting thing. Now go impress someone—or yourself—with your new culinary skills. You’ve earned it!


