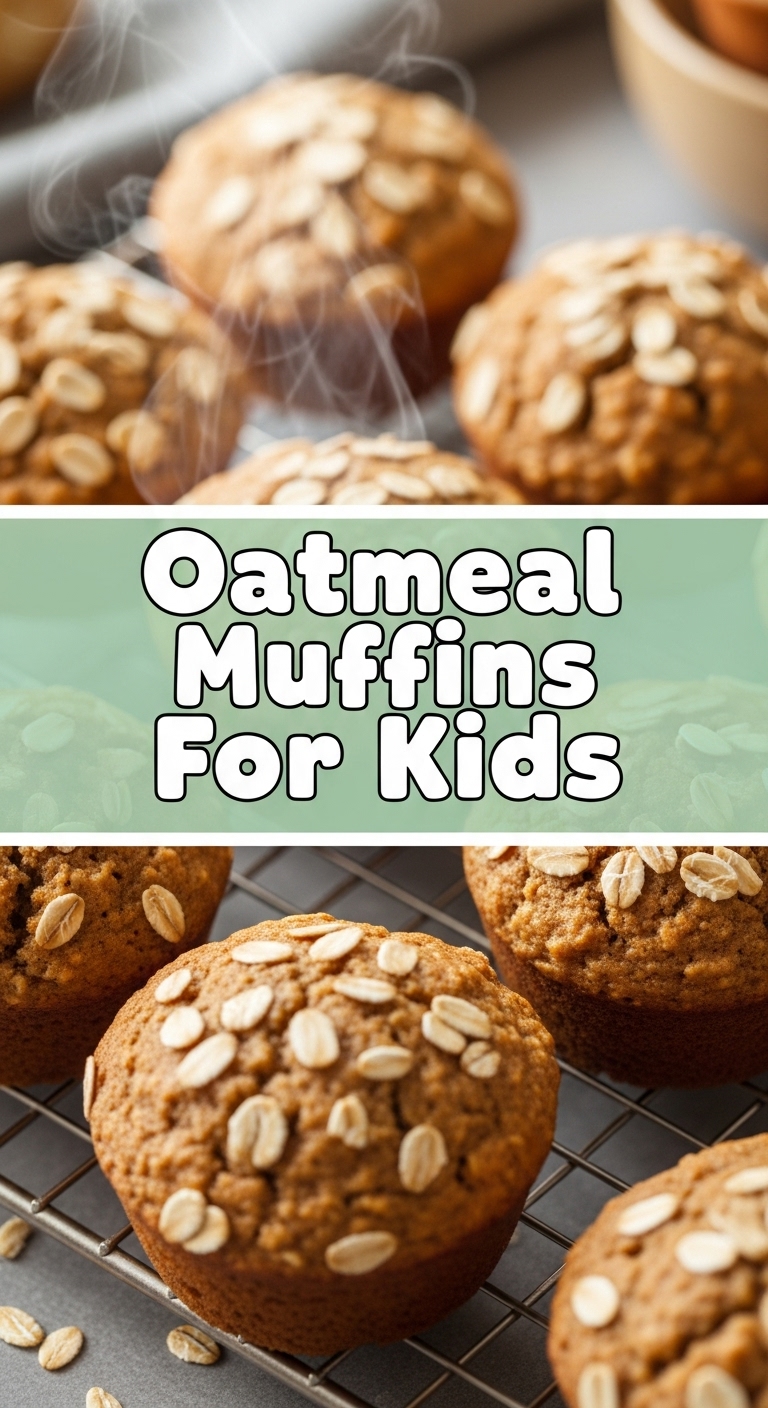
So, you’ve survived another morning, and the little munchkins (or your own inner child) are already asking, “What’s for snack?” Or maybe you’re just staring at a lonely bag of oats, wondering if it can be more than just… porridge. Friend, you’ve come to the right place. We’re about to dive headfirst into the glorious world of **Oatmeal Muffins for Kids** – and by “kids,” I mean anyone who appreciates a damn good, not-too-sweet, totally-easy-to-make muffin. Let’s do this before coffee fully kicks in, shall we?
Why This Recipe is Awesome
Okay, buckle up, because this isn’t just *any* muffin recipe. This is the holy grail for busy humans who want to pretend they have their life together. Here’s the deal:
- It’s practically idiot-proof. Seriously, if I can make these without setting off the smoke alarm, you can too. No fancy techniques, no obscure ingredients. Just mix, bake, and boom! Muffin magic.
- Kids actually eat them. And not just out of politeness. They genuinely love them. It’s got that cozy, wholesome vibe but also chocolate chips (if you play your cards right).
- Sneaky healthy-ish. Oats! Fiber! Less sugar than those store-bought sugar bombs. You can feel like a domestic goddess/god without actually, you know, being one. Win-win, IMO.
- Freezer-friendly. Make a big batch, freeze ’em, and pull one out whenever snack emergencies strike. Future you will thank past you.
Ingredients You’ll Need
Gather ’round, my culinary comrades! Here’s what you need. Don’t worry, nothing too wild here. Just the good stuff.
- 1 ½ cups old-fashioned rolled oats: The hearty kind, not instant. We want texture, not mush.
- 1 ½ cups all-purpose flour: The unsung hero of baking. Don’t overthink it.
- ½ cup packed light brown sugar: Just enough sweetness to keep things interesting. You could try less, but why tempt fate?
- 1 tablespoon baking powder: Our puff-up specialist. Essential for fluffy muffins.
- ½ teaspoon baking soda: This little guy works with the buttermilk (or milk/vinegar combo) for extra lift.
- ½ teaspoon salt: Balances everything out. Don’t skip it!
- 1 cup buttermilk: The secret to tender, moist muffins. If you don’t have it, don’t panic! See the FAQ section below for a quick swap.
- ½ cup milk (any kind): Dairy, non-dairy, whatever you’ve got chilling in the fridge.
- ½ cup melted unsalted butter (or vegetable oil): Butter for flavor, oil for ease. Your call, chief.
- 1 large egg: The binder that holds our dreams (and oats) together.
- 1 teaspoon vanilla extract: Because everything’s better with vanilla, right?
- Optional add-ins: ½ – 1 cup chocolate chips (duh!), blueberries, chopped nuts, or even a dying-on-the-counter banana.
Step-by-Step Instructions
Alright, apron on (or not, we’re friends here), let’s get baking! These steps are so easy, you could probably do them in your sleep.
- Prep Your Stage: First things first, **preheat your oven to 400°F (200°C)**. And get a 12-cup muffin tin ready. Line it with paper liners, or grease it like you mean it. Nobody wants stuck muffins.
- Mix the Dry Crew: In a large bowl, whisk together the oats, flour, brown sugar, baking powder, baking soda, and salt. Give it a good whisk until everything is evenly combined. We’re aiming for no clumpy surprises.
- Combine the Wet Gang: In a separate, medium bowl, whisk together the buttermilk, regular milk, melted butter (or oil), egg, and vanilla extract. Whisk until it’s all smooth and homogenous.
- Bring Them Together (Gently!): Pour the wet ingredients into the dry ingredients. Now, here’s the crucial part: **mix just until combined.** A few lumps are totally fine! Overmixing is the enemy of tender muffins – it makes them tough. Fold in your optional add-ins (chocolate chips, berries, etc.) now, if you’re using them.
- Scoop and Bake: Divide the batter evenly among the 12 prepared muffin cups. Fill them about two-thirds full.
- Bake ‘Em Up: Pop that muffin tin into your preheated oven. Bake for **18-22 minutes**, or until a wooden skewer or toothpick inserted into the center of a muffin comes out clean.
- Cool Down: Let the muffins cool in the tin for a few minutes before transferring them to a wire rack to cool completely. Or just eat one hot. I won’t tell.
Common Mistakes to Avoid
We’ve all been there. Baking fails happen. But with a little heads-up, you can dodge these common muffin pitfalls like a pro.
- Overmixing the Batter: This is a big one! Mixing too much develops the gluten in the flour, resulting in tough, rubbery muffins instead of light, fluffy ones. **Mix just until the flour streaks disappear.** Lumps are friends, not foes!
- Forgetting to Preheat the Oven: Rookie mistake! A cold oven means your muffins won’t rise properly, resulting in dense, sad little pucks. Give that oven time to get to temp.
- Not Using Liners or Greasing the Tin: Unless you enjoy scraping baked goods off metal, always line your muffin tin or grease every single cup thoroughly.
- Filling Cups Too Full: Overfilling leads to muffin volcanos that overflow and stick everything together. Aim for about two-thirds full.
Alternatives & Substitutions
Feeling creative? Or just missing an ingredient? No worries, here are some ideas to tweak this recipe to your heart’s content!
- No Buttermilk? No Problem! Don’t make a special trip to the store. Just add 1 tablespoon of white vinegar or lemon juice to your 1 cup of regular milk, stir, and let it sit for 5-10 minutes. Voila! Instant buttermilk substitute.
- Flour Power: Want to boost the fiber? You can substitute up to half of the all-purpose flour with whole wheat flour. Just know they might be a tad denser, but still delicious.
- Sweetener Swaps: You can try swapping out some of the brown sugar for maple syrup or honey, but you might need to slightly reduce the liquid elsewhere to maintain consistency. This recipe is designed for brown sugar, though, and it’s pretty perfect as is, FYI.
- Dairy-Free Friends: Use your favorite non-dairy milk (almond, soy, oat) and swap the butter for a neutral-flavored oil like canola or melted coconut oil.
- Endless Add-ins: Get wild! Try dried cranberries, chopped apples, a dash of cinnamon, or different kinds of chocolate. Or go savory with cheese and herbs (though maybe not for the “kids” version).
FAQ (Frequently Asked Questions)
Got questions? I’ve got answers. Probably. Let’s see!
Can I make these gluten-free?
Technically, yes! You can try a 1:1 gluten-free baking flour blend. Make sure your oats are certified gluten-free, too. The texture might be slightly different, but still tasty.
How long do these muffins last?
In an airtight container at room temperature, they’re good for about 2-3 days. If they last that long without being devoured, I’d be impressed!
Can I freeze these muffins?
Absolutely! Once completely cool, store them in a freezer-safe bag or container for up to 2-3 months. Thaw at room temperature or pop them in the microwave for a quick warm-up.
What if I don’t have brown sugar? Can I use white sugar?
You can, but brown sugar adds a lovely moistness and a deeper, caramel-y flavor that white sugar just can’t quite replicate. If you’re out, white sugar will work, but don’t say I didn’t warn you about the subtle flavor change!
My muffins didn’t rise much. What went wrong?
Oh, the dreaded flat muffin! Common culprits are old baking powder/soda (they lose potency over time), overmixing the batter, or not preheating your oven properly. Check those dates on your leavening agents!
Are these super sweet? My kids are sensitive to sugar.
This recipe uses ½ cup of brown sugar for 12 muffins, which isn’t overly sweet compared to many recipes. You can try reducing it by 1/4 cup, but any more than that and you might lose some of the appeal for the younger crowd (and some of the moisture).
Final Thoughts
Alright, you culinary wizard, you’ve got the lowdown on these amazing Oatmeal Muffins! They’re simple, satisfying, and perfect for sneaking a little bit of wholesome goodness into your (or your kids’) day. Go forth and bake! Your kitchen will smell amazing, your taste buds will thank you, and you’ll have a batch of delightful treats that prove you don’t need to be a Michelin-star chef to make something truly delicious. Now go impress someone—or yourself—with your new culinary skills. You’ve earned it!


