Okay, let’s be real. Cooking for kids can sometimes feel like you’re entering a culinary Thunderdome, right? One wrong move and suddenly you’ve got a tiny food critic with a dramatic flair for rejecting anything that isn’t beige. But what if I told you there’s a recipe so ridiculously cute and simple, it practically cooks itself? And yes, your kids will actually eat it!
Why This Recipe is Awesome
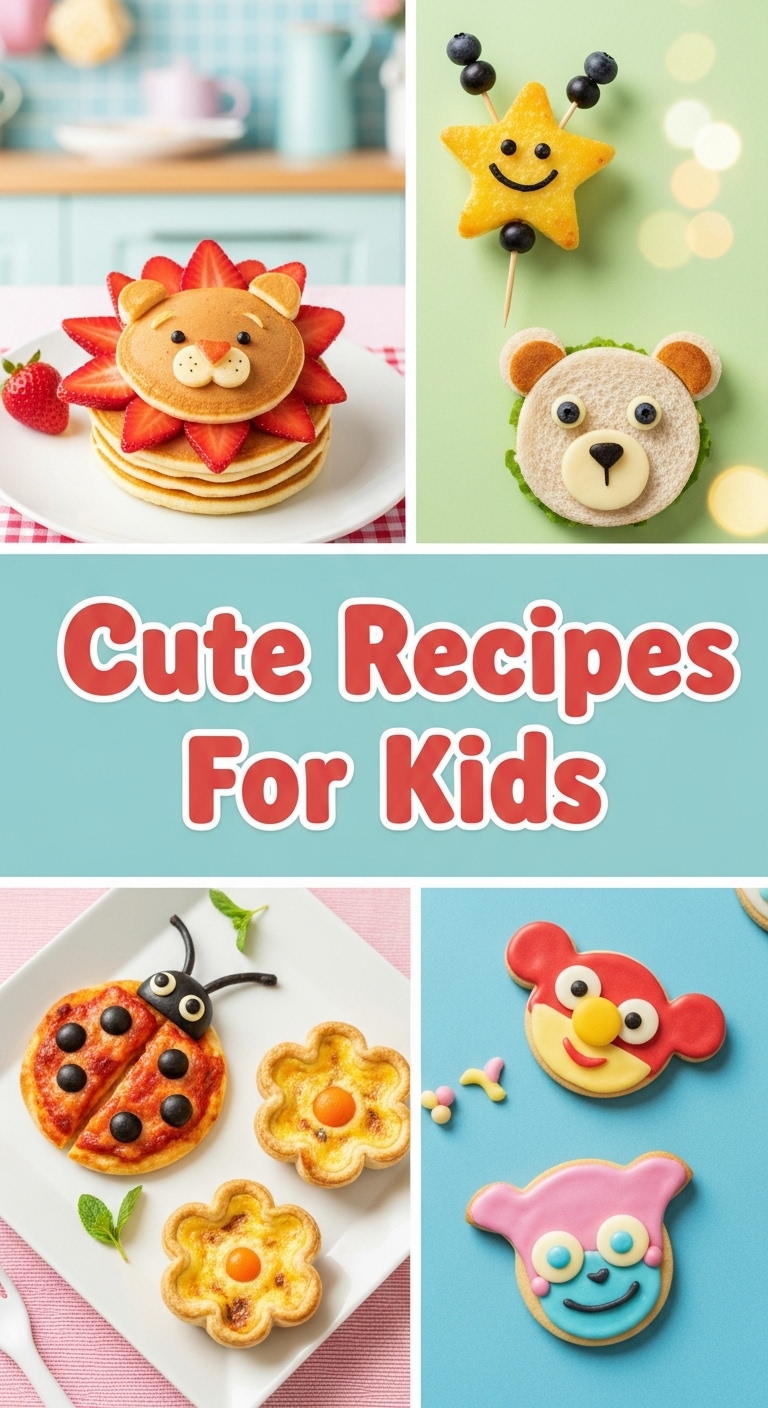
Because, my friend, we’re making **Teddy Bear Toast**! It’s not just cute; it’s practically a masterpiece of minimal effort. Seriously, even if your culinary skills are limited to boiling water and burning toast, you can nail this. It’s a guaranteed smile-maker, uses ingredients you probably already have, and takes less time than it does to argue with a toddler about putting on socks. Plus, it’s a sneaky way to get some fruit into those little tummies. Win-win-win!
Ingredients You’ll Need
- Bread: Any kind you fancy, but thicker slices work best. Think of it as a sturdy canvas for your edible art.
- Peanut Butter (or alternative spread): The sticky glue that holds dreams together. Or, you know, fruit.
- Banana: One perfectly ripe banana. This is going to be our bear’s adorable snout and ears.
- Blueberries (or chocolate chips): For the eyes and nose. Pick whichever makes you feel less guilty about eating chocolate for breakfast.
- Optional: A drizzle of honey or sprinkles: Because who doesn’t love a little sparkle?
Step-by-Step Instructions
- Toast It Up: Pop your bread into the toaster. We’re aiming for a golden-brown, not a charcoal briquette. Don’t burn the toast! It’s the foundation of our teddy bear dreams.
- Spread the Love: Generously slather that toast with peanut butter. Make sure you get it all the way to the edges. This is crucial for structural integrity, people!
- Banana Bonanza: Slice your banana into thin rounds. You’ll need one for the snout and two smaller ones (cut in half) for the ears.
- Eye See You: Grab your blueberries or chocolate chips. Place two above the banana snout for the eyes and one smaller one on the snout itself for the nose.
- Fancy Finish (Optional): If you’re feeling extra fancy, drizzle a little honey or sprinkle some sprinkles around the edges. Because why not?
Once toasted, let it cool just a smidge. No one likes burnt fingers, especially tiny ones.
Think of it as laying down the comfy fur for our bear. If you’re using a nut-free spread, go wild with that instead!
Place one full banana slice in the middle of the top half of the toast for the snout. Then, position two half-slices at the top corners for the ears. Ta-da! Bear shape emerging!
Feel free to get creative with expressions! Happy bear? Sleepy bear? Slightly bewildered bear? You’re the artist!
Serve immediately and prepare for squeals of delight (or at least, less grumbling at the breakfast table). You’re basically a kitchen wizard now.
Common Mistakes to Avoid
- Burning the Toast: Rookie mistake! A dark, crispy canvas doesn’t scream “adorable bear.” Keep an eye on that toaster.
- Too Little Spread: If you skimp on the peanut butter, your banana pieces will stage a rebellion and fall off. Be generous!
- Overripe Bananas: While good for smoothies, mushy bananas are harder to slice neatly for those cute features. Aim for firm-but-sweet.
- Eating all the ingredients before assembly: Look, I get it, but try to resist the urge until the bear is complete. Trust me, the cuteness factor makes it taste even better.
Alternatives & Substitutions
Got allergies? No problem! Or just out of something? Here are some quick fixes:
- Peanut Butter: Swap it for almond butter, sunflower seed butter (SunButter), cream cheese, or even a chocolate hazelnut spread if you’re feeling decadent. Just make sure it’s spreadable!
- Bananas: Not a fan? Try sliced strawberries or kiwi for the snout, though the shape might be less “bear-like.” For ears, half-grapes or mini marshmallows work too.
- Blueberries/Chocolate Chips: Raisins, mini M&M’s, small pieces of dried fruit, or even just tiny dots of edible food marker can create those expressive eyes and nose. Get creative!
- Bread: Whole wheat, white, sourdough, brioche… whatever floats your boat. Just remember, thicker slices hold up better.
FAQ (Frequently Asked Questions)
Got questions? I got answers (and maybe a few sarcastic remarks).
- “Can I make this ahead of time?” Well, you *could*, but honestly, bananas tend to brown and bread gets soggy. Best served fresh, IMO. Nobody wants a sad, brown bear.
- “What if my kid doesn’t like bananas?” Oh, the horror! Kidding. See the “Alternatives” section! Strawberries or kiwi can work, or even just use two small circles of spread for the snout. The key is the ‘face’ elements.
- “Is this healthy?” It’s got fruit and whole grains (if you pick that bread!). It’s definitely a step up from a bowl of sugary cereal. Moderation is key, as with all things delicious.
- “My kid ate all the blueberries before I could finish!” Classic! This is why you always buy extra. Or, you know, just use chocolate chips. They’ll never complain about that switch.
- “Can adults eat this too?” Ummm, is the sky blue? Absolutely! It’s a perfectly delightful, nostalgic, and quick snack for anyone. No judgment here.
Final Thoughts
See? I told you it was easy peasy lemon squeezy (and infinitely cuter than lemons). You just whipped up a culinary masterpiece that’s guaranteed to bring smiles, maybe even a “Thank you, Mom/Dad/Cool Aunt/Uncle!” You’ve bypassed the tantrums, embraced the cute, and probably saved yourself a dishwashing headache. Now go impress someone—or yourself—with your new culinary skills. You’ve earned it! Now, if you’ll excuse me, I hear a teddy bear calling my name…


