Ever wonder if you could just *poof* something delicious into existence? Like, without ordering takeout or, gasp, adulting too hard? Well, my friend, today we’re basically wizards. Mini, dairy-transforming wizards. We’re making butter, and trust me, it’s so ridiculously simple, you’ll wonder why you ever bought it from a store. (Just kidding, we still love grocery stores. Mostly.)
Why This Recipe is Awesome
Okay, so you want to feel like a kitchen rockstar without actually, you know, doing a lot of work? This is your jam (or, rather, your butter). It’s:
- **Idiot-proof.** Seriously, even I, a person who once set off the smoke detector making toast, can do this.
- **Super fast.** We’re talking minutes, not hours. Perfect for those “I’m bored, what can we make?!” moments.
- **A genuine science experiment.** Kids (and adults, let’s be real) get to watch liquid cream magically turn into solid butter. Mind blown!
- **Delicious.** Fresh homemade butter? On warm toast?
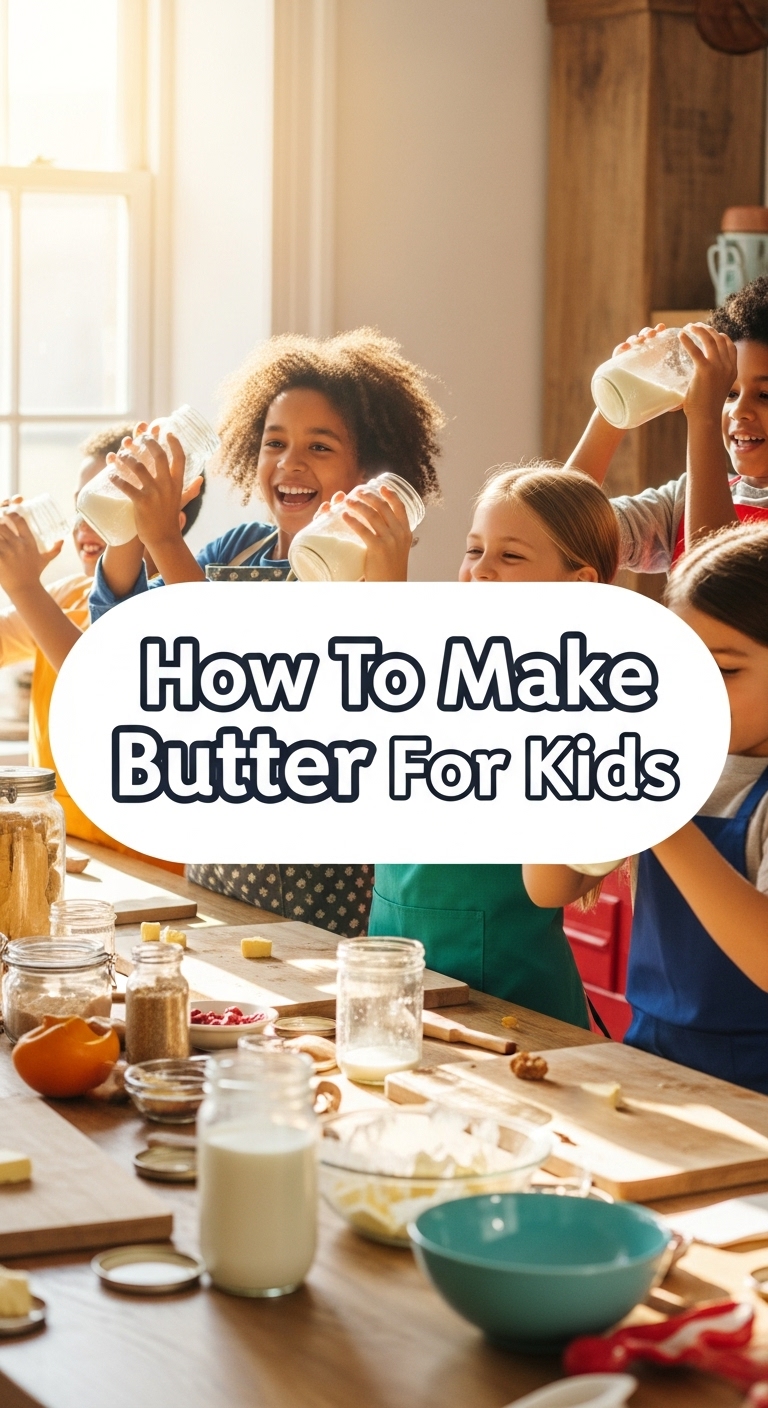
Chef’s kissCow’s kiss! - **Great for tiny hands!** Shaking a jar is basically a fun workout, and totally safe for little chefs.
Ingredients You’ll Need
Gather your mighty arsenal! This list is short, sweet, and to the point. No fancy stuff, promise.
- Heavy Cream (aka Heavy Whipping Cream): This is your MVP, the star of the show. Get the full-fat stuff, no wimpy skim milk allowed. We’re making butter, not sad, watery dreams. About 1 pint (2 cups) is a good start.
- Salt (optional, but recommended): Just a pinch, unless you’re feeling wild and want super salty butter. Your call, rockstar.
- A Clean Jar with a Tight Lid: A mason jar works perfectly. This is your main weapon for the “shaking method.” Or, if you’re feeling fancy/lazy, a stand mixer with a whisk attachment.
- Cold Water: For rinsing, not for drinking (yet). Ice water is even better!
- A Fine-Mesh Sieve or Colander: To separate the good stuff from the liquid.
- Cheesecloth (optional): Handy for squeezing, but not strictly necessary. Your hands work too!
Step-by-Step Instructions
- Pour it in: Grab your clean jar. Pour the heavy cream into it. Don’t fill it more than halfway, you need room for all the magic to happen (and to prevent overflow during vigorous shaking).
- Shake, Rattle, and Roll (or Mix!):
- Jar Method: Screw that lid on TIGHT! Now, shake it like you’re trying to win the lottery. Seriously, shake, shake, shake! This is the kids’ favorite part (and a great arm workout for you).
- Mixer Method: If you’re using a stand mixer, attach the whisk and crank it to medium-high. Let it do its thing.
You’ll see stages: first whipped cream, then it’ll get thicker and lumpier, almost like cottage cheese. Keep going!
- The Big Reveal: Suddenly, it’ll happen! You’ll hear/see a distinct change. The solid butter will separate from a yellowish liquid (that’s buttermilk!). This is your cue to stop shaking/mixing. **Don’t overmix at this stage, or you’ll get crumbly butter.**
- Drain the Buttermilk: Place your sieve over a bowl. Open the jar and pour out the liquid buttermilk. **Don’t toss it!** It’s delicious and great for pancakes or baking.
- Rinse Time! Put your newly formed butter blob into the sieve. Pour a little cold water over it. Gently squish and press the butter with your hands or a spoon to help release more buttermilk. You might have to repeat this 2-3 times until the water runs mostly clear. **This is super important for how long your butter will last!**
- Squeeze it Out: Gather the butter into a ball. If you have cheesecloth, wrap it up and squeeze out any remaining water. If not, just use your clean hands to press and knead it against the side of the sieve or a clean bowl until no more liquid comes out.
- Salt it Up (Optional): Place your beautiful butter in a bowl. Sprinkle in a pinch or two of salt (to taste). Use a spoon or your hands to knead the salt evenly through the butter.
- Store Your Gold: Shape your butter into a log or ball. Wrap it in parchment paper or plastic wrap, or store it in an airtight container in the fridge. Boom! You just made butter.
Common Mistakes to Avoid
Nobody’s perfect, but we can definitely avoid these rookie blunders:
- Using Low-Fat Cream: Nope, nada, absolutely not. That’s like trying to make a sandcastle without sand. It ain’t gonna happen, pal. You need the fat for butter.
- Not Shaking/Mixing Long Enough: Patience, grasshopper. It *will* turn. Don’t give up at the whipped cream or lumpy stages! The magic is about to happen.
- Not Rinsing Thoroughly: “Eh, good enough!” No, it’s not. Unless you like slightly sour-tasting butter that goes bad super fast, give it a good rinse until the water runs clear. This gets rid of residual buttermilk.
- Forgetting to Squeeze Out All the Water: Extra water means extra mushy butter. Nobody wants mushy butter, IMO. Press, press, press!
Alternatives & Substitutions
Feeling adventurous? Let’s spice things up (literally):
- Flavored Butters: Once your butter is made, you can mix in all sorts of goodies!
- **Sweet Treat:** A drizzle of honey and a pinch of cinnamon. Divine on pancakes!
- **Herb Garden:** Finely chopped fresh herbs like chives, parsley, or dill. Great for spreading on warm bread.
- **Garlic Lover:** Minced garlic and a little dried parsley. Hello, homemade garlic bread!
- Buttermilk Usage: Don’t let that liquid gold go to waste! Use it for fluffy pancakes, tender biscuits, or even just drink it (if you’re into that tangy goodness!).
- Electric Mixer: If your arms are tired just thinking about shaking, a stand mixer or even a hand mixer works like a charm. Just be sure to stop right when the butter separates.
FAQ (Frequently Asked Questions)
Got questions? I’ve got (casual) answers!
- **Can kids *really* do this?** Absolutely! The jar-shaking method is perfect for little hands. Just make sure the lid is on tight!
- **How long does it actually take?** With vigorous shaking, about 10-20 minutes. With a mixer, usually 5-10 minutes. It feels like magic, but it’s just science, FYI.
- **What do I do with the buttermilk?** Drink it straight (if you’re brave!), use it in baking (hello, buttermilk pancakes!), or add it to smoothies for a tangy kick.
- **How long does homemade butter last?** Because it’s fresh and without preservatives, it lasts about 1-2 weeks in an airtight container in the fridge. Longer if you’re super diligent about rinsing!
- **Why is my butter yellowish/whitish?** The color of butter depends on the cow’s diet. Grass-fed cows usually produce more yellowish butter because of beta-carotene in the grass. It’s all good!
- **Can I use a food processor instead of a jar or mixer?** Yep, you totally can! Just use the blade attachment and process until it separates. Keep a close eye on it, as it can happen very quickly.
Final Thoughts
Boom! You just made butter. From scratch. How cool are you?! Go slather that golden goodness on some toast, a muffin, or just eat it with a spoon (no judgment here, we’ve all done it). You earned those bragging rights, champ! Now go impress someone—or yourself—with your new culinary skills. You’ve earned it!


