Okay, spill it. You signed up for the school bake sale thinking you’d just buy something from the fancy grocery store, didn’t you? And now you’re here, panicking because “homemade with love” actually means… well, *making* something. Don’t worry, friend, I got you! We’re diving into a recipe that’s so ridiculously easy, you’ll wonder why you ever broke a sweat. Get ready for some serious brownie points (pun intended!) with minimal effort.
Why This Recipe is Awesome (aka Why You’re a Genius for Picking It)
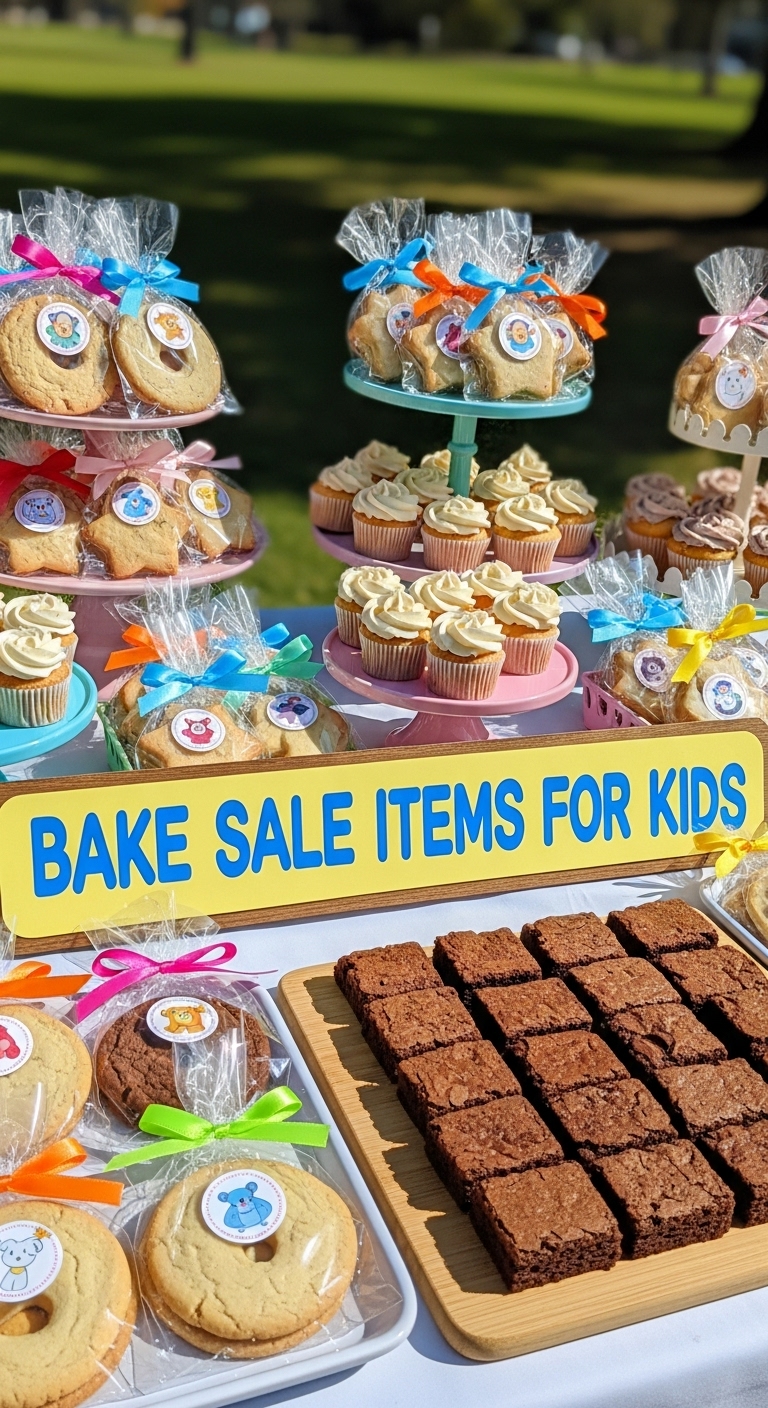
These aren’t just any bake sale items; they’re the “I-just-pulled-this-off-like-a-pro-even-though-I-was-watching-Netflix-the-whole-time” kind of bars. Seriously, these **Chewy Chocolate Chip Oatmeal Bars** are practically idiot-proof. Even I, Queen of Occasionally Burning Toast, nail these every single time. They taste amazing, look like you spent hours meticulously crafting them, and here’s the best part: they travel well and are super kid-friendly. Plus, oatmeal! So, they’re basically a health food, right? Right.
Ingredients You’ll Need (The Good Stuff)
Gather your troops! Here’s what you’ll need to make magic happen. (Pro tip: use real butter. Your taste buds will thank you.)
- 1 cup (2 sticks) unsalted butter, softened. Because everything’s better with butter.
- 1 ½ cups packed light brown sugar. Don’t even think about regular granulated sugar here; brown sugar brings the chewiness!
- 2 large eggs. The usual suspects, keeping things together.
- 1 teaspoon vanilla extract. The MVP of baking. Don’t skip it!
- 1 ½ cups all-purpose flour. The foundation of our delicious empire.
- 1 teaspoon baking soda. For that perfect lift, not for cleaning your sink.
- ½ teaspoon salt. Just a pinch, to balance all that sweet goodness.
- 3 cups old-fashioned rolled oats. The “oatmeal” part, duh. (Quick oats can work in a pinch, but rolled oats give better texture.)
- 1 ½ cups chocolate chips (semi-sweet or milk, your call!). The *chocolate* part, double duh. Go wild!
Step-by-Step Instructions (Even a Sloth Can Do It)
- Preheat & Prep: Fire up that oven to 350°F (175°C). Grab a 9×13 inch baking pan and give it a good spray with cooking spray or grease it with butter. We don’t want any sticking situations.
- Cream It Up: In a large mixing bowl, beat together the softened butter and brown sugar until light and fluffy. This usually takes about 2-3 minutes with an electric mixer. Feel free to pretend you’re a professional baker.
- Egg-cellent Additions: Beat in the eggs one at a time, then stir in the vanilla extract. Scrape down the sides of the bowl to make sure everything gets acquainted.
- Dry Goods Unite: In a separate, smaller bowl, whisk together the flour, baking soda, and salt. Whisking makes sure it’s all evenly distributed. Nobody wants a lump of baking soda in their bar, trust me.
- Combine & Conquer: Gradually add the dry ingredients to the wet ingredients, mixing on low speed until just combined. Don’t overmix! Overmixing develops gluten, making your bars tough, and nobody wants a tough bar.
- Oats & Chips Time: Stir in the rolled oats and chocolate chips. You might need to switch to a wooden spoon for this part. Make sure those chips are evenly distributed – every bite deserves chocolate!
- Press & Bake: Press the mixture evenly into your prepared 9×13 inch pan. It will be thick, so use your hands or a spatula. Pop it into your preheated oven and bake for 25-30 minutes, or until the edges are golden brown and a toothpick inserted into the center comes out with moist crumbs, not raw batter.
- Cool & Cut: Let those beauties cool completely in the pan on a wire rack before cutting them into squares. This is crucial! Trying to cut them warm will result in a crumbly mess. Patience, young Jedi.
Common Mistakes to Avoid (So You Don’t Cry Over Spilled Batter)
- Forgetting to Preheat the Oven: Rookie mistake! Your oven needs to be at the correct temperature from the get-go for even baking.
- Overmixing the Batter: As mentioned, tough bars are a no-go. Mix just until combined.
- Not Using Softened Butter: Cold butter doesn’t cream well with sugar, leading to a lumpy texture. Plan ahead!
- Cutting Them While Warm: I know, I know, the smell is intoxicating. But warm bars are soft and fragile. **Let them cool completely** for nice, clean cuts.
- Eating All of Them Before the Bake Sale: Look, I’m not saying I haven’t done it. I’m just saying… try to save some for the kids, okay?
Alternatives & Substitutions (Get Creative!)
Feeling a little adventurous? Good! Here are some ways to shake things up:
- Chocolate Chip Swaps: Not a fan of semi-sweet? Use milk chocolate, white chocolate, dark chocolate, or even a mix! Peanut butter chips are also a fantastic addition.
- Add-ins Galore: Throw in ½ cup of chopped nuts (walnuts, pecans), dried cranberries, raisins, or even shredded coconut for extra texture and flavor. YOLO!
- Gluten-Free Option: You can absolutely use a 1:1 gluten-free flour blend in place of all-purpose flour. Just make sure it’s one designed for baking.
- Dairy-Free: Swap the butter for a plant-based butter alternative and ensure your chocolate chips are dairy-free. Easy peasy!
FAQ (Frequently Asked Questions – Because You Know You’re Thinking It)
- Can I use quick oats instead of old-fashioned? Well, technically yes, but why hurt your soul like that? Quick oats will result in a softer, less chewy bar. Stick with old-fashioned for the best texture, IMO.
- How do I store these magical bars? Keep them in an airtight container at room temperature for up to 3-4 days. If they last that long!
- Can I freeze these? Heck yes! Wrap individual bars or the whole slab tightly in plastic wrap, then foil, and freeze for up to 2-3 months. Thaw at room temp.
- My bars turned out crumbly, what gives? You probably didn’t press the mixture firmly enough into the pan, or you didn’t let them cool completely before cutting. Or, *gasp*, you overbaked them!
- What if I don’t have brown sugar? You can make your own by mixing 1 cup granulated sugar with 1 tablespoon molasses (for light brown sugar) or 2 tablespoons molasses (for dark brown sugar). But really, just buy brown sugar, it’s worth it.
- Do I *have* to share these with the bake sale? *Sigh*. Yes. That’s kind of the point. But I won’t tell if you “sample” one or two for quality control. 😉
Final Thoughts (You Did It, Champ!)
See? You’re practically a pastry chef now. You’ve just whipped up a batch of deliciousness that will be the star of any bake sale, office potluck, or just your Tuesday night couch-surfing session. Now go forth and conquer that bake sale, or just impress yourself with your newfound (or newly rediscovered) baking prowess. You’ve earned it!

