So, you’re looking for that sweet spot between “I want something homemade and wholesome” and “Please, for the love of all that is holy, don’t make me spend hours in the kitchen!” Am I right? Same, friend, same. Especially when it comes to feeding tiny humans who suddenly decide yesterday’s favorite snack is today’s mortal enemy. Well, buckle up, because these Oat Bars for Kids (and, let’s be real, for you too) are about to become your new secret weapon. They’re ridiculously easy, super customizable, and disappear faster than your last slice of pizza.
Why This Recipe is Awesome
Okay, let’s get down to brass tacks. Why should you even bother with *another* oat bar recipe? Because this one is practically foolproof. Seriously. It’s so straightforward, I’m pretty sure my cat could supervise the process (if she wasn’t so busy judging my life choices). Here’s the lowdown:
- It’s an absolute breeze to make. We’re talking minimal dishes, minimal fuss, maximum deliciousness.
- Kid-approved. My own little taste-testers (who are notoriously picky, bless their hearts) devour these. They’re soft, chewy, and just sweet enough.
- Customizable AF. Got a rogue handful of chocolate chips? Throw ’em in! Want to sneak in some flax seeds? Go for it! This recipe is your canvas.
- Healthier-ish. They’re packed with oats, which means fiber, energy, and a slight smug feeling that you’re doing something good. Way better than a store-bought sugar bomb, IMO.
- Did I mention it’s idiot-proof? Because it is. Even on those “brain fog” days, you got this.
Ingredients You’ll Need
Gather ’round, my fellow kitchen adventurer! Here’s your simple shopping list. Don’t worry, nothing too fancy, just good ol’ pantry staples.
- 2 cups Rolled Oats: The MVP of our show! Make sure they’re old-fashioned rolled oats, not instant. Instant oats turn into sad, mushy goo, and nobody wants that.
- 1 cup All-Purpose Flour: Your basic kitchen workhorse. Keeps everything together like a good friend.
- 1/2 cup Packed Light Brown Sugar: For that lovely caramel-y sweetness. Pack it down tight, don’t be shy!
- 1 teaspoon Baking Powder: Gives our bars a little lift, so they’re not dense hockey pucks.
- 1/2 teaspoon Salt: Just a pinch to balance out all that sweetness and make everything taste *better*.
- 1/2 cup Unsalted Butter: Melted. Real butter, folks. Don’t even think about margarine unless you want to hurt your soul a little.
- 1/4 cup Milk: Any kind works – dairy, almond, oat, soy. It’s just to bring things together.
- 1 teaspoon Vanilla Extract: The secret ingredient to making everything taste like a warm hug.
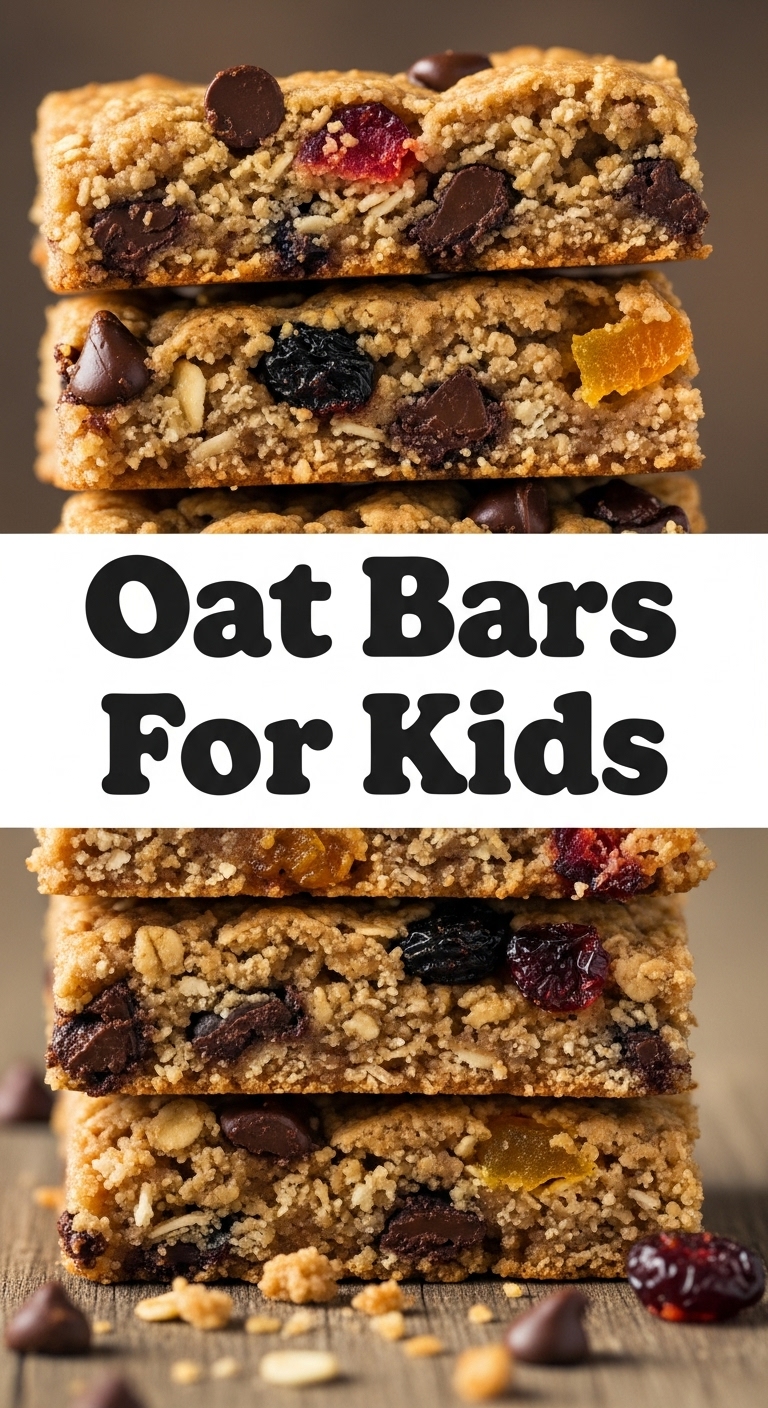
- Optional Mix-ins (1/2 cup): Chocolate chips (mini ones are great for kids!), raisins, chopped dried cranberries, a handful of shredded coconut, or even a sprinkle of flax seeds. Choose your adventure!
Step-by-Step Instructions
Alright, let’s get cooking! This is where the magic happens. Read through once, then get ready to rock.
- Get Your Oven Ready: Preheat your oven to 350°F (175°C). While it’s warming up, line an 8×8 inch (or 9×9 inch for slightly thinner bars) baking pan with parchment paper, leaving an overhang on the sides. This is your future self’s best friend for easy removal.
- Mix the Dry Stuff: In a large bowl, whisk together the rolled oats, flour, brown sugar, baking powder, and salt. Give it a good stir until everything is evenly combined. No lumpy bits, please!
- Melt & Mix the Wet Stuff: In a separate, microwave-safe bowl (or a small saucepan), melt your butter. Once melted, stir in the milk and vanilla extract. Give it a quick whisk.
- Combine & Conquer: Pour the wet ingredients into the dry ingredients. Stir with a spoon or spatula until just combined. Don’t overmix! It should be a thick, somewhat crumbly mixture. Now’s the time to fold in any optional mix-ins you’re using.
- Press It Down: Transfer the mixture into your prepared baking pan. Using the back of a spoon, your hands, or a flat-bottomed glass, press the mixture down firmly and evenly into the pan. This is a crucial step for bars that hold together.
- Bake Away! Pop that pan into your preheated oven and bake for 20-25 minutes, or until the edges are lightly golden brown and the center is set.
- Cool Your Jets: This is the hardest part: let the bars cool completely in the pan before attempting to cut them. I know, I know, the smell is intoxicating, but trust me on this one. At least an hour, or even better, on a wire rack until fully cooled.
- Slice & Serve: Once cooled, use the parchment paper overhang to lift the entire slab out of the pan. Cut into squares or rectangles. Devour with glee!
Common Mistakes to Avoid
Listen, we all make mistakes. But with these pro-tips, you won’t have to! Learn from my past kitchen mishaps.
- Skipping the Preheat: Thinking your oven is ‘close enough’ is a rookie error. **Always preheat your oven fully.** It ensures even baking and perfect texture.
- Using Instant Oats: I said it once, I’ll say it again. Instant oats are a NO-GO for this recipe unless you want a sad, gummy mess. Stick to rolled oats!
- Over-mixing the Dough: Once the wet and dry ingredients are combined, stop stirring. Over-mixing can develop the gluten in the flour too much, leading to tough bars.
- Not Pressing Firmly Enough: If your bars are crumbly and fall apart, you probably didn’t press the mixture down enough in the pan. Get in there and really compact it!
- Cutting While Warm: The ultimate test of patience! **Do not, I repeat, DO NOT try to cut these while they’re still warm.** They will crumble into a delicious, yet frustrating, heap. Wait for them to cool completely.
Alternatives & Substitutions
This recipe is super flexible! Here are some ideas to mix things up or accommodate dietary needs:
- Flour Power: Want more whole grains? Swap out half (or all) of the all-purpose flour for whole wheat flour. The texture might be a little denser, but it’s still delish. You can also use a gluten-free all-purpose blend (look for one with xanthan gum) if needed.
- Sweetener Swaps: If you’re out of brown sugar, regular granulated sugar works in a pinch, but you’ll miss that specific caramel note. For a refined sugar-free option, you *could* try substituting with maple syrup or honey, but you’ll need to slightly reduce the milk and potentially add a touch more flour/oats to balance the wet-to-dry ratio. It’s a bit more experimental, FYI.
- Dairy-Free Fun: Easily make these dairy-free by using your favorite plant-based milk (almond, oat, soy) and a good quality vegan butter.
- Mix-in Mania: The world is your oyster! Instead of chocolate chips, try chopped nuts (if no allergies!), seeds (sunflower, pumpkin), dried cranberries, chopped apricots, white chocolate chips, or even a sprinkle of cinnamon.
FAQ (Frequently Asked Questions)
Got questions? I’ve got answers! (Mostly.)
- Can I use quick oats instead of rolled oats?
Oh, bless your heart, no! Quick oats are cut finer and will absorb liquid differently, giving you a mushy, less satisfying bar. Stick to old-fashioned rolled oats for that perfect chewy texture. - How long do these oat bars last?
If they survive that long in your house, they’ll keep in an airtight container at room temperature for about 3-4 days, or in the fridge for up to a week. - Can I freeze these oat bars?
Absolutely! They freeze beautifully. Wrap individual bars in plastic wrap, then store them in a freezer-safe bag or container for up to 3 months. Thaw at room temperature or zap them in the microwave for a quick treat. Genius! - Are these *really* healthy for kids?
“Healthy” is relative, right? They’re packed with whole grains (oats!) and you know exactly what’s in them. They’re a much better option than many store-bought snacks, but they still contain sugar and butter, so enjoy them in moderation! - My bars are too crumbly, what went wrong?
Two main culprits here: either you didn’t press the mixture firmly enough into the pan before baking, or you tried to cut them before they were fully cooled. Patience is a virtue, especially when it comes to baked goods! - Can I reduce the amount of sugar?
You can, but be aware it might affect the texture a bit, making them less soft and chewy. Try reducing it by 1/4 cup first and see how you like it. - Do I *have* to use butter? Can I use oil?
Well, technically yes, you *could* use a neutral oil (like melted coconut oil or vegetable oil), but butter adds so much flavor and richness that you just can’t beat. I’m a butter purist, what can I say?
Final Thoughts
See? That wasn’t so hard, was it? You just whipped up a batch of delicious, kid-friendly (and adult-friendly!) oat bars. Go on, pat yourself on the back, you culinary wizard! You’ve successfully navigated the kitchen, bypassed the usual snack aisle drama, and created something awesome. Now, go impress someone—or yourself—with your new skills. You’ve earned a delicious oat bar (or two!). Happy baking, my friend!


