Alright, friend, let’s chat! You know those little paper fortunes tucked inside crunchy cookies? Super fun, right? But let’s be real, sometimes those messages are, well, a little *too* deep for a Tuesday afternoon, or just plain confusing for the younger crowd. “A journey of a thousand miles begins with a single step”? Thanks, Confucius, but my 7-year-old just wants to know if they’re getting extra screen time.
So, what if I told you we could totally ditch the vague prophecies and dive into a world of giggles, inside jokes, and pure, unadulterated kid-friendly fun? We’re talking about making your own fortune cookies, but with the main event being the **epic, custom messages for kids** you get to tuck inside. Get ready to be the coolest person they know!
Why This Recipe is Awesome
This isn’t just a recipe; it’s a secret weapon for spreading joy. Seriously. Think about it:
- It’s ridiculously easy. No culinary degree required. If I can do it without setting off the smoke alarm (mostly), you can too.
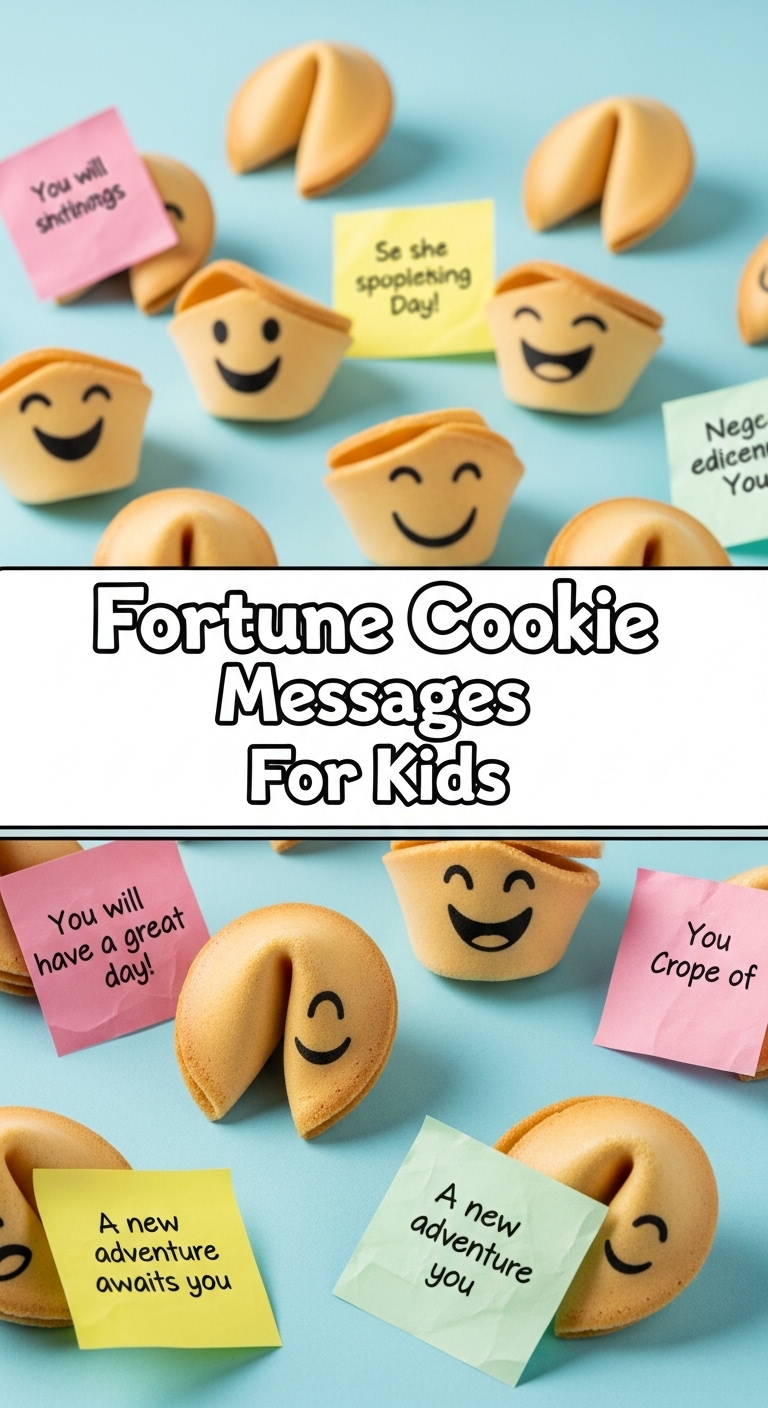
- **Customization is KING here.** This isn’t just about baking cookies; it’s about crafting personalized nuggets of happiness. Messages like “You are awesome!” or “Tonight’s dessert is ice cream!” will get you major points.
- It’s a fantastic activity *with* kids. They can help write the messages (or draw tiny pictures!), and even help with the shaping (under supervision, of course, because hot cookies!).
- The “wow” factor is off the charts. Store-bought cookies? Meh. Homemade ones with messages like “Your superpower is being YOU!”? Legendary status unlocked.
Basically, it’s idiot-proof, fun-filled, and guaranteed to make someone smile. What’s not to love?
Ingredients You’ll Need
Gather ’round, my little baking buddy! Here’s what you’ll need. Most of this stuff is probably already chilling in your pantry.
- **1/2 cup granulated sugar:** The sweet stuff!
- **1/2 cup all-purpose flour:** The base. Keep it level, no mountains!
- **Pinch of salt:** Enhances flavor, because salt is a magic potion.
- **1/4 cup unsalted butter, melted:** Warm and buttery goodness.
- **3 large egg whites:** Room temperature, please! They whip up better.
- **1 teaspoon vanilla extract:** For that classic cookie flavor. You *could* use almond, but vanilla is where the magic happens for kids, IMO.
- **1-2 tablespoons water (if needed):** Just in case your batter is a bit too thick.
- **Parchment paper:** Non-negotiable for non-sticking cookies. Trust me.
- **Food-safe markers or clean pens:** For those all-important, hilarious messages!
- **Small strips of paper:** About 3 x 1/2 inch is perfect for your fortunes.
Step-by-Step Instructions
- **First things first: Write those fortunes!** This is the fun part! Grab your paper strips and food-safe markers. Brainstorm messages with the kids. Think silly jokes, compliments (“You have the best laugh!”), fun activities (“Tonight we’re building a fort!”), or simple truths (“You are loved!”). Aim for about 2-3 short sentences max per strip. Set them aside.
- **Preheat your oven to 300°F (150°C).** And line two baking sheets with parchment paper. This recipe moves fast once the cookies are baked, so prep is key!
- **Whisk ’em good!** In a medium bowl, combine the sugar, flour, and salt. Give it a good whisk to get rid of any lumps.
- **Wet ingredients join the party!** Add the melted butter, egg whites, and vanilla extract to the dry ingredients. Whisk until everything is smooth and looks like a slightly thick pancake batter. If it’s too thick to spread easily, add water, one teaspoon at a time, until it’s just right.
- **Time to get circular!** Drop a tablespoon of batter onto your prepared parchment paper. Use the back of the spoon to spread it into a thin, even circle about 3-4 inches in diameter. **Important:** Only bake 2-3 cookies at a time, because you need to shape them *fast* when they come out of the oven.
- **Bake ’em ’til golden!** Pop the baking sheet into the oven for 10-12 minutes, or until the edges are golden brown and the center is lightly golden.
- **The speedy shaping dance!** This is where you need to be quick! As soon as the cookies come out, lift one with a thin spatula. Flip it over. Place one of your pre-written fortunes in the center.
- **Fold and pinch!** Fold the cookie in half, making sure the fortune is inside. Then, holding the folded edge, pull the two corners down over the rim of a mug or a bowl to create the classic fortune cookie shape. The sooner you do this, the easier it is.
- **Set ’em and forget ’em (for a bit)!** Place the shaped cookies into the cups of a muffin tin to help them hold their shape as they cool and crisp up. Repeat steps 7-9 with the remaining cookies, baking in batches.
Common Mistakes to Avoid
- **Not writing your messages first:** Rookie mistake! You’ll be scrambling when those hot cookies come out, and nobody wants that kind of stress.
- **Baking too many cookies at once:** Seriously, stick to 2-3 per batch. They cool down and get brittle super fast, and trying to shape five cookies simultaneously will just end in a pile of delicious but broken dreams.
- **Not working fast enough:** You have about 10-15 seconds to shape each cookie before it hardens. Think of it as a delicious, edible race against time!
- **Over-spreading the batter:** Keep those circles thin and even. Too thick, and they won’t crisp up properly; too thin, and they might burn.
- **Forgetting the parchment paper:** If you use nothing, prepare for cookie carnage. Parchment paper is your BFF here.
Alternatives & Substitutions
- **Flavor fun:** Want to jazz things up? Add a drop of food coloring to your batter for colorful cookies! Or, swap out vanilla extract for almond extract for a different flavor profile (though vanilla is usually a kid-favorite).
- **Gluten-free option?** You betcha! You can try a 1:1 gluten-free flour blend, though the texture might be slightly different. Just make sure it’s a blend designed for baking.
- **Butter vs. Oil:** You *could* technically use a neutral-flavored oil instead of butter, but why sacrifice that rich, buttery flavor? Butter just makes everything better, IMO.
- **No muffin tin? No problem!** You can carefully lay the shaped cookies on a wire rack to cool, but the muffin tin just makes life a bit easier for keeping their shape.
FAQ (Frequently Asked Questions)
- **Q: My cookies are breaking when I try to shape them! What gives?**
A: Ah, the age-old fortune cookie dilemma! This usually means they’ve cooled too much. You gotta be quick! If they’re too stiff, pop them back in the oven for literally 30 seconds to soften them up again. - **Q: Can I make these messages for adults too?**
A: Absolutely! Just swap out “You’re getting extra screen time!” for “You’re getting extra wine time!” (kidding, mostly). The sky’s the limit for custom messages! - **Q: How long do these homemade fortune cookies last?**
A: Stored in an airtight container at room temperature, they’ll stay crisp for about 3-5 days. If they last that long, that is! - **Q: What kind of paper and pens are safe for the messages?**
A: Good question! Use plain, uncoated paper (like basic printer paper cut into strips) and food-safe markers, if you have them. If not, any clean, non-toxic pen should be fine, as the paper isn’t meant to be eaten. Just ensure the ink is fully dry before folding! - **Q: Can I add sprinkles to the batter?**
A: Ooh, fun idea! You can definitely fold in some sprinkles to the batter for a festive look. Just be aware they might get a little lost or change texture during baking, but it’s worth a shot for extra sparkle!
Final Thoughts
And there you have it! You’re now equipped to become the master of personalized, fun-filled fortune cookies. No more existential dread from a sugar cookie; only pure, unadulterated joy. These are perfect for birthday parties, playdates, or just a random Tuesday when you want to make someone’s day a little brighter. Now go spread some giggles with those custom fortune cookies. You’re basically a fun-filled message wizard now! Happy baking!


