Okay, so your kid’s birthday is coming up, and you’re thinking ‘cake,’ but also ‘school,’ and suddenly panic sets in about allergies, sharing, and not wanting to spend three days baking something that’ll get devoured in 30 seconds, huh? Been there, bought the t-shirt, probably got flour on it. But fear not, my friend! This isn’t one of those Pinterest-perfect, multi-tiered monstrosities. This is the **MVP** of school birthday cakes: simple, shareable, and so delicious everyone will be asking for seconds (and you won’t want to punch them for it).
Why This Recipe is Awesome
Let’s be real, you’ve got enough on your plate. This recipe is designed to be your culinary superhero, swooping in to save the day (and your sanity). Here’s why it’s the absolute best:
- It’s **super easy**. Seriously, if I can whip this up without setting off the smoke alarm, you absolutely can too. No fancy techniques, no intimidating steps.
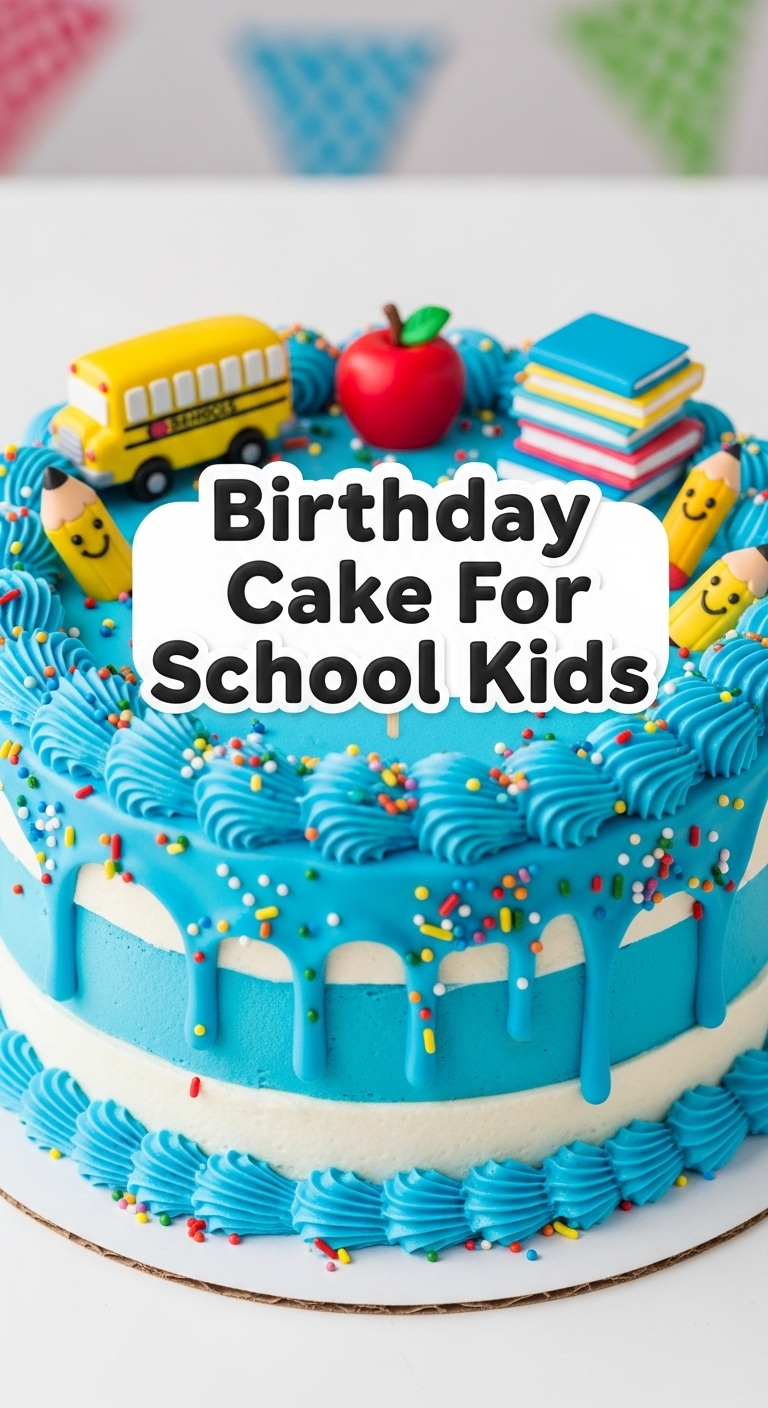
- **Kid-approved**: This isn’t some fancy adult cake with exotic flavors. This is pure, unadulterated kid joy. Think sprinkles, a moist crumb, and a whole lotta “mmmmmm.”
- **School-friendly**: It cuts easily into neat squares, travels well (in a sturdy container, not just flopping around in the back seat), and makes enough to share with a whole classroom of excited munchkins.
- **No fancy equipment needed**: Just your basic kitchen gear. No need to buy a stand mixer that costs more than your first car. Your trusty hand mixer (or even a whisk if you’re feeling feisty!) will do just fine.
Ingredients You’ll Need
Gather your troops! These are the stars of our show. Nothing too wild, just good old pantry staples.
- All-Purpose Flour: 2 ½ cups. The humble hero. Make sure it’s not self-rising unless you want a surprise.
- Granulated Sugar: 1 ½ cups. Because, well, it’s cake! This isn’t a health food blog, FYI.
- Baking Powder: 1 tablespoon. The lift-off specialist.
- Baking Soda: ½ teaspoon. Its partner in crime, also for lift. Don’t mix them up, they have different jobs!
- Salt: ½ teaspoon. A pinch makes everything better, promise. It balances the sweetness.
- Unsalted Butter: 1 cup (2 sticks), softened to room temperature. Soft like a hug, not melted like a puddle. Crucial for that creamy texture.
- Large Eggs: 3. Cracked with care, not aggression.
- Whole Milk: 1 cup. Gives that lovely moistness and richness.
- Vanilla Extract: 2 teaspoons. Liquid gold for flavor. Don’t skimp! Use the good stuff.
For the Easy Peasy Buttercream Frosting:
- Unsalted Butter: ½ cup (1 stick), softened. Again, room temp is your friend.
- Powdered Sugar (Confectioners’ Sugar): 3-4 cups. Sifted, if you’re feeling fancy and want to avoid lumps.
- Whole Milk: 2-3 tablespoons. Add slowly until you get the right consistency.
- Vanilla Extract: 1 teaspoon. More deliciousness.
- Sprinkles!: A whole bottle (or two, or three…). Seriously, go wild. This is a kids’ cake!
Step-by-Step Instructions
Alright, apron on, game face ready! Let’s get baking this masterpiece.
- Prep Time! Preheat your oven to 350°F (175°C). Grease and flour a 9×13 inch baking pan. This step is **crucial** for preventing sticking, trust me.
- Dry Mix Fun: In a medium bowl, whisk together the flour, granulated sugar, baking powder, baking soda, and salt. Make sure to get all those lumps out!
- Wet Mix Magic: In a separate large bowl, cream the softened butter until it’s light and fluffy. Beat in the eggs one at a time, making sure each is incorporated before adding the next. Stir in the vanilla extract.
- Combine Forces: Gradually add the dry ingredients to the wet ingredients, alternating with the milk. Start and end with the dry ingredients. Mix until just combined – **do not overmix**, or your cake will be tough. Nobody wants a tough cake.
- Bake It Up! Pour the glorious batter into your prepared pan. Bake for 30-35 minutes, or until a wooden skewer or toothpick inserted into the center comes out clean.
- Cool Down: Let the cake cool completely in the pan on a wire rack. Seriously, **completely**. If you try to frost a warm cake, your frosting will melt into a sad, sugary puddle. Patience, young Jedi.
- Frosting Frenzy: While the cake cools, make your frosting. Beat the softened butter in a bowl until it’s creamy. Gradually add the powdered sugar, alternating with the milk and vanilla extract. Beat until smooth and fluffy. Add more milk if it’s too thick, more sugar if too thin.
- Decorate! Once the cake is fully cool, spread the frosting evenly over the top. Now for the *best* part: DUMP ALL THE SPRINKLES ON IT! Seriously, go wild. It’s for kids, remember?
Common Mistakes to Avoid
We’ve all been there. Learn from my past kitchen mishaps!
- **Not preheating the oven:** Rookie mistake. Your cake won’t bake evenly, and you might end up with a raw middle or dry edges.
- **Overmixing the batter:** This activates too much gluten, making your cake dense and chewy. We want light and fluffy, people! Mix until *just* combined.
- **Opening the oven door constantly:** Resist the urge to peek! You’ll drop the temperature, and your cake might sink in the middle. Give it at least 25 minutes before you even think about looking.
- **Frosting a warm cake:** I repeat, unless you’re going for a deconstructed cake soup look, let it cool. **Completely.**
- **Skimping on sprinkles:** What are you, a monster? It’s a kid’s birthday cake! Embrace the joyful chaos.
Alternatives & Substitutions
Feeling adventurous? Or just out of an ingredient? Here are some simple swaps.
- **Butter vs. Oil:** You *can* use vegetable oil instead of butter for a super moist cake, especially if you’re looking for a slightly different texture. However, **IMO**, butter gives that classic birthday cake flavor and richness that’s hard to beat. If allergies are an issue, a good quality plant-based butter alternative works wonders.
- **Milk Alternatives:** Almond, oat, or soy milk work perfectly fine if cow’s milk isn’t an option. Just make sure it’s plain and unsweetened, not vanilla-flavored (unless you *really* like extra vanilla).
- **Flavor Boosts:** Want to switch things up? Add 1/2 cup of unsweetened cocoa powder to the dry ingredients for a chocolate cake (you might need an extra tablespoon or two of milk). Lemon zest (from one lemon) is also a fantastic addition for a bright, citrusy cake!
- **Frosting Fun:** Not a fan of buttercream? A simple chocolate ganache (melted chocolate and heavy cream) or even a cream cheese frosting would be divine. Just keep the kid-friendliness factor in mind – sometimes simple is best!
FAQ (Frequently Asked Questions)
Got questions? I’ve got (hopefully) humorous answers!
Can I use margarine instead of butter? Well, technically yes, but why hurt your soul like that? Butter just tastes better, plain and simple, adding richness and flavor margarine often lacks. For taste, stick to butter. For a dairy-free option, use a good quality plant-based butter alternative.
My cake sunk in the middle! What happened? Oh no! This usually means you opened the oven door too early, overmixed the batter, or your baking powder/soda is old and has lost its power. Always check those expiration dates, folks!
How long does this cake keep? Covered tightly at room temperature, it’s good for 2-3 days. In the fridge, it’ll last a bit longer, maybe 4-5 days. But honestly, it’ll probably be devoured much faster than that. It’s too delicious to linger!
Can I make cupcakes instead? Absolutely! Divide the batter into cupcake liners, filling them about two-thirds full. Bake for about 18-22 minutes, or until a toothpick comes out clean. Easy peasy lemon squeezy.
Is this recipe allergy-friendly? This specific recipe contains dairy, eggs, and gluten. For truly allergy-friendly versions, you’ll need to use appropriate substitutions (e.g., gluten-free flour blend, plant-based milk/butter, egg replacers). Always double-check ingredient labels for severe allergies!
My frosting is too runny/thick! Help! No worries, this is fixable! Too runny? Add more powdered sugar, a tablespoon at a time, until it thickens up. Too thick? Add milk, a teaspoon at a time, until it’s spreadable. It’s an art, not a precise science.
Final Thoughts
See? You’re practically a pastry chef now! This cake isn’t just a dessert; it’s a memory in the making. The kids will absolutely love it, the teachers will appreciate you, and you’ll get major parent points (which, let’s be honest, are priceless). So go forth, bake this glorious, sprinkle-laden masterpiece, and soak in all the birthday cheer. You’ve earned it, my friend!


