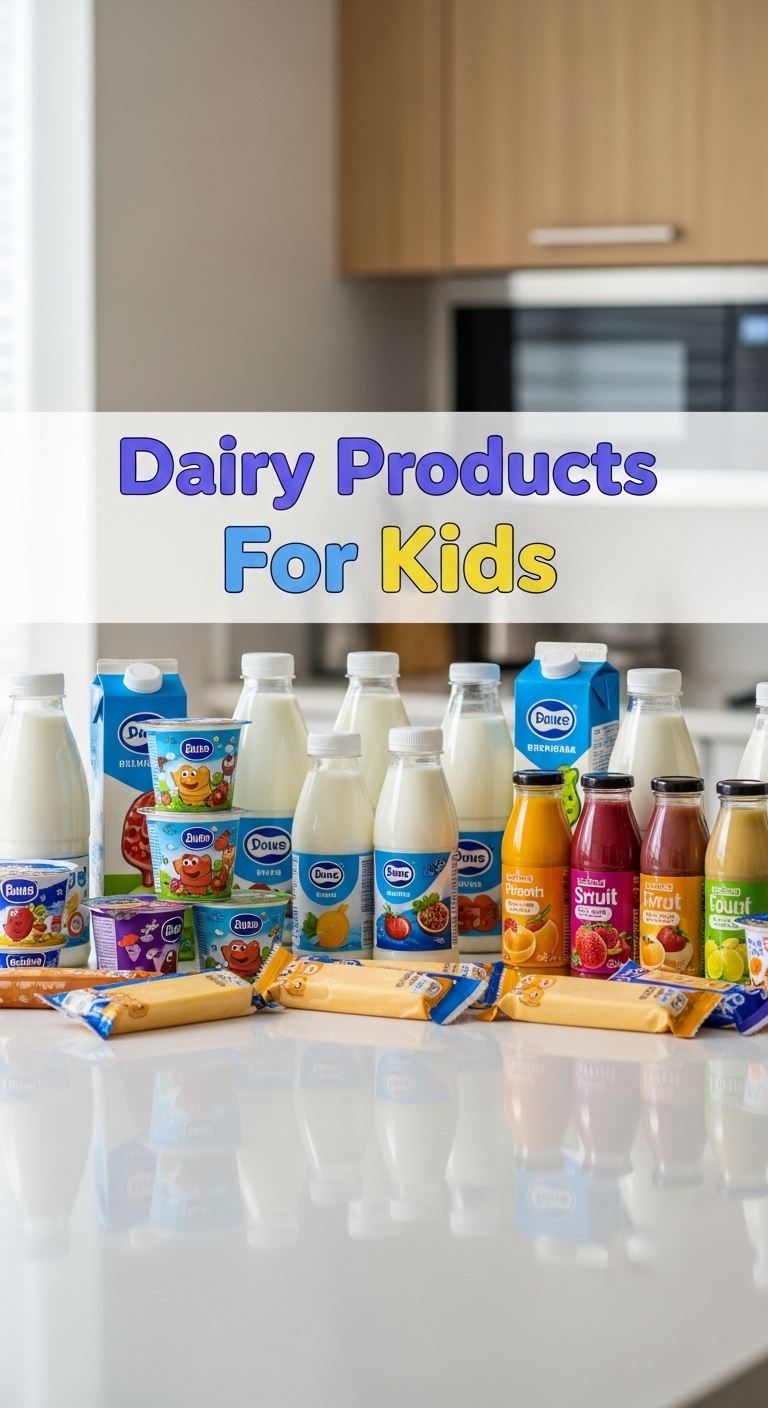
So you’re craving something tasty but too lazy to spend forever in the kitchen, huh? Same. Especially when you’ve got those mini-humans running around, demanding snacks every five minutes. Don’t worry, I’ve got your back. We’re diving into the wonderful world of dairy for kids, with a recipe so easy, it practically makes itself. Get ready to be a hero, with minimal effort!
Why This Recipe is Awesome
Okay, so this isn’t just *awesome*, it’s borderline magical. We’re talking about **Cheesy Delight Pinwheels**. Why is it the best thing since sliced bread (which, FYI, you can use to dip these in)?
- **Kid-Approved:** Seriously, it’s cheese. Kids will eat it. Probably even ask for more.
- **Idiot-Proof:** Even I didn’t mess this up, and my kitchen skills are… evolving.
- **Fast AF:** We’re talking minimal prep, maximum munching. You’ll be back on the couch before you know it.
- **Dairy Power-Up:** Hello, calcium and protein! Sneak in some goodness without them even noticing. You’re welcome.
Ingredients You’ll Need
- **Puff Pastry:** One sheet, thawed. Don’t even *think* about making your own. We’re keeping it real here.
- **Cream Cheese:** About 4 oz (half a block). Softened. Straight from the fridge is a crime.
- **Shredded Cheese:** 1 cup, your kid’s fave. Cheddar, mozzarella, a blend—whatever makes their little hearts sing. Or yours.
- **An Egg:** One large. For that beautiful golden glow. Optional, but highly recommended unless you like pale food.
- **A tiny splash of milk or water:** Maybe a tablespoon, just to loosen things up a bit.
- **Optional Sprinkle Power:** A pinch of garlic powder or dried herbs if you’re feeling fancy. *Gasp!*
Step-by-Step Instructions
Preheat & Prep: Crank that oven to 400°F (200°C). Lay out your thawed puff pastry on a lightly floured surface or parchment paper. Make sure it’s flat, like your patience after a long day.
Mix the Gooey Goodness: In a small bowl, combine the softened cream cheese, shredded cheese, and that tiny splash of milk/water. Mix it up until it’s a spreadable, creamy dream. If you’re going wild with herbs, add them now.
Spread the Love: Evenly spread your cheesy mixture all over the puff pastry, leaving about a half-inch border on one of the longer sides. This is crucial for rolling. Don’t be shy, but don’t overfill either. It’s a delicate balance.
Roll ‘Em Up: Starting from the longer side *without* the border, carefully roll the pastry into a tight log. Think of it like rolling up a sleeping bag, but cheesier. **Tight is right here!**
Slice & Dice: With a sharp knife, slice the log into 1-inch thick pinwheels. You should get about 10-12 glorious little circles of cheesy joy.
Egg Wash Magic (Optional but recommended): In a tiny bowl, whisk that egg. Brush the tops of your pinwheels with the egg wash. This gives them that irresistible golden-brown finish.
Bake ‘Em Baby! Arrange the pinwheels on a baking sheet lined with parchment paper. Pop ’em in the preheated oven for 12-15 minutes, or until they’re gloriously golden, puffy, and the cheese is bubbly.
Cool (if you can wait): Let them cool slightly on the baking sheet for a few minutes. Then devour!
Common Mistakes to Avoid
**Thawing Patience:** Don’t try to unfold frozen puff pastry. You’ll end up with a cracked mess and a bad mood. Let it thaw in the fridge overnight or on the counter for 30-40 mins. **Patience, grasshopper.**
**The Border Debacle:** Forgetting to leave that half-inch border on the pastry. You’ll struggle to seal the log, and your cheesy guts might escape. Disaster!
**Overstuffing Shenanigans:** More cheese is always better, right? Not necessarily in this case. Too much filling, and your pinwheels will burst at the seams.
**No Egg Wash?:** Skipping the egg wash means missing out on that beautiful, shiny, golden crust. Your pinwheels will still taste good, but they won’t *look* like they just stepped off a magazine cover.
Alternatives & Substitutions
Want to play around? Go for it, you culinary wizard!
**Cheese Swap:** Not a fan of cheddar? Use mozzarella, Monterey Jack, or even a little parmesan. Just make sure it’s a good melting cheese.
**Cream Cheese Alternatives:** Thickened Greek yogurt or ricotta cheese can work in a pinch for a slightly different texture and tang. But honestly, **cream cheese is king here.**
**Flavor Boosts:** Want to sneak in some veggies? Finely chop some spinach (squeeze out all the water!) or chives and mix them into the filling. They’ll barely notice, promise.
**Dairy-Free?** Okay, this is a *dairy* article, so I’m not going deep into dairy-free. But for those asking, there are decent dairy-free cream cheeses and shredded cheese alternatives now. Just check ingredient lists!
FAQ (Frequently Asked Questions)
**Can I make these ahead of time?** Absolutely! You can assemble the pinwheels, slice them, and then freeze them on a baking sheet before they’re cooked. Once solid, transfer to a freezer bag. Bake from frozen, adding a few extra minutes to the cooking time. Life hack, right there.
**My puff pastry isn’t rolling tight. What gives?** Probably too warm, making it sticky, or too much filling. Next time, try chilling the spread pastry briefly before rolling, or ease up on the cheese goo.
**Can I use cottage cheese instead of cream cheese?** Hmm, technically you *could*, but the texture will be quite different and less smooth. I’d stick with cream cheese for that classic rich result. Why fix what isn’t broken?
**How long do leftovers last?** If there *are* leftovers (highly doubtful), store them in an airtight container in the fridge for up to 3 days. Reheat gently in the oven or microwave.
**Are these healthy?** “Healthy” is subjective, my friend. They’re packed with dairy goodness (calcium! protein!) and definitely better than some ultra-processed snacks. Everything in moderation, right? Plus, they make your kids happy. That’s good for the soul.
Final Thoughts
See? I told you it was easy! Now you’ve got a batch of delicious, cheesy goodness that’ll make you the coolest parent/aunt/uncle/friend on the block. Or, if you’re me, you’ll just eat them all yourself. No judgment. Go on, pat yourself on the back. You’ve earned it. Now go impress someone—or yourself—with your new culinary skills. You’ve earned it!


