So, you’re looking for a hero-level snack that requires zero oven time, minimal effort, and will have the kiddos thinking you’re some kind of culinary wizard? Yeah, same. We’ve all been there: staring at the oven like it’s a complicated ancient artifact, when really, all you want is something delicious, fast, and no-sweat. Well, friend, put down that spatula and listen up, because I’ve got your back with a recipe so easy, it practically makes itself.
Why This Recipe is Awesome
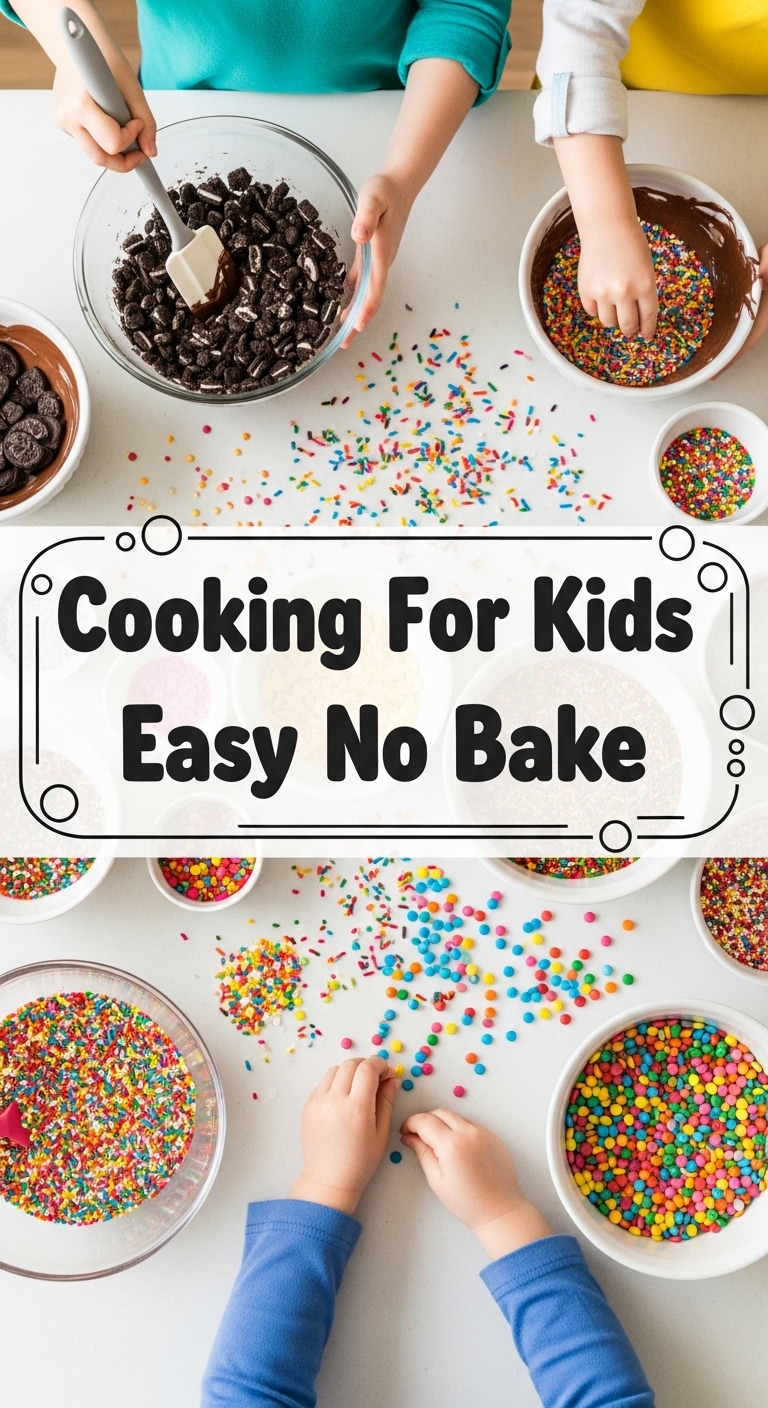
Let’s be real, sometimes cooking with kids feels like a competitive sport, and you’re always losing. This recipe? It’s the equivalent of a participation trophy, but it actually tastes good. It’s no-bake, which means **no hot oven drama**, no singed eyebrows, and no waiting around for things to cool down. It’s basically a fancy way of saying “mix a bunch of yummy stuff together and roll it into a ball.” Even I, with my notorious history of kitchen mishaps, managed to nail these. Plus, cleanup is a breeze. Win-win-win, if you ask me!
Ingredients You’ll Need
Get ready for a super short shopping list. You probably have most of this stuff lurking in your pantry already, you savvy chef, you!
- 1 cup Creamy Peanut Butter: The good stuff. Or crunchy, if you’re feeling rebellious and like a bit of texture adventure.
- 1/2 cup Honey or Maple Syrup: Whichever liquid gold makes your heart sing. This is our sticky secret weapon.
- 1 cup Rolled Oats: The “healthy-ish” part. Don’t worry, the chocolate is coming to balance things out.
- 1/4 cup Unsweetened Cocoa Powder: Because chocolate, duh.
- 1/2 cup Mini Chocolate Chips: (Optional, but let’s be honest, not really). Extra chocolate never hurt anyone.
- 1 tsp Vanilla Extract: Just a dash to make everything smell and taste fancy.
Step-by-Step Instructions
Alright, time to get your hands a little dirty (but not too dirty, promise!). Follow these super simple steps:
- Grab a medium-sized mixing bowl. You know, the one that doesn’t feel judging.
- Into that bowl, plop the peanut butter, honey/maple syrup, and vanilla extract. Give it a good stir until everything is smooth and looking cozy together.
- Now, sprinkle in the rolled oats and cocoa powder. Mix, mix, mix! This might take a little elbow grease, but keep going until it’s all combined and looking like thick, chocolatey dough.
- Time for the grand finale: fold in those mini chocolate chips. Because, why not?
- Here’s the fun part (and great for little hands!): **Roll the mixture into small, bite-sized balls.** Think golf ball size, maybe a bit smaller. If it’s too sticky, wet your hands slightly.
- Place your perfectly formed little spheres onto a plate or a baking sheet lined with parchment paper.
- Pop them into the fridge for at least 30 minutes. This is crucial! **They need to chill out** and firm up. Patience, young Jedi.
- Once they’re firm, you’re ready to devour! Or, you know, share with the kids. Maybe.
Common Mistakes to Avoid
Even though this recipe is practically foolproof, there are a few rookie errors we can sidestep:
- Forgetting to Chill: I know, the wait is agonizing. But seriously, these bites need their beauty sleep in the fridge to set properly. Otherwise, you’ll have delicious, but very sad, chocolate puddles. Don’t rush perfection!
- Using Watery Peanut Butter: Some natural peanut butters are super runny. If yours is like soup, it might make the mixture too wet. Stick with a thicker, creamier variety for the best texture.
- Eating All the Dough Before Rolling: I get it, the temptation is real. But try to save some for the actual finished product. You want bites, not just a spoon-full of regret. 😉
Alternatives & Substitutions
Feeling creative? Or just out of one ingredient? No stress, here are some ideas:
- Nut Butter Swap: Not a peanut butter fan (gasp!) or have allergies? Almond butter, cashew butter, or even sunflower seed butter (for nut-free!) work great. The texture might vary slightly, but they’ll still be delicious.
- Sweetener Switch: Out of honey? Agave nectar is a fantastic substitute. Brown rice syrup could also work, but it’s a bit thicker.
- Oat-ternatives: If you’re not into the texture of rolled oats, you can pulse them in a food processor a few times before adding them to make them finer. Or, try crushed rice cereal for an even crunchier bite!
- Mix-in Mania: Get wild with your mix-ins! Shredded coconut, chopped dried fruit (like cranberries or apricots), a pinch of cinnamon, or even some sprinkles for extra fun are all fair game.
FAQ (Frequently Asked Questions)
- Can I make these nut-free? Absolutely! Swap out the peanut butter for sunflower seed butter (like SunButter). Just make sure to check all other ingredient labels for any hidden nut traces.
- How long do these “Power-Up” Bites last? In my house? About an hour. Realistically, stored in an airtight container in the fridge, they’ll keep for up to a week. They can also be frozen for up to a month!
- My mixture is too dry/crumbly! What do I do? Add a tiny bit more honey or peanut butter, a tablespoon at a time, until it reaches a good consistency. Don’t overdo it, or it’ll get too sticky!
- My kids don’t like oats. Any ideas? Oh, the picky eaters! Try blending the oats into a fine flour before adding them, or substitute with 1 cup of crushed cornflakes or rice cereal for a different texture.
- Can I add protein powder to these? Sure, if you want an extra protein kick! Add a scoop or two (start with one and adjust as needed) of your favorite unflavored or vanilla protein powder. It might make the mixture a bit drier, so you might need a tiny splash more liquid sweetener or peanut butter.
- Are these actually healthy? Well, they have oats, peanut butter, and honey which are generally good-for-you ingredients, IMO. But they also have chocolate! They’re a much better option than a lot of store-bought snacks, and they’re packed with energy. So, let’s say “healthier-ish” and delicious!
Final Thoughts
So there you have it, your new go-to, no-stress, super-delicious snack recipe that even the most kitchen-averse among us can master. Go forth and conquer the snack game, my friend! Your kids will be thrilled, and you’ll get all the credit without breaking a sweat. Now go impress someone—or yourself—with your new culinary skills. You’ve earned it!


