Okay, real talk. Are your mornings a chaotic whirlwind of “I’M HUNGRY!” screams and you just want five minutes of peace before 9 AM? Me too, friend. And making breakfast for tiny humans? It can sometimes feel like a culinary marathon where everyone’s a critic. But fear not! I’ve got your back with a breakfast recipe so easy, so fluffy, so utterly delicious, you’ll wonder why you ever bought those sad, frozen toaster things. Seriously. Get ready to whip up some “Fluffy Cloud Pancakes” that’ll make you a morning hero!
Why These Fluffy Cloud Pancakes Are Awesome
Look, I’m not going to lie. This recipe is practically magic for busy parents (and let’s be honest, anyone who enjoys eating delicious food without much effort). Why is it so great?
- It’s lightning-fast. Seriously, faster than negotiating with a hangry toddler about putting on socks.
- It’s **idiot-proof**. Even I, Queen of Occasionally Burning Toast, haven’t messed these up. Yet.
- Uses super basic ingredients you probably already have lurking in your pantry. No fancy-pants stuff needed.
- **Customizable AF** (as fluffy!). Picky eater? No problem. Throw in their fave fruit or, dare I say it, chocolate chips!
- Kids can actually help! Measuring, stirring (with supervision, obviously), and adding toppings make them feel like master chefs.
- They taste like a delicious, warm hug. What more could you ask for?
Ingredients You’ll Need
Time to gather your culinary arsenal! Here’s what you’ll need for your cloud-like creations:
- 1 ½ cups all-purpose flour: The unsung hero of all things fluffy.
- 2 tablespoons granulated sugar: Just a whisper, to make them extra huggable. We’re not making candy, people.
- 2 teaspoons baking powder: For that magical rise! Flat pancakes are just sad. Don’t be sad.
- ½ teaspoon salt: A tiny pinch, because even sweetness needs a wingman. It balances everything out.
- 1 ¼ cups milk: Any kind works! Dairy or non-dairy, almond, oat, cow – don’t be shy.
- 1 large egg: The binder, the glue, the reason it all sticks together beautifully.
- 2 tablespoons melted butter or vegetable oil: For that golden glow and non-stick magic. Plus, butter equals YUM.
- 1 teaspoon vanilla extract (optional, but highly recommended): Why skip the deliciousness? Vanilla makes everything better, IMO.
Step-by-Step Instructions
Ready to get your pancake on? Let’s do this!
- Whisk the Dry Stuff: In a large bowl, combine your flour, sugar, baking powder, and salt. Give it a good whisk until everything looks friendly and evenly mixed.
- Whisk the Wet Stuff: In a separate, medium-sized bowl, whisk together your milk, egg, melted butter (or oil), and that glorious vanilla extract. Make sure that egg is fully beaten in there.
- Combine (Gently!): Pour the wet ingredients into the dry ingredients. Now, here’s the crucial part: **mix just until combined.** A few lumps are totally fine, even desirable! Overmixing is the enemy of fluffy pancakes. Trust me.
- Heat ‘Em Up: Place a non-stick pan or griddle over medium heat. Lightly grease it with a tiny bit of butter or oil. You don’t want a swimming pool of grease, just a nice sheen.
- Pour & Watch: Once your pan is hot (flick a tiny drop of water on it; if it sizzles, you’re good!), pour about ¼ cup of batter per pancake. Make ’em small for tiny hands, or bigger for bigger appetites.
- Look for Bubbles: Let them cook for 2-3 minutes, or until you see little bubbles forming on the surface and the edges look set. This is your cue!
- Flip & Finish: Carefully slide your spatula under a pancake and **flip it over!** Cook for another 1-2 minutes on the second side, until golden brown and cooked through.
- Serve & Devour: Transfer your glorious pancakes to a plate. Repeat with the remaining batter, re-greasing your pan as needed. Serve immediately with ALL the toppings your heart desires!
Common Mistakes to Avoid
Nobody’s perfect, but we can learn from past pancake-related mishaps. Steer clear of these rookie errors:
- Overmixing the Batter: Seriously, I can’t stress this enough. If you mix until it’s perfectly smooth, you’re basically signing up for rubbery pancakes. Embrace the lumps!
- Pan Too Hot or Too Cold: A pan that’s too hot will burn the outside before the inside cooks (a culinary tragedy). Too cold, and they’ll take forever and get tough. Medium heat, people, medium!
- Not Enough Grease: Trying to go oil-free? Brave, but your pancakes will stick. A little butter or oil helps them brown beautifully and release easily.
- Flipping Too Soon: Patience, young grasshopper. Wait for those bubbles and set edges. Flipping too early will lead to messy, broken pancakes. No fun.
- **Thinking You’ll Only Make One Batch:** Rookie mistake. Kids *always* want more. Always. Plan accordingly.
Alternatives & Substitutions
Want to mix things up or work with what you’ve got? No problem, we’re all about flexibility here!
- Flour Power: Feel free to swap half of the all-purpose flour for whole wheat flour for a nuttier flavor and a little extra fiber. You can also use a gluten-free all-purpose blend, though it might change the texture a smidge. Still yummy, though!
- Milk It: Any milk works beautifully here! Almond milk, oat milk, soy milk – pick your poison. The ratios stay the same.
- Butter vs. Oil: If you’re out of butter or prefer something else, coconut oil or any neutral vegetable oil (like canola or grapeseed) will work perfectly for both the batter and greasing the pan.
- Sweetener Swaps: Not a fan of granulated sugar? A tablespoon or two of maple syrup or honey can also be used in the batter. Just make sure to slightly reduce your liquid (milk) by a tiny bit.
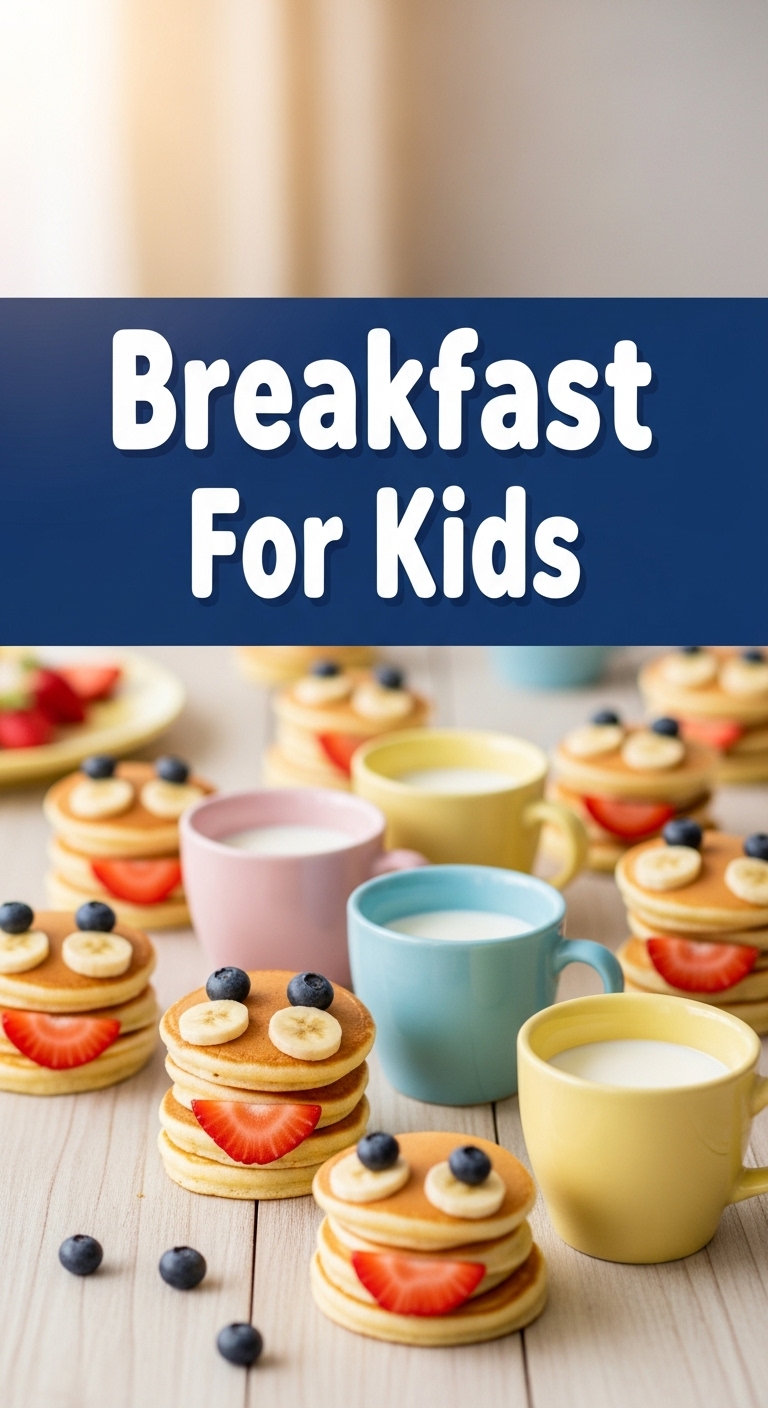
- Add-Ins Galore: This is where the real fun begins! Throw in a handful of blueberries, mini chocolate chips (shhh, I won’t tell!), sliced bananas, or even some sprinkles (because sprinkles make everything better, duh).
FAQ (Frequently Asked Questions)
Got questions? I’ve got answers! (Mostly.)
- Can I make the batter ahead of time? Absolutely! Mix up the wet and dry ingredients separately, then combine just before cooking. Or, if you’re feeling brave, make the whole batter and pop it in the fridge overnight. Morning you will thank evening you!
- How do I keep the cooked pancakes warm? Easy peasy! Preheat your oven to its lowest setting (like 200°F or 90°C). Place the cooked pancakes on a baking sheet in a single layer to keep them toasty while you finish the rest. Stacking them on a plate and covering with foil works too.
- My pancakes are flat, what happened?! Hmmm, a few culprits: Is your baking powder fresh? (Old baking powder loses its oomph.) Or did you fall victim to the dreaded overmixing? That can deflate the batter.
- Can I add fruit *into* the batter, or should it just be toppings? Oh, heck yes! Blueberries are a classic for a reason, but diced strawberries or bananas are also divine. Just gently fold them in at the very end.
- What’s the secret to perfectly round pancakes? A steady hand, a consistent ladle, and maybe a prayer to the pancake gods. Honestly, embracing the funky shapes is part of the charm! Kids love the quirky ones anyway.
- Can my toddler help make these? Definitely! Stirring the dry ingredients (carefully!) or adding the fun toppings is perfect for little hands. Just be prepared for a bit of a mess, LOL. It’s all part of the fun!
Final Thoughts
See? You’re practically a pancake wizard now! Go forth and conquer those morning hunger pangs with your fluffy, cloud-like creations. Your kiddos will think you’re a superhero, and you’ll know the secret: it was ridiculously easy. Now go impress someone—or yourself—with your new culinary skills. You’ve earned it! Maybe make an extra batch for yourself, just sayin’. You deserve a treat after all that super-parenting!


