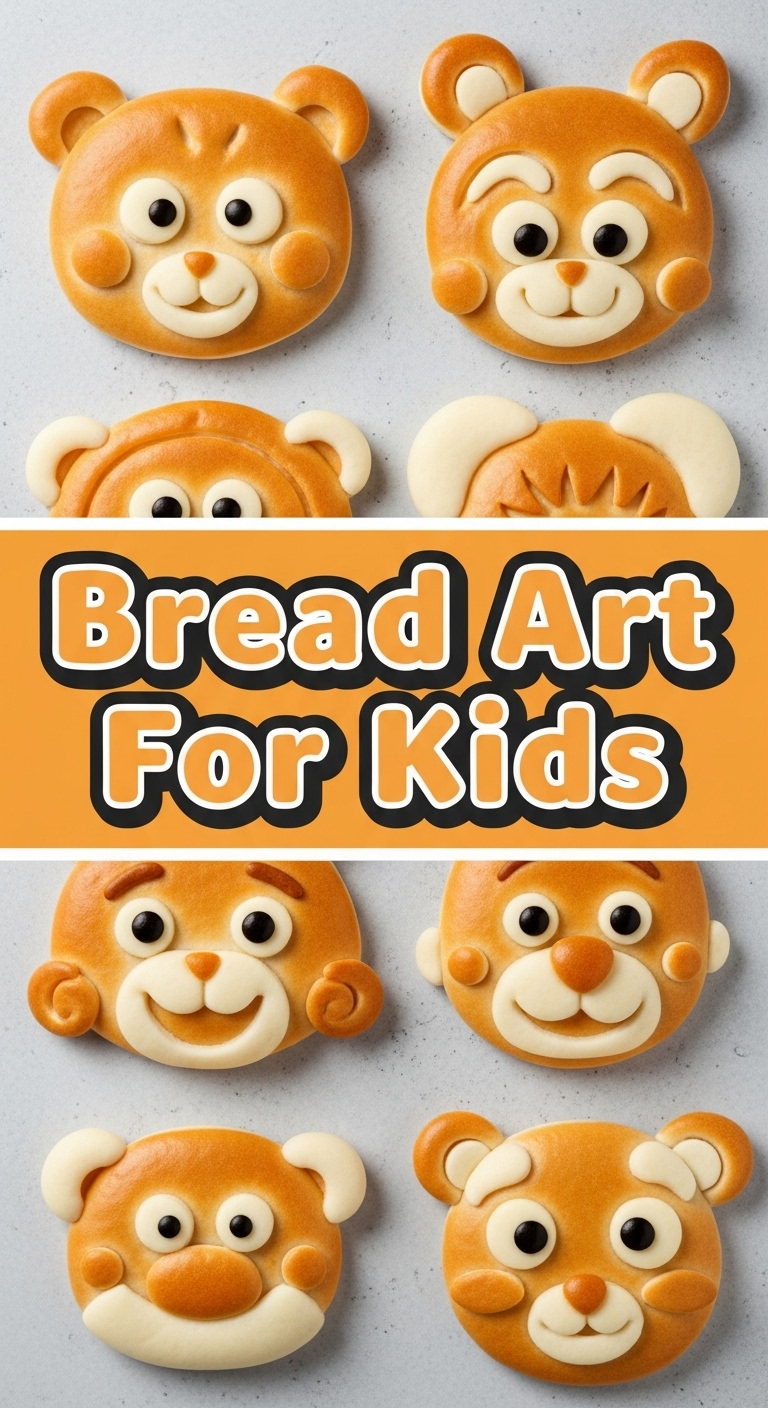
Feeling like your kitchen needs a little less *blah* and a lot more *whee*? And maybe, just maybe, you want to trick your tiny humans into thinking they’re artists, not just snack monsters? 😉 You’re in the right place, friend! We’re diving into the wonderful, carb-filled world of “Bread Art For Kids”—which, let’s be real, is just as much for the grown-up kids among us.
Why This Recipe is Awesome
Okay, so “recipe” might be a strong word here. It’s more like edible play-doh with a baked finish. This isn’t about precise measurements or complex techniques; it’s about unleashing your inner sculptor, then eating your masterpiece. Here’s why it’s a total win:
- It’s practically **idiot-proof**. Even I, the queen of kitchen chaos, didn’t mess this up.
- Super low effort, extremely high reward. Instant gratification for everyone involved.
- Your kids will actually *eat* it because, hello, they made it! It’s like magic, but with flour.
- **No fancy equipment needed.** Your hands are basically the gourmet tools here.
- Even if your “art” ends up looking more like an abstract blob than a majestic unicorn, it’ll still taste amazing. Trust me on this.
Ingredients You’ll Need
Gather your supplies, maestro! This list is short and sweet, just like your patience on a Tuesday afternoon.
- 1 Can of Store-Bought Dough: (Crescent roll dough, pizza dough, or even puff pastry if you’re feeling a bit fancy). This is the stuff that comes in a can and makes that satisfying *POP!* sound when you open it. Pure joy, IMO.
- 1-2 Tablespoons Olive Oil or Melted Butter: For that golden glow, darling. And a little extra flavor never hurt anyone.
- Optional Toppings (for decorating pre-bake):
- Sesame seeds, poppy seeds, everything bagel seasoning. Think sprinkles, but for grown-ups (and kids who like crunch).
- Grated cheese (Parmesan is great, or cheddar for melty goodness). Because cheese makes everything better, duh.
- Dried herbs (rosemary, thyme). For when you want to feel a bit gourmet.
- Optional Post-Bake Decorators:
- Food-safe markers or gel food coloring. The ultimate cheat code for adding eyes to your monster or stripes to your zebra after baking.
- Cookie Cutters (optional): For when you want shapes but your freehand is, let’s say, more “abstract expressionist” than “precise.”
Step-by-Step Instructions
Alright, apron on (or not, we’re informal here), let’s get doughy! These steps are so easy, you can probably do them blindfolded (though I don’t recommend it).
- **Preheat & Prep:** Get that oven ready, champ! Check the dough package for the exact temperature, but usually, it’s around 375°F (190°C). Line a baking sheet with parchment paper or a silicone mat. This saves your sanity later, FYI.
- **Unroll the Fun:** Carefully open your can of dough. Embrace the *POP!* moment. Lay the dough flat on your prepped surface. If it’s crescent roll dough, pinch the seams together to form a solid sheet.
- **Get Creative:** Now for the fun part! Cut, pinch, roll, twist, or mold the dough into whatever shapes your artistic heart desires. Think mythical creatures, funny faces, letters, numbers, or just cool abstract blobs—no judgment here! Use cookie cutters if you have them, or a butter knife if you’re feeling rebellious.
- **Brush it Up:** Lightly brush the tops of your dough creations with olive oil or melted butter. This helps them get that beautiful golden color and makes the toppings stick.
- **Sprinkle Power:** Time for the glam! Sprinkle on your chosen toppings. Cheese, seeds, herbs—go wild! Press them gently into the dough so they don’t roll off.
- **Bake Away:** Carefully transfer your bread art to the preheated oven. Bake according to the package directions, usually 10-15 minutes, or until they’re golden brown and smell absolutely irresistible.
- **Cool & Admire:** Once baked, let your masterpieces cool slightly on the baking sheet. This is the perfect time to add any post-bake details with food markers if you’re feeling extra fancy.
- **Munch Time!** That’s it! Your delicious, artistic creations are ready to be devoured. Dip them in marinara, enjoy them plain, or impress a small human.
Common Mistakes to Avoid
We all make mistakes, but with a little heads-up, you can avoid these classic blunders and keep your bread art journey smooth sailing.
- **Forgetting to Preheat the Oven:** Rookie mistake! That’s like forgetting your coffee on a Monday morning. Don’t do it. A cold oven means uneven baking and sad-looking bread.
- **Overcrowding the Baking Sheet:** Your dough needs space to breathe, people! And expand! If they’re too close, they’ll merge into one giant, shapeless blob, which might be “art,” but perhaps not what you were going for.
- **Burning the Toppings:** **Keep an eye on those sprinkles!** Especially cheese and tiny seeds can toast (and burn) faster than the dough itself. Adjust baking time or oven rack placement if needed.
- **Eating the Raw Dough:** Tempting, I know, but those raw eggs/flour aren’t your friends. Trust the process. Your stomach will thank you.
Alternatives & Substitutions
Flexibility is key in the kitchen, especially when you’re just having fun. Here are some easy swaps:
- **Dough:** No crescent rolls? No problem! Puff pastry will give you flakier art, while store-bought pizza dough is great for a chewier texture. If you’re a baking wizard and have homemade bread dough on hand, go for it!
- **Toppings:** Get creative! Garlic powder, onion powder, a sprinkle of paprika, finely chopped nuts (allergy permitting), or even a dash of dried fruit (like cranberries or raisins) can work. Basically, if it sticks and bakes, it’s fair game.
- **No Cookie Cutters?** A sharp knife or even a pizza cutter works just fine for shaping. Or just use your hands, you rebel! The less perfect, the more “artistic,” right?
FAQ (Frequently Asked Questions)
Got questions? I’ve got (casual and hopefully amusing) answers!
- Can I use regular sliced bread for this? Sure, but then it’s “toast art,” which is a whole other (equally awesome) ball game. For *sculpting* into fun shapes, you really need that soft, pliable dough.
- How long does this whole process actually take? Prep? 15 minutes tops, especially with little helpers. Bake time? Another 10-15 minutes. So, less time than deciding what to watch on Netflix, IMO.
- My kids are… messy. Is this a nightmare cleanup? Embrace the flour explosion! It’s part of the fun. A little flour and a few sprinkles are easily vacuumed up later. Probably.
- Can adults do this too? Or is it strictly for the small folk? Honey, you think I’m writing this just for the kiddos? 😉 Absolutely! Unleash your inner child (and artist). It’s therapeutic.
- What if my “art” looks terrible? Impossible! It’s edible, therefore it’s a win. Plus, **ugly delicious is still delicious.** Don’t let perfection be the enemy of fun (or tasty carbs).
Final Thoughts
So there you have it! A “recipe” that’s less about precision and more about pure, unadulterated fun in the kitchen. It’s perfect for a rainy afternoon, a playdate activity, or just when you need a little carb-fueled creativity in your life. Go forth and create some carb-y masterpieces. Or just some really tasty, slightly wonky bread. Either way, you’re winning.
Now go impress someone—or yourself—with your new culinary *and* artistic skills. You’ve earned it!


