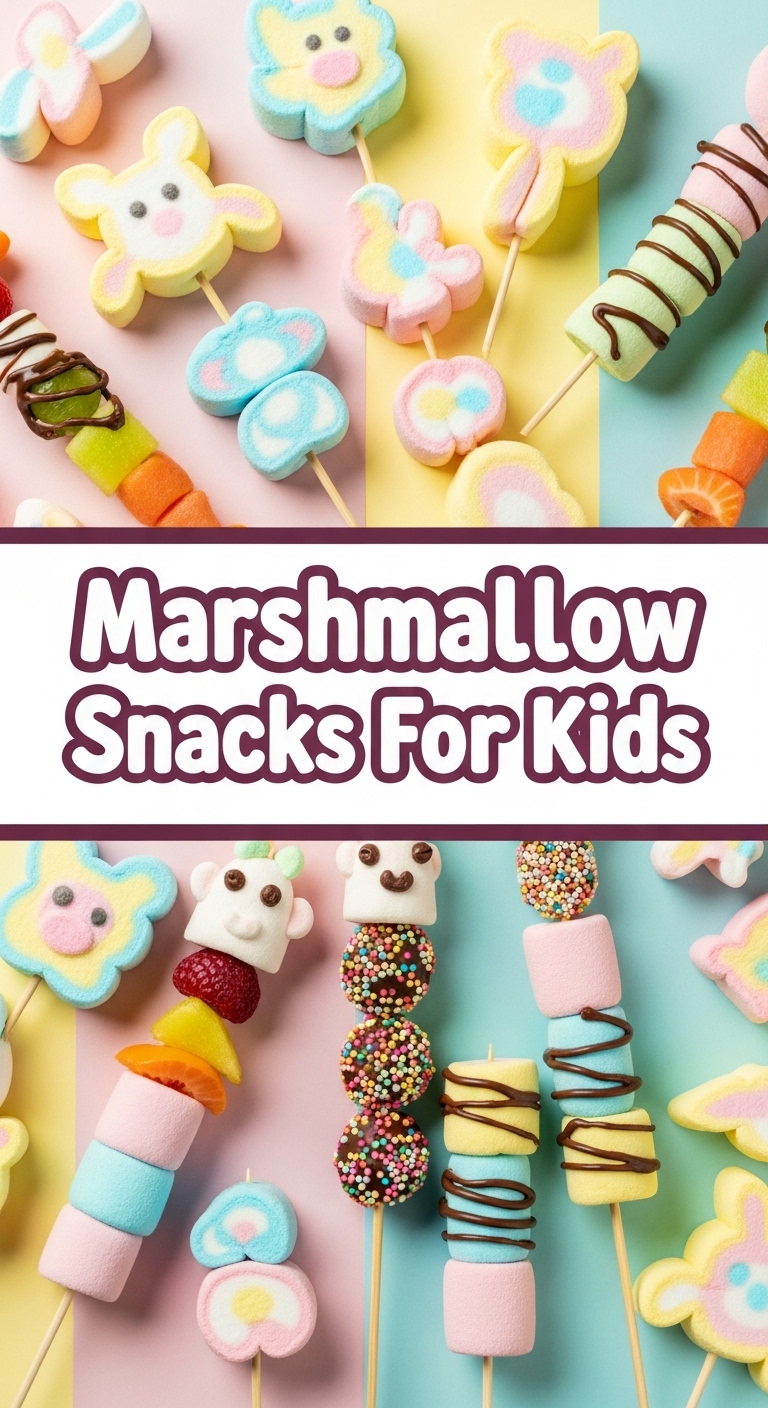
So, you’ve hit that sweet spot in the day where your brain whispers, “Snacks!” but your body shouts, “Too much effort!” Been there, friend, like, every single day. Especially when little humans (or big ones, no judgment) are eyeing you expectantly for something delicious, but you’re fresh out of culinary inspo and energy. Guess what? I’ve got your back. We’re diving into the ridiculously easy, unbelievably tasty world of marshmallow snacks for kids (and, let’s be real, for us too). No fancy equipment, no confusing steps, just pure, unadulterated gooey goodness.
Why This Recipe is Awesome
Alright, let’s cut to the chase. Why should you even bother with this? Because it’s basically the culinary equivalent of a high-five from your fridge. This isn’t just a recipe; it’s a **magic trick for busy parents and snack-craving adults alike.** It’s so simple, I’m pretty sure my cat could *supervise* it. Seriously, if you can melt butter and stir, you’re practically a Michelin-star chef with this one. It’s **no-bake**, meaning your oven gets a day off, and your kitchen stays cool. Plus, it’s a guaranteed crowd-pleaser, delivering maximum “OMG YUM!” reactions with minimal effort. You’ll look like a culinary genius, and all you did was, well, melt some stuff. Win-win!
Ingredients You’ll Need
Gather ’round, my fellow lazy gourmets. Here’s your super-short shopping list for these glorious Gooey Marshmallow Munchies:
- 1/2 cup (1 stick) unsalted butter: Because everything’s better with butter, right? Don’t skimp; your soul will thank you.
- 1 (10-ounce) bag mini marshmallows: The little guys melt faster, which means faster snacking. Science! (A regular bag works too, just takes a *smidge* longer).
- 6 cups crispy rice cereal: The OG base for all things sticky and delicious. Think classic, crunchy goodness.
- Optional fun stuff (highly recommended, though!):
- 1/2 cup chocolate chips: Because chocolate makes everything sparkle.
- Sprinkles: To make it look like a party threw up on your snack. Joyful chaos!
- A pinch of salt: Trust me on this one; it balances the sweetness like a tiny flavor superhero.
Step-by-Step Instructions
- Prep Your Pan: Grab a 9×13 inch baking pan. Give it a good spritz with non-stick spray or line it with parchment paper for easy removal. This is **crucial**, unless you enjoy wrestling with sticky marshmallow goo for eternity.
- Melt the Butter: In a large, microwave-safe bowl (or a big pot on the stovetop over low heat), melt the butter. Do it slowly; we want melted, not burnt, butter. Unless you’re into that, I guess?
- Get Gooey with Marshmallows: Once the butter is melted, toss in the mini marshmallows. Stir them constantly until they’re gloriously melted and smooth. This is where the magic happens! If you’re using a stovetop, keep the heat low. If microwaving, do it in 30-second bursts, stirring in between.
- Stir in Cereal: Remove from heat (if using stovetop). Quickly dump in your crispy rice cereal. Add that optional pinch of salt now, too. Stir it up until every single flake is coated in that sticky, sweet marshmallow goodness. Seriously, get in there and mix it well!
- Add the Extras (if using): If you’re adding chocolate chips or sprinkles, fold them in now. Don’t overmix if you want the chocolate chips to stay chunky!
- Press it Down: Scoop the mixture into your prepared pan. Use a buttered spatula or wax paper to **gently press it down evenly**. Don’t compact it too much, or your bars will be rock hard instead of perfectly chewy.
- Cool and Cut: Let it cool completely at room temperature for about an hour, or pop it in the fridge for 20-30 minutes for a quicker set. Once firm, cut into squares. Now, go forth and snack!
Common Mistakes to Avoid
Even something this simple has traps! Don’t be “that person.”
- Overcooking the Marshmallows: If you cook them too long or on too high heat, they get super hard and not fun to eat. We want gooey, not rubber.
- Not Greasing the Pan Properly: Remember that “crucial” step? Yeah, skipping it means you’ll be chiseling your delicious snack out of the pan. Not ideal, unless you’re into extreme sports.
- Pressing Too Hard: When you press the mixture into the pan, be gentle. Think of it like a gentle hug, not a wrestling match. Too much pressure makes dense, hard bars.
- Forgetting the Salt: It sounds weird, but a tiny pinch of salt cuts through the sweetness and makes the flavors pop. It’s like the unsung hero of this snack!
Alternatives & Substitutions
Feeling adventurous? Or just out of crispy rice cereal? No worries, I got options!
- Cereal Swap: Instead of crispy rice, try Frosted Flakes (for extra sweetness!), Cheerios, or even crushed OREOs for a super decadent twist. Any slightly crunchy, sturdy cereal works great.
- Add-ins Galore: Beyond chocolate chips and sprinkles, think mini M&M’s, chopped nuts (if no allergies!), dried cranberries or cherries for a tart kick, or even a drizzle of peanut butter swirled in before cooling.
- Flavor Boosters: A teaspoon of vanilla extract added with the marshmallows takes these to another level. Or a dash of cinnamon or pumpkin spice for a seasonal vibe!
- Butter Substitute: While butter is king, you *can* use margarine or a plant-based butter alternative if needed. Just make sure it’s one you enjoy the taste of!
FAQ (Frequently Asked Questions)
Got questions? I’ve got (mostly) sarcastic answers!
-
Can I use stale marshmallows?
Technically yes, they’ll melt. But why would you do that to yourself? Fresh marshmallows make for a softer, chewier treat. Don’t punish your taste buds! -
How long do these last?
In my house? About 10 minutes. Realistically, stored in an airtight container at room temperature, they’re good for 2-3 days. After that, they start getting a bit hard. -
Can I make them ahead for a party?
Absolutely! They’re perfect for prepping a day in advance. Just cover them tightly once cooled and cut. Less stress on party day, am I right? -
My mixture is too sticky to press! Help!
Ah, the classic sticky fingers dilemma! Lightly butter your hands or a spatula, or use a piece of wax paper to press it down. Works like a charm every time. -
Can I double the recipe?
You’re feeling ambitious! Yes, but use an even bigger pot and pan. And be prepared for a serious arm workout during the mixing stage. -
Are these gluten-free?
Depends on your cereal! If you use a certified gluten-free crispy rice cereal and marshmallows, then yes, they can be. Always double-check labels, though. -
Can I put them in the fridge to set faster?
Yes, and I totally mentioned it earlier, remember? Pop ’em in for 20-30 minutes if you’re in a hurry. Just don’t forget them in there for too long, or they’ll get super stiff.
Final Thoughts
There you have it, folks! Your new go-to, stress-free, smile-inducing snack recipe. It’s proof that you don’t need a culinary degree to whip up something truly delightful. So, what are you waiting for? Go grab those marshmallows, channel your inner snack magician, and create some deliciousness. **You’ve earned this moment of gooey glory.** Now go impress someone—or yourself—with your new culinary skills. Happy snacking!


