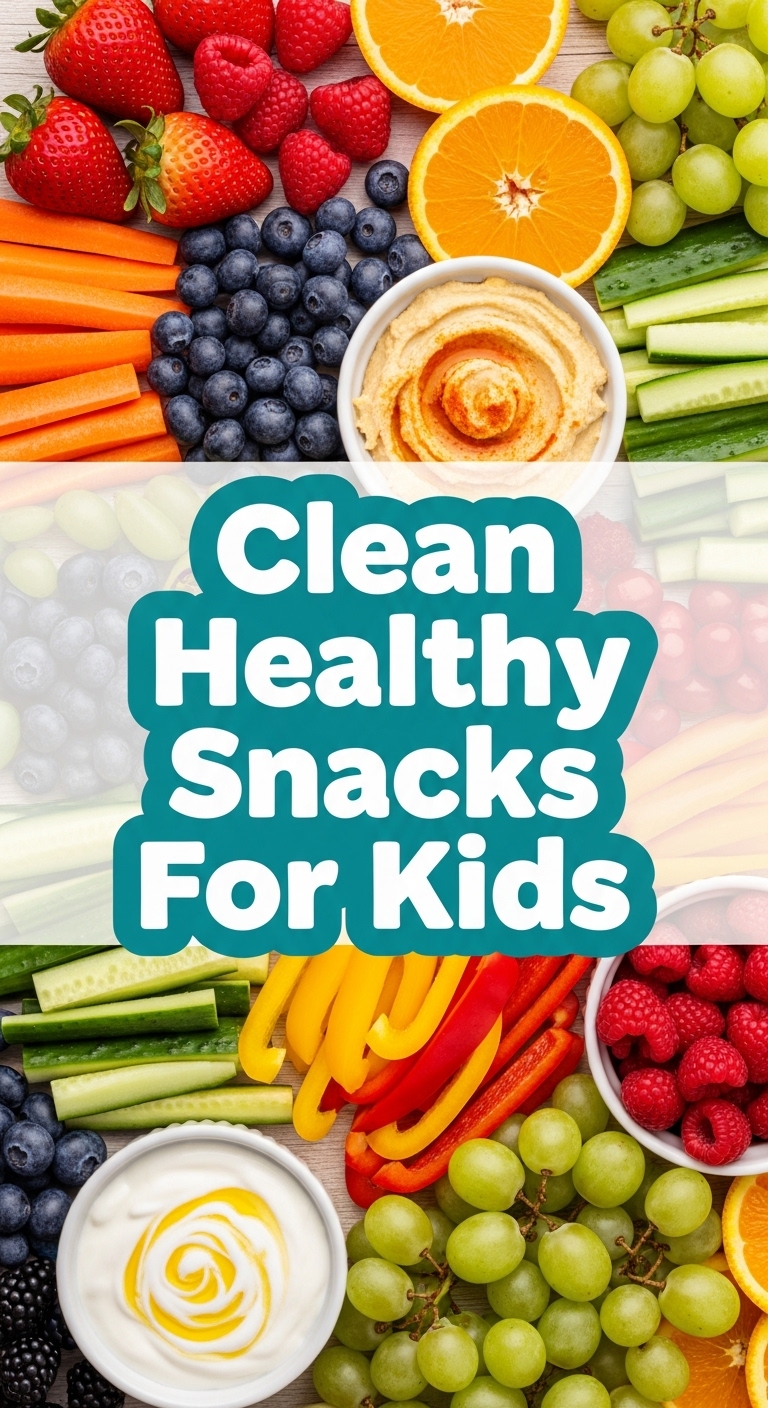
So you’re looking for a snack that won’t make your kids bounce off the walls (more than usual) AND is actually, dare I say, *healthy*? You’ve come to the right place, friend. Because let’s be real, sometimes you just need to whip up something tasty without turning your kitchen into a disaster zone or spending an entire afternoon playing ‘master chef.’ Trust me, I get it. We’re talking about the holy grail of kid snacks here: the No-Bake Power Bites!
Why This Recipe is Awesome
Okay, let’s talk about why these little wonders are about to become your new best friend. First off, as the name suggests: NO BAKING REQUIRED. Yes, you read that right. No preheating ovens, no burnt edges, no awkwardly peering through the glass hoping things don’t spontaneously combust. It’s idiot-proof, even I didn’t mess it up (and that’s saying something). These bites are packed with good-for-you ingredients that actually keep tiny humans (and let’s be honest, adult humans too) feeling full and energized, not wired on sugar. Plus, they’re super customizable, which means you can sneak in all sorts of goodness, and your kids will still think they’re getting a treat. Winning!
Ingredients You’ll Need
Get ready for a super short shopping list, because who needs a whole pantry overhaul just for snacks? Not us!
- 1 ½ cups Rolled Oats: Not the instant kind, unless you like your bites a bit mushy. These are the unsung heroes, the glue that holds dreams together.
- ½ cup Peanut Butter (or any nut/seed butter): The sticky magic. Creamy, crunchy, almond, cashew, sunflower – whatever floats your boat (or your kid’s allergen list).
- ⅓ cup Honey or Maple Syrup: For that touch of natural sweetness. Pick your poison, they both work great.
- 2 tbsp Chia Seeds (or ground flaxseed): Tiny powerhouses of omega-3s and fiber. Your secret weapon for healthy guts.
- ¼ cup Mini Chocolate Chips (optional, but highly recommended): Because life’s too short not to add a little chocolate, right?
- 1 tsp Vanilla Extract: Just a dash to make everything smell and taste fancy.
Step-by-Step Instructions
- Grab a Big Bowl: Seriously, get the biggest one you have. It makes mixing so much easier.
- Combine Wet Ingredients: In that big bowl, dump in the peanut butter, honey/maple syrup, and vanilla extract. Give it a good stir until it’s all smooth and looking delicious.
- Add Dry Ingredients: Now, pour in the rolled oats, chia seeds (or flax), and those delightful mini chocolate chips.
- Mix it Up: Time for some arm work! Stir, stir, stir until everything is thoroughly combined. You want no dry patches of oats left behind. It might seem a bit crumbly at first, but keep mixing until it starts to stick together. Your hands might be the best tool for this job, FYI.
- Roll ‘Em Up: Take about a tablespoon of the mixture and roll it between your palms to form a small ball. Repeat until you’ve used up all the mixture. You should get around 12-15 bites.
- Chill Out: Place your beautiful power bites on a plate or in an airtight container. Pop them in the fridge for at least 30 minutes. This helps them firm up and keeps them from turning into a sad, sticky blob.
- Enjoy! Once chilled, these bad boys are ready to be devoured. Keep them stored in the fridge for up to a week.
Common Mistakes to Avoid
- Skipping the Chill Time: I know, I know, instant gratification is tempting. But nobody likes a crumbly mess. Patience, young Jedi. That fridge time is crucial for texture.
- Using Instant Oats: While convenient for oatmeal, instant oats break down too much here, leading to a mushy rather than chewy bite. Stick to rolled oats for the best results.
- Not Mixing Enough: You really need to get in there and make sure all the oats are coated. If it seems too dry, your hands are your best tool to knead it together.
- Over-Sweetening: Resisting the urge to add more honey or maple syrup is key. The existing amount is usually perfect, especially if you’re adding chocolate chips. Don’t go overboard, unless you want them bouncing off the walls.
Alternatives & Substitutions
This recipe is super flexible, which is part of its charm! Here are some ideas to mix things up:
- Nut/Seed Butter Swap: If peanuts are a no-go, almond butter, cashew butter, or sunflower seed butter (SunButter) work beautifully. Just make sure the consistency is similar to creamy peanut butter.
- Sweetener Switch: Honey and maple syrup are my go-tos, but agave nectar is also an option if that’s what you have on hand.
- Add-Ins Galore: This is where the fun begins!
- Desiccated Coconut: Roll them in it for a tropical vibe.
- Dried Fruit: Finely chopped cranberries, raisins, or apricots can add extra chewiness and sweetness.
- Protein Powder: For an adult-friendly boost, add a scoop of your favorite vanilla or unflavored protein powder.
- Spices: A pinch of cinnamon or a tiny bit of nutmeg can add warmth and flavor.
- Citrus Zest: Lemon or orange zest can really brighten them up! IMO, this is a game changer.
FAQ (Frequently Asked Questions)
- Can I use margarine instead of peanut butter? Well, technically yes, but why hurt your soul like that? Peanut butter gives it that classic flavor and healthy fat. Margarine won’t offer the same nutritional punch or texture.
- Are these just for kids? Heck no! You think I don’t sneak these when the little ones are asleep? Pfft. These are perfect for pre-workout, post-workout, or just a little pick-me-up anytime.
- How long do they last in the fridge? They’ll stay good in an airtight container for about a week. If they last that long, that is!
- Can I freeze them? Absolutely! Freeze them on a parchment-lined tray first, then transfer them to a freezer-safe bag. They’ll last for up to a month. Just thaw in the fridge for a bit before eating.
- My mixture is too dry/crumbly. What gives? Don’t panic! Add a tiny bit more peanut butter or sweetener, a teaspoon at a time, until it comes together. Humidity and brand differences can affect consistency.
- My kid hates nuts. Any options? Definitely! Use a seed butter like sunflower seed butter (SunButter). It’s a fantastic allergy-friendly alternative.
Final Thoughts
So there you have it, future snack-making superstar! These No-Bake Power Bites are seriously a game-changer for busy parents (or just busy people who like tasty, healthy things). They’re quick, they’re easy, and they’re actually good for you. Now go impress someone—or yourself—with your new culinary skills. You’ve earned it!

