So, you’ve got a hankering for some fresh-baked bread but the thought of all that kneading and mess makes you want to curl up with a bag of chips instead? Totally get it. Been there, bought the chips. But what if I told you there’s a magical bread recipe that’s so easy, even your tiny human sidekicks (or, let’s be real, your equally clumsy adult self) can master it? Enter: Bread In A Bag. Mind blown, right?
Why This Recipe is Awesome
Okay, let’s cut to the chase. This isn’t just a recipe; it’s a life hack. First off, it’s virtually **mess-free** because most of the action happens inside a humble plastic bag. Yes, really! This means less flour dusting your entire kitchen and more time for… well, whatever you actually want to do with your life besides scrub countertops.
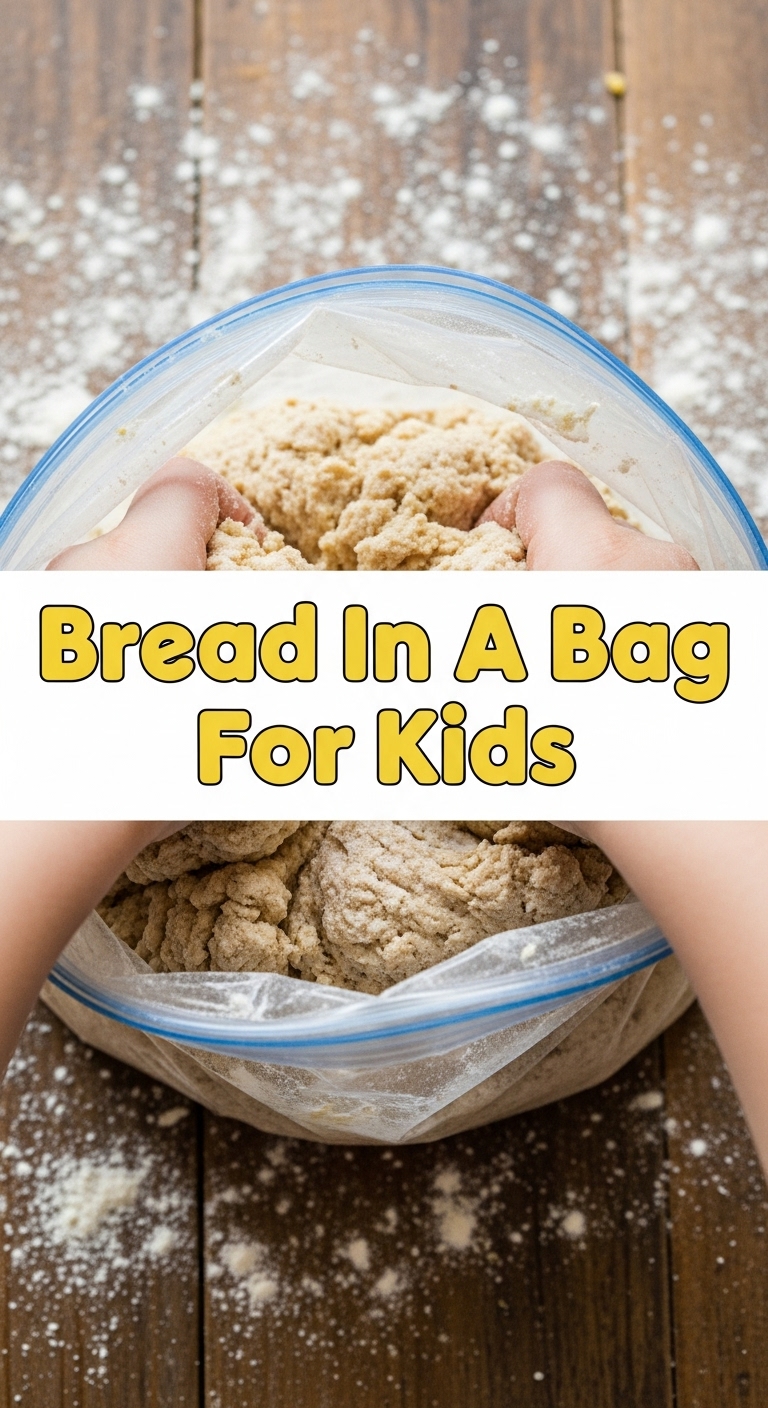
Secondly, it’s a fantastic way to get kids involved in the kitchen without them needing a step stool and a hazmat suit. The “bag” part makes it feel like an experiment, not a chore. Plus, watching dough inflate in a bag is weirdly satisfying. Thirdly, it’s pretty much **idiot-proof**; even I, the queen of kitchen mishaps, managed to pull this off without setting off the smoke alarm. That’s a win in my book, folks.
Ingredients You’ll Need
Gather ’round, my little chefs (and big ones!). Here’s what you’ll need for this culinary marvel:
- 1 cup Warm Water: Not hot enough to scald, not cold enough to make the yeast grumble. Think a cozy bath temperature.
- 2 teaspoons Active Dry Yeast: The tiny little magic makers that make things rise. Don’t skip these, unless you’re aiming for a flatbread of sadness.
- 2 tablespoons Granulated Sugar: A little treat for our yeast friends, helps them get bubbly.
- 1 teaspoon Salt: Because bread without salt is just… not right. It brings out all the yummy flavors.
- 2 tablespoons Olive Oil (or any neutral oil): Gives our bread a lovely texture and a bit of richness.
- 2 ½ to 3 cups All-Purpose Flour: The star of our show! Have a little extra on hand, just in case.
- 1 Gallon-Sized Ziploc Bag: The MVP of this recipe. Make sure it’s sturdy and has a good seal!
Step-by-Step Instructions
- Yeast’s Spa Day: Grab your Ziploc bag. Pour the warm water into it, then sprinkle in the yeast and sugar. Gently seal the bag, making sure to push out most of the air. Give it a gentle swish-swish to mix everything. Let it sit for 5-10 minutes. You should see some foamy bubbles – that means your yeast is alive and ready to party! If not, your yeast might be expired. Boo.
- Add the Good Stuff: Open the bag, then add the salt and olive oil to your bubbly yeast mixture.
- Flour Power Time: Now, add 2 ½ cups of the flour to the bag. Seal it up again, making sure there’s still a little air inside. This is the fun part! Let your kids (or yourself!) squish, squeeze, and mush the bag around until all the ingredients are combined and a sticky ball of dough forms. It’s like a stress ball, but edible!
- Knead (Sort Of): Once combined, open the bag, add a little more flour (maybe ¼ cup at a time) if the dough is super sticky. You want it to be firm enough to pull away from the sides of the bag but still soft. Keep squishing and mixing for another 5 minutes. **Don’t overmix!**
- Rise and Shine: Gently take the dough out of the bag and lightly form it into a ball. Place it in a lightly oiled bowl, turning once to coat. Cover the bowl with plastic wrap or a clean kitchen towel. Find a warm spot in your kitchen (like on top of the fridge, IMO) and let it rise for 30-60 minutes, or until it’s roughly doubled in size. This is where the magic happens!
- Shape It Up: Once risen, gently punch down the dough to release the air. Take it out of the bowl and shape it into a loaf. You can make it a classic loaf, rolls, or even a mini pizza base.
- Bake It, Baby! Preheat your oven to 375°F (190°C). Place your shaped dough on a greased baking sheet or in a loaf pan. Bake for 20-30 minutes, or until golden brown and it sounds hollow when you tap the bottom.
- Cool Down: Let your masterpiece cool on a wire rack for a bit before slicing. Patience, my friend, patience!
Common Mistakes to Avoid
- Using Too Hot/Cold Water: Too hot? Kills the yeast. Too cold? Makes the yeast super sluggish. **Warm water is key!**
- Not Sealing the Bag Properly: You’ll end up with a flour explosion. And nobody wants that.
- Forgetting to Push Out Air for Initial Yeast Mix: The yeast needs space to bubble and grow. Leave a little air in the bag initially.
- Not Letting It Rise Enough: Underrisen dough equals dense, sad bread. Give it time; it needs its beauty sleep.
- Thinking You Don’t Need to Preheat the Oven: Rookie mistake. Preheat for even baking and a perfect crust.
Alternatives & Substitutions
Feeling adventurous? Here are some simple swaps:
- Flour Power: You can experiment with half whole wheat flour for a nuttier flavor, but stick to at least half all-purpose for the first go-round, just to be safe. It’s more forgiving.
- Sweetener Swap: Honey or maple syrup can be used instead of granulated sugar, though they might make the dough a tiny bit stickier.
- Herb It Up: Want a savory bread? Add a teaspoon of dried herbs like rosemary or oregano to the flour mixture. It’s an instant upgrade, trust me!
- Cheese Please: Fold in a half cup of shredded cheddar or Parmesan when you’re doing the final shaping for a cheesy surprise. **FYI**, cheese makes everything better.
FAQ (Frequently Asked Questions)
Got questions? I’ve got answers (mostly humorous ones).
- Can I use rapid-rise yeast instead? Absolutely! It might just proof a bit faster, so keep an eye on it. Speed demons, unite!
- My dough isn’t rising. What went wrong? Bummer! Most likely culprits are expired yeast, water that was too hot or cold, or a kitchen that’s colder than a polar bear’s toenails. Check those temps!
- Can I make this ahead of time? You can definitely do the first rise, then punch it down, shape it, and put it in the fridge overnight for a slower, colder second rise. Take it out about an hour before baking to come to room temp.
- Is this actually “kid-safe” for kneading? Oh, totally! It’s one of the safest (and cleanest) ways to get little hands involved. Just make sure they don’t try to eat the raw dough.
- Can I add other mix-ins like nuts or seeds? Go for it! Add them during the last minute of the bag-kneading phase or when you’re doing the final shape. Cranberries and walnuts? Yes, please!
Final Thoughts
So there you have it, folks! Bread in a Bag: the easiest, most fun, and least messy way to get that warm, fresh bread smell wafting through your home. It’s perfect for a rainy afternoon, a quick snack, or just to prove to yourself that you *can* bake bread without breaking a sweat (or a flour bag). Now go impress someone—or yourself—with your new culinary skills. You’ve earned it!


