Ever feel like your kitchen is a bottomless pit when it comes to feeding your crew? Like, you cook, they eat, and poof! It’s gone faster than your last paycheque? Yeah, me too. Feeding a small army shouldn’t require a chef’s degree or a bank loan, especially when it comes to the humble, mighty grain: rice. If you’re tired of making tiny batches or ending up with a sticky, sad mess, you’ve hit the jackpot. We’re about to make rice – perfect rice – for a whole horde. No stress, just deliciousness.
Why This Recipe is Awesome
Okay, let’s be real. Cooking for a crowd can be… a lot. But this rice recipe? It’s not just awesome; it’s practically a life hack for busy parents and benevolent hosts. Here’s why it’s about to become your new best friend:
- Feeds a Small Village (or a Large Family): No more rationing! This recipe scales beautifully, so you can make enough to satisfy every hungry belly, with potential leftovers (a rare and beautiful sight).
- It’s Idiot-Proof (Mostly): Look, if I can do it without setting off the smoke alarm, you can too. It’s simple, straightforward, and doesn’t require a culinary degree. Your biggest challenge might be remembering which cupboard the rice is in.
- Budget-Friendly AF: Rice is cheap. Like, ridiculously cheap. So you can fill those tummies without emptying your wallet. Your bank account will thank you.
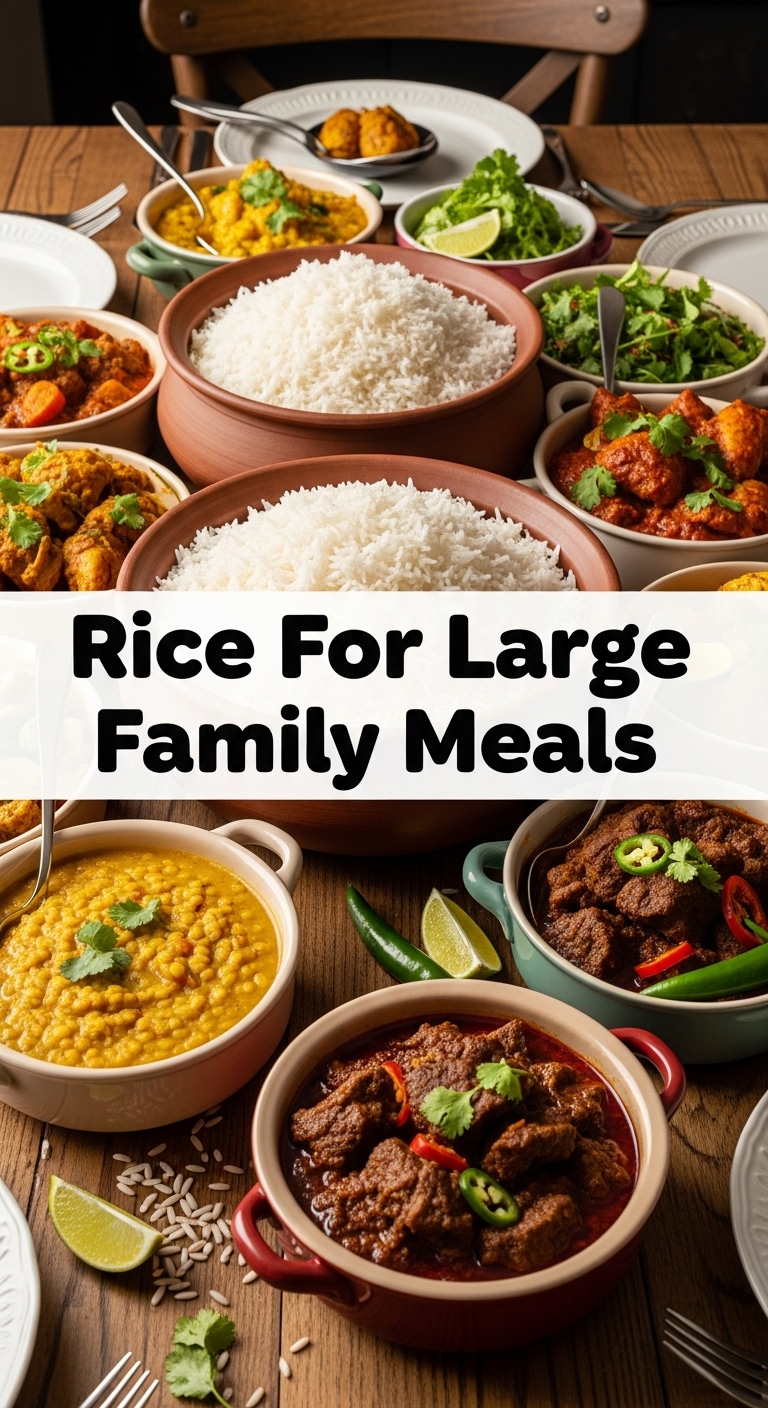
- Versatility is Its Middle Name: Seriously, what doesn’t go with rice? Curries, stir-fries, stews, roasted chicken, or just a pat of butter and a sprinkle of salt when you’re feeling lazy. It’s the ultimate blank canvas.
- No More Sad, Sticky, or Crunchy Rice: We’re talking fluffy, separate grains of pure perfection. Say goodbye to rice that acts more like glue or tiny pebbles.
Ingredients You’ll Need
Don’t sweat it; we’re not asking for saffron or truffles here. Just the basics to get you to rice nirvana. Here’s what to grab from your pantry:
- Long-Grain White Rice: Think Jasmine or Basmati. They’re fragrant, they cook up beautifully, and they’re generally forgiving. How much? For a large family, I’d say start with 3-4 cups. You can always adjust!
- Water or Broth: The lifeblood of your rice. Use water for classic taste or veggie/chicken broth for an extra flavor kick. You’ll need about 1.5 to 1.75 cups of liquid per cup of rice, depending on the rice type. Let’s aim for 5-7 cups of liquid for our 3-4 cups of rice.
- Salt: Essential! Don’t skip it. A teaspoon or two, to taste. Rice without salt is like a joke without a punchline – just… meh.
- A Drizzle of Oil or a Pat of Butter (Optional but Recommended): This helps prevent sticking and adds a lovely sheen and subtle flavor. Olive oil, vegetable oil, or a dollop of butter – whatever floats your boat.
Step-by-Step Instructions
Alright, apron on (or not, we’re informal here), let’s get cooking! These steps are designed to be foolproof, even if you’re juggling three kids and a demanding cat.
- Rinse That Rice: Grab your rice and put it in a fine-mesh sieve. Rinse it under cold running water until the water runs mostly clear. This gets rid of excess starch, which is the nemesis of fluffy rice. Don’t skip this, seriously.
- Measure & Combine: In a large, heavy-bottomed pot (or a Dutch oven if you’re fancy), combine your rinsed rice, the appropriate amount of water/broth, salt, and your chosen oil/butter. Give it a gentle stir just once to combine everything.
- Bring to a Boil: Place the pot over medium-high heat and bring the liquid to a rolling boil. Keep an eye on it so it doesn’t boil over and make a starchy mess on your stovetop.
- Cover and Reduce: As soon as it hits that rolling boil, immediately reduce the heat to the absolute lowest setting your stove offers. Cover the pot tightly with a lid. And when I say tightly, I mean tightly. No peeking!
- Simmer Time: Let it simmer undisturbed for 15-18 minutes for white rice. Seriously, no lifting the lid. It’s a steamy, magical process in there.
- The Grand Rest (Crucial!): Once the timer dings, remove the pot from the heat. Leave the lid on! Let it rest for another 10 minutes. This allows the steam to fully absorb, making your rice extra fluffy and perfect. This step is non-negotiable, IMO.
- Fluff and Serve: Finally, remove the lid. Using a fork, gently fluff the rice. You’ll see beautiful, separate grains. Serve it hot and bask in the glory of your perfectly cooked, large-batch rice!
Common Mistakes to Avoid
Even the simplest things can go sideways, right? Here’s a rundown of common blunders and how to dodge them like a pro:
- Skipping the Rinse: You think you’re saving time, but you’re actually inviting a sticky, gummy, clumpy rice disaster to your pot. Rinse the rice! Your future fluffy self will thank you.
- Wrong Water-to-Rice Ratio: Too much water? Mushy rice. Too little? Crunchy, undercooked bits. Stick to the 1.5-1.75 cups liquid per 1 cup rice guideline. It’s science, people!
- Lifting the Lid (The Cardinal Sin): Every time you peek, you let out precious steam, which is essential for even cooking. Resist the urge! Trust the process and your timer.
- Not Letting it Rest: Patience is a virtue, especially with rice. That 10-minute rest off the heat allows the grains to fully plump up and become beautifully distinct. Don’t rush perfection.
- Stirring Too Much: Once it’s in the pot simmering, resist the urge to stir. Stirring breaks up the grains and releases more starch, leading to a gluey texture. A gentle initial stir is all you need.
Alternatives & Substitutions
Feeling adventurous? Or just working with what you’ve got? Here are some easy swaps and additions:
- Rice Type: While long-grain white rice is king for this method, you can definitely use Basmati or Jasmine. For brown rice, you’ll need more liquid (about 2 cups per cup of rice) and a longer cooking time (around 40-45 minutes simmer, plus 10-15 minutes rest). Wild rice is a whole other beast, so maybe save that for another day, eh?
- Liquid Love: Water is fine, but broth (chicken, beef, or vegetable) adds a fantastic depth of flavor. You can also get fancy and use half water, half coconut milk for a subtle tropical twist, especially if serving with a curry!
- Fat Factor: Olive oil, vegetable oil, or butter all work great. For an Asian-inspired meal, a tiny bit of sesame oil added after cooking can be amazing. Coconut oil is also a delicious option.
- Aromatic Boosters: Toss in a bay leaf or two, a smashed garlic clove, or a slice of onion with your rice before cooking for extra fragrance. Just remember to fish them out before serving!
FAQ (Frequently Asked Questions)
Got questions? I’ve got (casual and hopefully helpful) answers!
- “Can I use brown rice with this recipe?” Technically yes, but you’ll need to adjust the liquid ratio (more!) and cooking time (longer!). It’s like trying to fit a square peg in a round hole – it’ll work, but you need to do some wiggling. Stick to long-grain white for this specific “idiot-proof” method, or be prepared for experimentation!
- “Do I *really* need to rinse the rice?” Yes, you rebel! Unless you *want* sticky, clumpy rice that feels like it went through a glue factory, rinse it. It removes excess starch and makes all the difference for that fluffy perfection we’re aiming for. Trust me on this one.
- “My rice is sticky! What did I do wrong?” Ah, the classic sticky rice conundrum! Most likely culprits: not rinsing enough (or at all!) or using too much water. Make sure your water-to-rice ratio is spot on and give that rice a good bath next time.
- “Help, my rice is still hard/crunchy!” Sounds like your rice needs more love (and water/cook time!). Either you didn’t have enough liquid, or you didn’t let it simmer long enough, or you kept lifting the lid (naughty!). Next time, make sure your heat is low enough for a gentle simmer and let it cook for the full 15-18 minutes *without peeking*.
- “Can I double or triple this recipe for an even bigger crowd?” Absolutely! That’s the whole point, my friend! Just make sure you have a pot large enough to accommodate all that deliciousness without it overflowing. A good rule of thumb is a pot that’s at least twice the volume of your uncooked rice + liquid.
- “What if I don’t have a tight-fitting lid?” No problem, MacGyver! You can place a layer of aluminum foil directly over the pot opening, then put your lid on top. This creates an even tighter seal, trapping all that essential steam. Crisis averted!
- “How long does cooked rice last in the fridge?” Cooked rice is generally good for 3-4 days in an airtight container in the refrigerator. Just make sure to cool it quickly after cooking and reheat it thoroughly. Don’t leave it out at room temp for hours, though; food safety first, people!
Final Thoughts
And there you have it, folks! Your new secret weapon for feeding a happy, hungry mob without losing your mind. You’ve officially mastered the art of fluffy, large-batch rice. No more sad, sticky grains for your family; only perfect, delicious perfection. Go forth and conquer those dinner plans! Now go impress someone – or just yourself, because you totally deserve it – with your new culinary superpower. You’ve earned it!


