So, Halloween’s creeping up, and you’re thinking, “How do I make this spooky holiday fun for the kiddos without, you know, actually *cooking*?” My friend, you’ve come to the right place. Because let’s be real, while we love our little monsters, sometimes our energy levels are more “mummy shuffling” than “mad scientist in the kitchen.” Good news: I’ve got your back with a Halloween Charcuterie Board for Kids that’s so easy, it’s almost cheating. Almost.
Why This Recipe is Awesome
Because who has time for elaborate haunted gingerbread houses when you can artfully arrange snacks? This isn’t just a recipe; it’s an art project you can eat. And unlike most art projects, it doesn’t require glitter, which is a win in itself, **IMO**. It’s idiot-proof, even I didn’t mess it up. Plus, it’s highly customizable, requires minimal actual cooking (unless opening a package counts, which it totally should), and looks way more impressive than the effort it took. Your kids will think you’re a genius, and you’ll know the truth: you just have excellent taste in pre-packaged treats and a knack for arrangement. Genius, either way, right?
Ingredients You’ll Need
Get ready to raid the snack aisle like a goblin on a sugar rush. Think colorful, think spooky, think “stuff kids actually eat.”
- “Monster Eyeballs”: Mozzarella balls (bocconcini) with a sliced black olive pressed into the side. Creepy, yet delicious.
- “Witch Fingers”: Pretzel sticks with a slivered almond stuck to one end (using a tiny dab of cream cheese or peanut butter) for the “nail.”
- “Pumpkin Patch”: Clementine segments, arranged like a little pumpkin patch. Easy peasy!
- “Ghostly Goo”: A small bowl of ranch dip, hummus, or even a white chocolate ganache if you’re going sweet.
- “Graveyard Dust”: Crushed Oreo cookies (the dark kind!) for that authentic “dirt” look.
- “Spiderwebs”: Ritz crackers or round cookies with a tiny bit of cream cheese or icing piped in a spiral, then dragged with a toothpick from the center outwards to create a web.
- “Bloody Fruit”: Strawberries, raspberries, and sliced apples (toss them in a little lemon juice to prevent browning, rookie mistake if you skip this!).
- “Gummy Guts & Worms”: A handful of gummy worms, sour strips, or any other brightly colored, slightly grotesque gummy candy.
- “Mummy Dogs” (Optional, but highly recommended): Mini hot dogs wrapped in strips of puff pastry or crescent roll dough, baked until golden. Serve with “bloody” ketchup.
- Assorted Crackers & Cookies: Think bat-shaped crackers if you can find them, or just regular ones. Sugar cookies are great for decorating with some spooky icing.
- The Board Itself: A large cutting board, a platter, or even a clean baking sheet works. No need to get fancy unless you want to!
Step-by-Step Instructions
Alright, let’s assemble this masterpiece. No actual cooking required, promise!
- Grab Your Canvas: First things first, get your biggest, prettiest (or just available) board. Lay out a sheet of parchment paper if you want an easier cleanup, or just go raw board style. You do you.
- Anchor Down Your Dips: Place your bowls of “Ghostly Goo” and “Bloody Ketchup” (if using Mummy Dogs) on the board first. These are your anchors, everything else builds around them.
- Start with the Big Stuff: Next, arrange your “Pumpkin Patch” clementine segments and any other larger fruit or cookie clusters. Think about creating natural divisions on your board.
- Introduce the Spooky Elements: Now for the fun part! Artfully place your “Monster Eyeballs” and “Witch Fingers.” Don’t be afraid to make them look a little chaotic; it’s Halloween, not a symmetrical art exhibit.
- Fill in the Gaps with Yummy Fillers: Scatter your “Graveyard Dust” (crushed Oreos) in a corner, or sprinkle it around the base of other items for a dirt effect. Arrange your “Spiderwebs,” “Bloody Fruit,” and “Gummy Guts & Worms.”
- Add Crackers and Cookies: Fill any remaining empty spaces with your assorted crackers and cookies. The goal is a board so full it looks like it’s about to burst with spooky goodness.
- Final Flourishes (Optional, but Fun): A few plastic spiders (the clean kind!), some candy corn, or even a small toy skeleton can really elevate the spooky vibe. **Pro tip: Use food-safe props only!**
Common Mistakes to Avoid
Even an “assembly-only” recipe has its pitfalls. Learn from my trials and errors (mostly errors).
- Overthinking It: This isn’t a Michelin-star meal. It’s snacks for kids. The more “perfect” you try to make it, the less fun it becomes. Embrace the chaos!
- Not Having Enough Variety: Kids have fickle tastes. Offer a range of sweet, salty, crunchy, and soft. Nobody wants a board that’s 90% gummy worms (okay, maybe some do, but variety is key).
- Forgetting the “Spooky” Element: It’s Halloween, not just a random Tuesday snack board. A few strategic olive “eyeballs” or pretzel “fingers” go a long way.
- Making it Too Neat: Again, it’s for kids. A little jumble and tumble makes it inviting. Plus, it hides any imperfections, **FYI**.
- Prepping Too Early: Fresh fruit and crackers can get soggy or stale. Assemble within an hour or two of serving for optimal freshness.
Alternatives & Substitutions
No stress if you don’t have everything on the list. This board is all about flexibility!
- Dips: Instead of ranch, try a spinach dip (green for goo!), a peanut butter dip for apples, or even a simple cream cheese spread with chives.
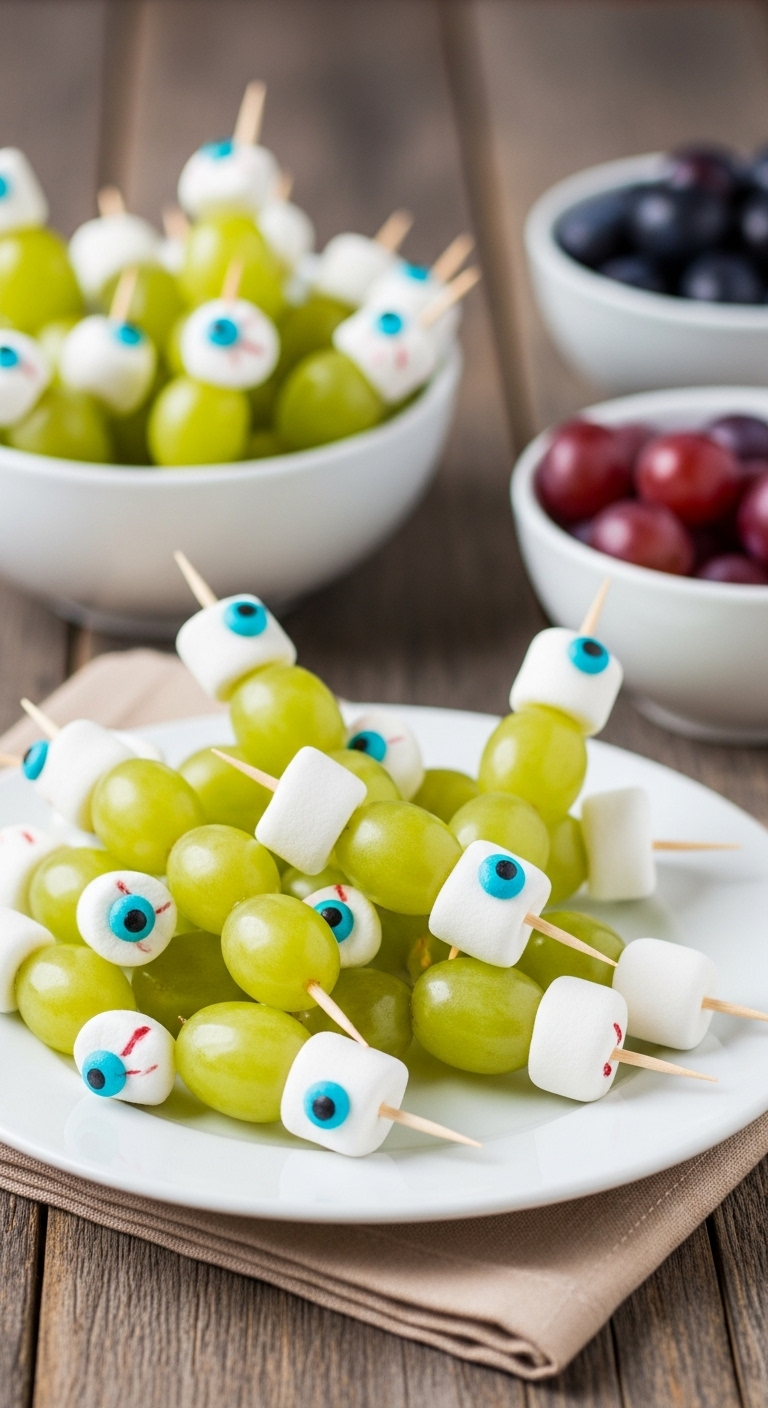
- “Eyeballs”: If mozzarella isn’t a hit, try halved hard-boiled eggs with a tiny bit of sriracha or ketchup for a bloodshot look. Or even grapes with a drop of chocolate for the iris.
- “Witch Fingers”: Instead of pretzels, use cheese sticks cut in half, with a sliver of bell pepper for the nail.
- “Pumpkin Patch”: Sliced oranges, cantaloupe cubes, or even carrot sticks can stand in for clementines.
- Sweet vs. Savory: Lean more sweet with candy corn, chocolate-covered pretzels, and frosted cookies, or go heavy on savory with cheeses, deli meats cut into shapes, and various crackers. It’s your board, your rules!
FAQ (Frequently Asked Questions)
Got questions? I’ve got answers (mostly humorous ones).
Q: Can I make this a day ahead?
A: Well, technically yes for some items, but why hurt your soul like that? Fresh is best! Dips can be prepped, and some dry items (like cookies) can be arranged, but hold off on the fruit and moist items until closer to serving to avoid sad, soggy snacks.
Q: My kids hate everything on this list. What do I do?
A: First, are you sure they’re human? Kidding! Just swap out anything they don’t like for things they *do* like. The goal is fun, not food fights. **Prioritize their favorites, then add spooky flair.**
Q: Is this even remotely healthy?
A: Let’s call it “balanced.” You’ve got your fruit, your veggies (if you sneak them in), your protein (cheese, hot dogs), and your fun stuff (gummies, chocolate). It’s Halloween, darling, a little indulgence is required!
Q: Do I need a fancy charcuterie board? Mine is just a regular cutting board.
A: Absolutely not! Any flat surface will do. A regular cutting board, a large platter, a clean baking sheet – it’s all about the presentation of the food, not the board itself. No need to splurge unless you want to feel extra fancy.
Q: How do I keep the board from looking like a total mess once kids descend upon it?
A: Good luck! Kidding (mostly). Arrange items in distinct sections, and use small bowls for dips. But honestly, embrace the post-kid chaos. It means it was enjoyed!
Final Thoughts
And there you have it! A Halloween Charcuterie Board for Kids that’s spooktacularly easy and delightfully delicious. You’ve officially conquered Halloween snacking without breaking a sweat (or a single expensive kitchen gadget). Now go impress someone—or yourself—with your new culinary skills. You’ve earned it! Grab a piece of “bloody fruit” and pat yourself on the back. Happy Halloween!


