So, your little humans have declared war on anything green and are currently staging a sit-in until you produce something beige and delicious, huh? Been there, bought the extra-large wine glass. But seriously, navigating the culinary minefield of ‘kid-friendly’ can feel like a full-time job. Fear not, my fellow kitchen warrior! I’ve got your back with a chicken recipe that’s so easy, so universally loved, and so utterly *crunchy*, even the pickiest tiny tyrant might just ask for seconds. And you, my friend, will actually enjoy making it. Promise.
Why This Recipe is Awesome
Let’s be real, you’re not trying to win a Michelin star here; you’re just trying to get dinner on the table before someone melts down (you or the kid, could go either way). This recipe for Crispy Baked Chicken Tenders is your secret weapon. First off, it’s **baked**, not fried. Translation: less oil, less mess, less guilt, and you won’t smell like a fast-food joint all night. Your kitchen (and your sanity) will thank you.
Secondly, it’s practically **idiot-proof**. Seriously, if I, a person who once set off the smoke alarm trying to make toast, can nail this, you’re golden. The steps are straightforward, the ingredients are common, and the payoff is a plate of golden, crunchy goodness that even adults will sneak off the kids’ plates. It’s also super customizable, which is just fancy talk for “you can tweak it if your kid has, shall we say, *strong opinions* about food.”
Ingredients You’ll Need
Gather ’round, pantry explorers! Here’s what you’ll need for this deliciousness. Don’t worry, nothing too wild here.
- Chicken Tenders: About 1.5 lbs (around 680g). These are the superstars. You can also use chicken breasts cut into strips if tenders aren’t available.
- All-Purpose Flour: 1/2 cup. Our first coating station. Don’t forget to season it!
- Eggs: 2 large. The glue for all our deliciousness.
- Panko Breadcrumbs: 1.5 cups. Panko is key for that extra-level crunch. Regular breadcrumbs work, but… why settle?
- Parmesan Cheese: 1/4 cup, grated. Totally optional, but adds a salty, cheesy kick. Kids usually love it!
- Paprika: 1 teaspoon. For a lovely color and a hint of warmth.
- Garlic Powder: 1 teaspoon. Because garlic makes everything better. Fight me.
- Onion Powder: 1/2 teaspoon. Another flavor enhancer.
- Salt & Black Pepper: To taste. Don’t be shy! Season your food, people!
- Cooking Spray or a Drizzle of Olive Oil: For the baking sheet.
Step-by-Step Instructions
Alright, let’s get messy (but not *too* messy). Follow these simple steps to culinary victory!
- Preheat & Prep: First things first, preheat your oven to 400°F (200°C). Line a large baking sheet with parchment paper and give it a light spray of cooking spray or a small drizzle of olive oil. This prevents sticking and helps with browning.
- Pat It Dry: Take your chicken tenders and pat them super dry with paper towels. This is a **crucial step** for crispiness, so don’t skip it! Moisture is the enemy of crunch.
- Set Up Your Stations: Grab three shallow dishes or plates.
- In the first dish, mix the flour with 1/2 teaspoon salt and 1/4 teaspoon black pepper.
- In the second dish, whisk the eggs until they’re nice and uniform.
- In the third dish, combine the panko breadcrumbs, grated Parmesan (if using), paprika, garlic powder, onion powder, and another 1/2 teaspoon salt and 1/4 teaspoon black pepper. Mix it all up real good.
- Dredge & Coat: Now for the fun part! Take each chicken tender, one by one. First, dip it in the flour, making sure it’s fully coated, then shake off the excess. Next, dunk it into the egg wash. Finally, transfer it to the panko mixture, pressing gently so the breadcrumbs stick all over. Make sure it’s fully coated!
- Arrange & Bake: Place the coated chicken tenders on your prepared baking sheet in a single layer, making sure they’re not touching each other. Give them a final light spray with cooking spray or a very light drizzle of olive oil on top. This helps them get extra golden and crispy.
- Cook ‘Til Golden: Bake for 15-20 minutes, flipping halfway through, until the chicken is golden brown, crispy, and cooked through (internal temperature of 165°F/74°C). Don’t crowd the pan! If you have too many, bake in batches.
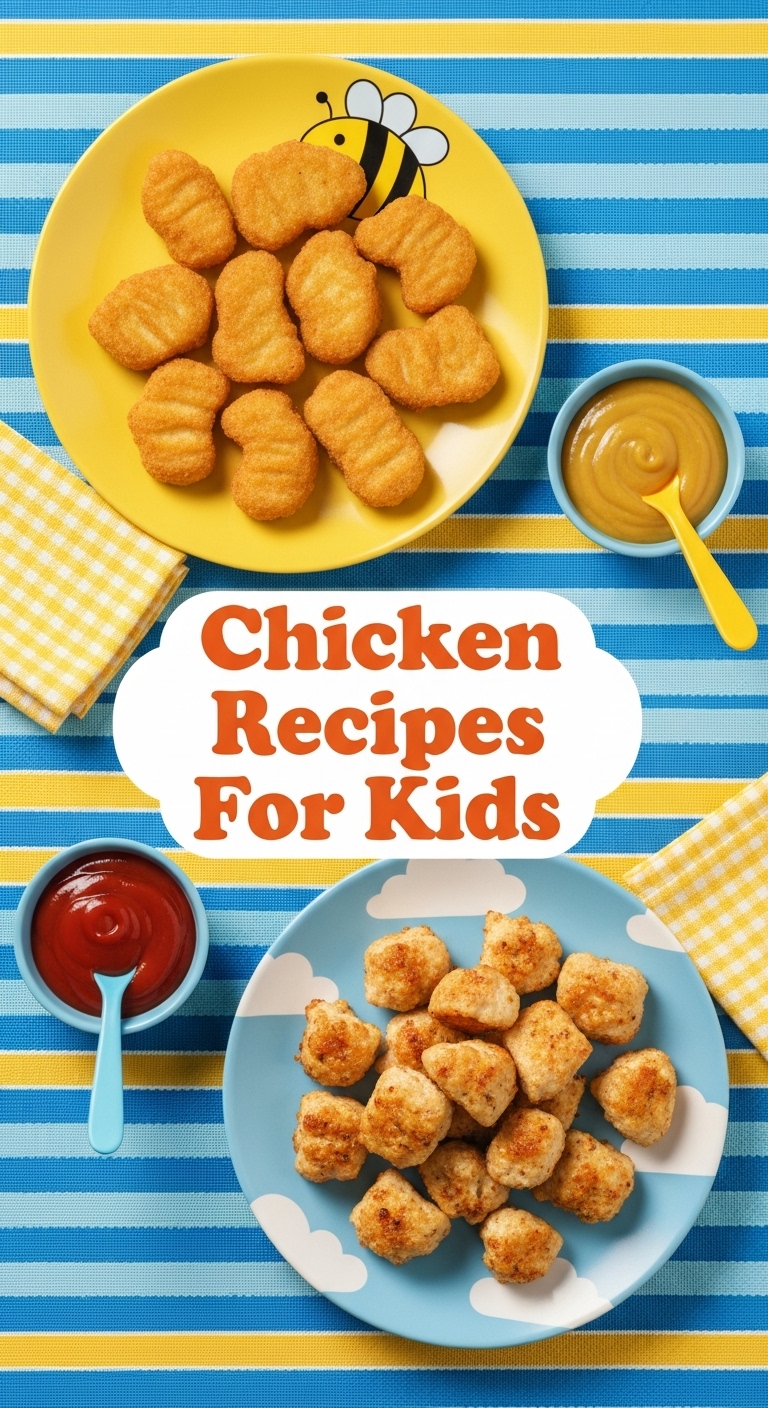
- Serve It Up: Take them out, let them cool for a minute (they’ll be hot!), and serve immediately with your kids’ favorite dipping sauces (ketchup, BBQ, honey mustard – you do you!).
Common Mistakes to Avoid
We all make mistakes, darling. But some are easily sidestepped. Learn from my past culinary misadventures!
- Skipping the Pat Dry: I can’t stress this enough. Wet chicken = soggy coating. You want crisp, not limp. It’s science.
- Not Seasoning Each Layer: Just coating chicken in plain flour and breadcrumbs is a recipe for blandness. Seriously, season the flour *and* the breadcrumbs. Your taste buds will thank you.
- Crowding the Baking Sheet: If the chicken pieces are too close, they’ll steam instead of bake, resulting in less crispiness. Give them space! They need their personal bubble, just like us on a Monday morning.
- Under-Baking (or Over-Baking): Use a meat thermometer if you’re unsure. You want 165°F (74°C). Nobody wants rubbery chicken or, worse, raw chicken. Gross.
- Forgetting the Spray/Drizzle: That final spritz of oil or cooking spray before baking is key to getting that beautiful golden-brown color and extra crunch. Don’t be lazy, it takes two seconds!
Alternatives & Substitutions
Got a rogue ingredient? Dietary restrictions? Or just feeling fancy? Here are some tweaks:
- No Panko? Regular breadcrumbs work, but the texture won’t be as light and crispy. You could also crush up some cornflakes for a similar crunch if you’re in a pinch!
- Gluten-Free: Swap out the all-purpose flour for a gluten-free all-purpose blend, and use gluten-free panko breadcrumbs. Easy peasy!
- Dairy-Free: Just skip the Parmesan cheese. The tenders will still be super flavorful and crispy.
- Spice It Up (or Down): If your kid is sensitive to spices, feel free to reduce or omit the paprika, garlic, and onion powder. For a bolder flavor, add a pinch of cayenne pepper (but maybe not for the kids, unless they’re spicy-food pros!).
- Air Fryer Fan? Heck yes! Air fry at 375°F (190°C) for about 10-15 minutes, flipping halfway. Keep an eye on them; air fryers can vary!
FAQ (Frequently Asked Questions)
Got questions? I’ve got (casual) answers!
- Can I prepare these ahead of time? You bet! You can coat the chicken tenders and store them on a plate in the fridge for a few hours before baking. Just cover loosely. For optimal crispiness though, baking them fresh is always best.
- My kids hate “lumps” in their food. Can I make this smoother? “Lumps” being… breadcrumbs? Bless their hearts. You could try blending the breadcrumbs with a food processor until they’re finer, but that might sacrifice some crunch. Or, you know, just tell them it’s ‘magic fairy dust.’
- Do I *have* to use fresh chicken tenders? Frozen works too, just make sure they are completely thawed and patted super, super dry before you start. Seriously, dryness is your best friend here.
- What kind of dipping sauces do you recommend? Oh, the possibilities! Ketchup is a classic, BBQ sauce is a hit, honey mustard is always a winner. For adventurous eaters, a little sweet chili sauce or a ranch dip could be fun.
- My oven takes forever to preheat. Does it really matter? Yes, friend, it does. **Preheating the oven is non-negotiable!** Putting chicken into a cold oven means it won’t cook evenly or get that immediate burst of heat needed for crispiness. Rookie mistake, don’t be that person.
- Can I use a different type of oil for spraying? Absolutely! Olive oil, avocado oil, even a light vegetable oil spray works perfectly fine. The goal is just a thin layer to encourage browning.
Final Thoughts
So there you have it! You’ve just mastered the art of making delicious, kid-friendly (and adult-friendly) crispy chicken tenders. Take a bow! Now go impress someone—or yourself—with your new culinary skills. Maybe put on some celebratory music, do a little dance. You’ve earned it. And hey, if there are any leftovers, they make for a pretty epic lunch the next day. Just saying. Happy cooking, chef!


