So you’re craving something tasty but too lazy to spend forever in the kitchen, huh? Same. And honestly, who needs a dozen cupcakes when you’re just looking for a little pick-me-up for yourself (and maybe one very lucky other person, or your extremely hungry alter ego)? We’ve all been there: that sudden, undeniable urge for something sweet, colorful, and utterly joyful. But, like, without the massive cleanup or the existential dread of having ten leftover cupcakes judging you from the counter. Enter: your new best friend, the Funfetti Cupcake Recipe For Two! 🎉
Why This Recipe is Awesome
Because adulting is hard enough, and baking shouldn’t be another chore. This recipe is your culinary equivalent of a warm hug on a cold day, but with sprinkles! Seriously, it’s designed for minimal effort and maximum reward. Think: quick prep, tiny cleanup, and just enough sweet treats to satisfy without going into a full-blown sugar coma. It’s practically idiot-proof, even I didn’t mess it up, and my track record with tiny batches can be… questionable. Plus, it’s ready faster than you can decide which streaming show to binge next. Winning!
Ingredients You’ll Need
Gather your troops, culinary commander! Here’s what you’ll need for your duo of deliciousness:
- All-purpose flour: Just 1/2 cup, the hero of every pantry.
- Granulated sugar: 1/4 cup + 2 tablespoons. Because sweetness is key, don’t skimp!
- Baking powder: 1/2 teaspoon. Our little leavening agent, making sure things rise to the occasion.
- Salt: A tiny pinch (1/8 teaspoon). Don’t forget it, it balances everything out.
- Unsalted butter: 2 tablespoons, softened. If it’s rock-hard, you’ve got time to kill, so plan ahead!
- Egg white: 1 large. We’re going for lightness and fluffiness here.
- Milk: 1/4 cup. Any milk works; even oat milk if you’re feeling fancy (or lactose intolerant, no judgment).
- Vanilla extract: 1/2 teaspoon. The MVP of flavor.
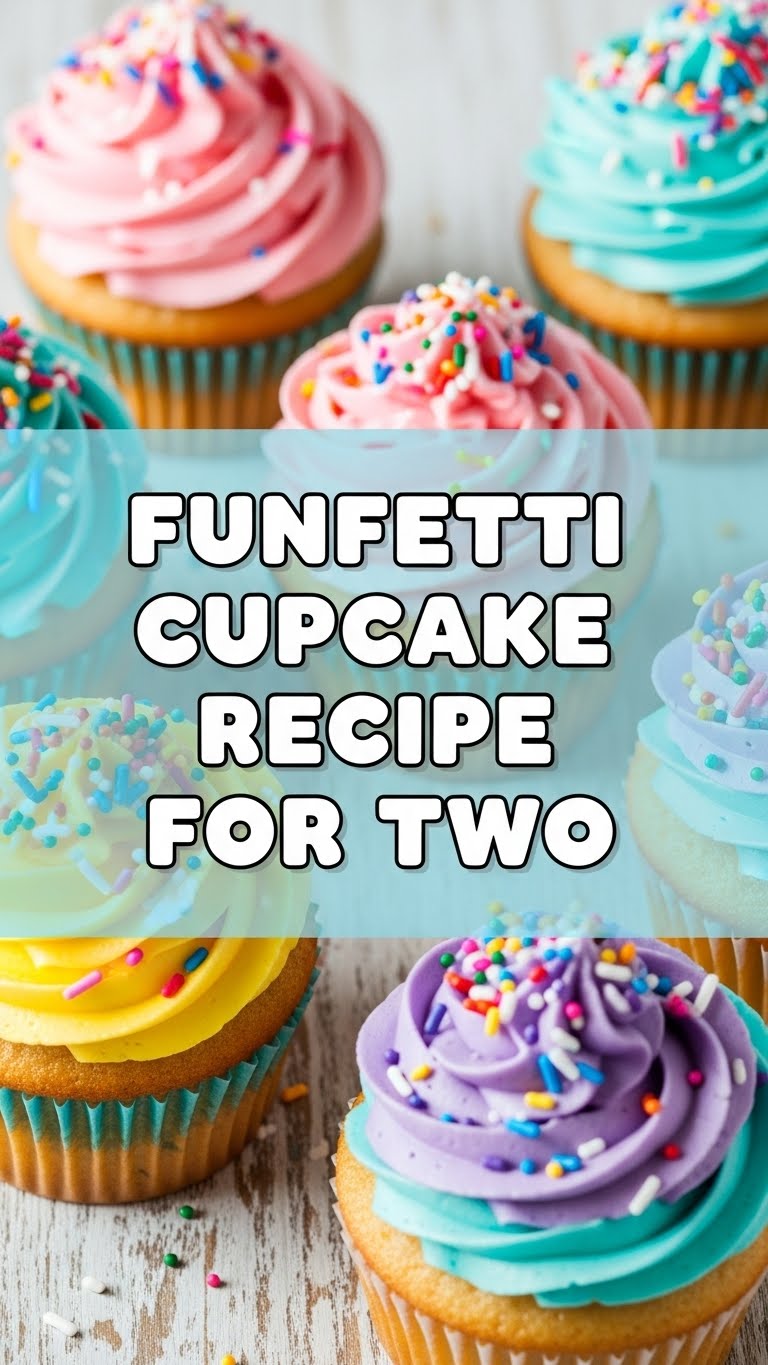
- Rainbow sprinkles: 2 tablespoons. The star of the show! Make sure they’re the pretty, cylindrical ones, not the flat discs that bleed color everywhere.
- Your favorite frosting: A small amount for topping. Homemade or store-bought, we’re not judging.
Step-by-Step Instructions
- Preheat & Prep: First things first, preheat your oven to 350°F (175°C). Line two cavities of a standard muffin tin with paper liners. Seriously, don’t skip the liners unless you enjoy scraping.
- Whisk Dry Ingredients: In a small bowl, whisk together your flour, sugar, baking powder, and salt. Give it a good swirl to combine everything evenly.
- Cream Butter: In a separate, slightly larger bowl, use a fork or a mini whisk to cream the softened butter until it’s smooth and light.
- Add Wet Goodies: To the butter, add the egg white, milk, and vanilla extract. Whisk until mostly combined. Don’t worry if it looks a little separated; it’ll come together.
- Combine & Fold: Pour the dry ingredients into the wet ingredients. Mix gently with a spatula or spoon until just combined. Do not overmix! A few lumps are totally fine.
- Sprinkle Time! Gently fold in the rainbow sprinkles. Be quick and gentle to prevent them from bleeding too much color into your beautiful batter.
- Fill ‘Em Up: Divide the batter evenly between your two prepared cupcake liners. They should be about two-thirds full.
- Bake It Off: Pop them into your preheated oven and bake for 18-22 minutes, or until a toothpick inserted into the center comes out clean.
- Cool Down: Let them cool in the muffin tin for 5 minutes, then transfer them to a wire rack to cool completely. Patience, young padawan!
- Frost & Devour: Once completely cool (this is important, nobody wants melted frosting!), frost with your favorite frosting and add a few extra sprinkles for good measure. Now, go on, enjoy your mini masterpieces!
Common Mistakes to Avoid
- Thinking you don’t need to preheat the oven: Rookie mistake! A cold oven means uneven baking and sad, dense cupcakes. Don’t do it.
- Overmixing the batter: This is a cardinal sin in baking. Overmixing develops the gluten too much, leading to tough, chewy cupcakes instead of light, fluffy ones. Mix until just combined, then stop.
- Ignoring the “softened butter” instruction: If your butter is straight from the fridge, it won’t cream properly, and your batter will suffer. Pop it in the microwave for a few seconds if you’re in a rush, but don’t melt it!
- Opening the oven door constantly: Resist the urge! Every time you peek, you let out heat, which can cause your cupcakes to sink or bake unevenly. Trust the timer!
- Frosting warm cupcakes: Unless you’re aiming for a soupy, sugary mess, let those beauties cool down completely. Seriously.
Alternatives & Substitutions
Feeling a little rebellious? Here are some simple swaps:
- No vanilla extract? A tiny splash of almond extract can offer a lovely, different twist. Just use a little less, it’s potent! Or, honestly, skip it if you’re truly desperate – it’ll still taste good, just less… *vanilla*.
- No unsalted butter? Salted butter is fine, just omit the pinch of salt from the recipe. FYI, it might taste a smidge saltier, but hey, adds character!
- Dairy-free? Use your favorite plant-based milk (almond, soy, oat) and a dairy-free butter alternative. Make sure the butter alternative is suitable for baking.
- Different sprinkles? Absolutely! Use chocolate chips, mini M&Ms, or any other fun mix-ins, but keep the total volume roughly the same. Just be aware that some colors might bleed more than others.
- No cupcake liners? You can lightly grease and flour the muffin tin cavities, but I’m telling you, liners make life so much easier.
FAQ (Frequently Asked Questions)
Got questions? I’ve got (casual) answers!
- Can I use margarine instead of butter? Well, technically yes, but why hurt your soul like that? Butter just tastes better, IMO, and gives a superior texture. But if margarine is all you have, it’ll work in a pinch.
- My cupcakes are dense, what did I do wrong? My guess? Overmixing the batter or using cold ingredients. Remember, light hand, room temp ingredients!
- Can I make these gluten-free? Sure, a 1-to-1 gluten-free flour blend should work! Just don’t blame me if they’re not *exactly* the same. I’m a chef, not a miracle worker!
- How long do these mini cupcakes last? Honestly, they rarely last more than a day in my house! But if you manage to resist, they’ll be good in an airtight container at room temperature for up to 2-3 days.
- What if I only have one cupcake liner? Improvise! Bake one in the liner and grease/flour the other cavity, or simply half the recipe for a single serving. We’re all about flexibility here.
- Can I double this recipe for four cupcakes? Absolutely! Just double all the ingredients and bake as instructed. Easy peasy.
Final Thoughts
So there you have it, your ticket to instant, sprinkle-filled joy. This little recipe proves that sometimes, the best things come in small, perfectly baked packages. It’s perfect for a low-key celebration, a cozy night in, or just because it’s Tuesday and you deserve a treat. Now go impress someone—or yourself—with your new culinary skills. You’ve earned it!


