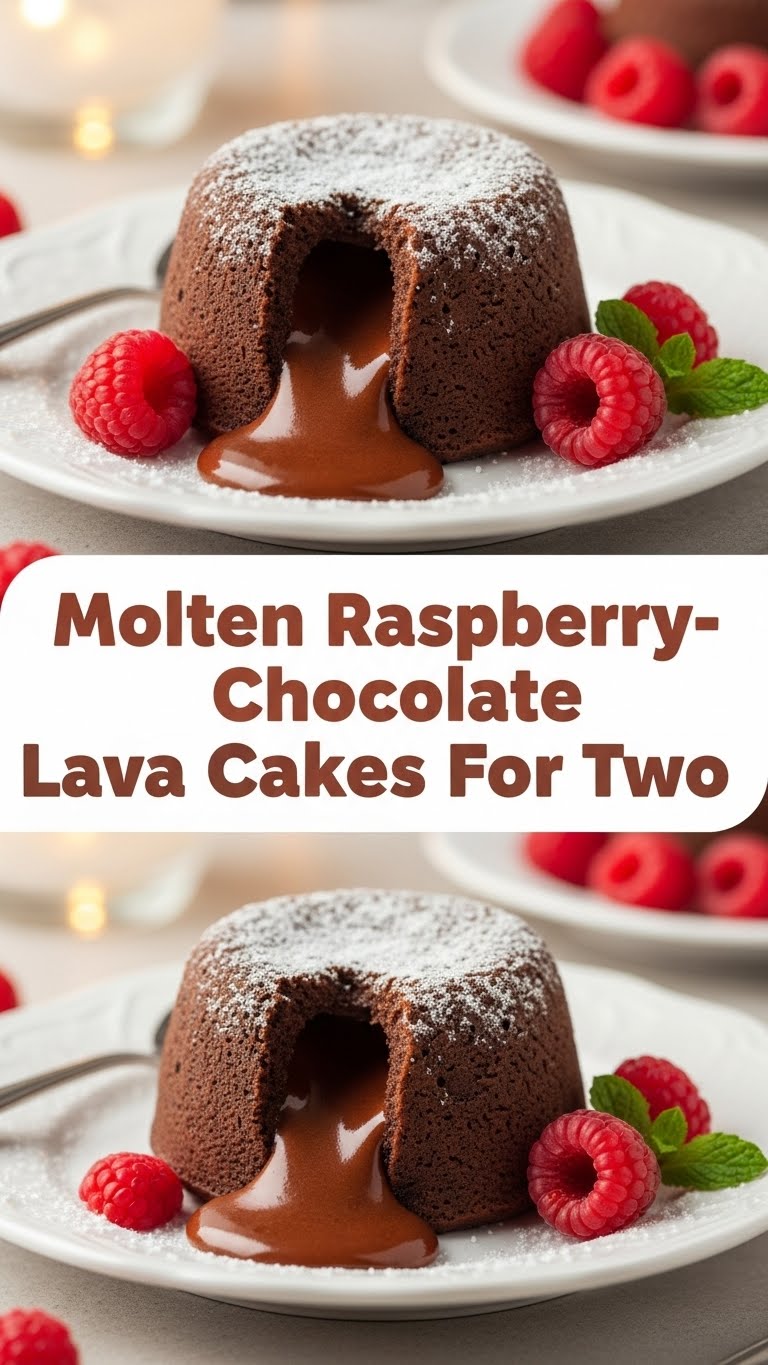
So you’re craving something ridiculously decadent, something that screams “I tried hard but actually barely lifted a finger,” and something that will make your taste buds do a happy dance? And all that, for two? Same, friend, same. Welcome to the land of molten chocolate dreams with a sassy raspberry twist. Forget complicated desserts; we’re making Molten Raspberry-Chocolate Lava Cakes, and trust me, they’re basically magic.
Why This Recipe is Awesome
Because let’s be real, life is too short for bland desserts and endless clean-up. This recipe? It’s the culinary equivalent of putting on sweatpants but looking fabulous. It’s quick, it’s ridiculously impressive (seriously, people will think you’re a wizard), and it delivers that gooey, molten chocolate center you crave with a bright, tart burst of raspberry that cuts through the richness like a tiny, delicious superhero. It’s also pretty much **idiot-proof**, which is saying a lot because I once burned water. So, yeah, you got this.
Ingredients You’ll Need
Get ready for a short but mighty list. We’re going for quality over quantity here, because two perfect lava cakes are better than a dozen mediocre ones, right?
- 4 oz (about 115g) Good Quality Dark Chocolate: We’re talking 60-70% cacao. No wimpy chocolate chips here, please. This is the star of the show.
- 1/2 cup (1 stick or 113g) Unsalted Butter: The real deal. Don’t skimp.
- 1/4 cup Powdered Sugar (Confectioners’ Sugar): Because it dissolves beautifully and makes everything smooth.
- 1 Large Egg: Yes, a whole one!
- 1 Large Egg Yolk: This is our secret weapon for extra richness and that perfect molten texture.
- 1 tsp Vanilla Extract: The universal flavor enhancer. Don’t skip it!
- 2 tbsp All-Purpose Flour: Just a tiny bit, to give it some structure.
- Pinch of Salt: To make all those chocolatey flavors sing.
- 6-8 Fresh Raspberries: Or more, if you’re feeling wild. These add the “raspberry” to our lava.
- Extra Butter and Cocoa Powder: For prepping your ramekins. Don’t worry, it’s easy.
Step-by-Step Instructions
Alright, apron on (or not, we don’t judge), let’s get this lava flowing! Keep it chill, keep it fun.
- Preheat & Prep: Preheat your oven to 400°F (200°C). Grab two 6-ounce ramekins. **Butter them generously** – seriously, get into every nook and cranny. Then, dust them with cocoa powder, rotating to coat completely, and tap out any excess. This is crucial for easy unmolding later, FYI.
- Melt the Magic: Chop your chocolate into small pieces. In a microwave-safe bowl (or over a double boiler, if you’re fancy), combine the chocolate and butter. Microwave in 30-second intervals, stirring after each, until smooth and fully melted. Stir it until it’s super shiny and glorious.
- Whisk Away: In a separate medium bowl, whisk together the powdered sugar, whole egg, egg yolk, and vanilla extract until the mixture is light yellow and slightly frothy. This usually takes about 1-2 minutes of enthusiastic whisking.
- Combine Forces: Slowly pour the melted chocolate-butter mixture into the egg mixture, whisking constantly until completely combined. Don’t be shy; get it all in there!
- Flour Power: Gently fold in the flour and the pinch of salt until just combined. **Don’t overmix!** We want a light batter, not tough cakes. Overmixing develops the gluten too much.
- Fill ‘Em Up: Divide the batter evenly between your two prepared ramekins. Press 3-4 fresh raspberries into the center of each ramekin. They’ll sink a bit, and that’s totally fine.
- Bake to Perfection: Place the ramekins on a baking sheet (just in case of any drips, though there shouldn’t be). Bake for 12-14 minutes. You’re looking for edges that are set and firm, but the center should still be jiggly when you gently shake the ramekin. **This jiggly center is your lava calling!**
- The Big Reveal: Let them cool for just 1-2 minutes. Any longer and they might stick, any shorter and they might fall apart. Carefully run a thin knife around the edge of each cake, then invert each ramekin onto a serving plate. Give it a gentle tap or two. Voila!
- Serve & Devour: Garnish with a few extra fresh raspberries, a dusting of powdered sugar, or a scoop of vanilla ice cream if you’re feeling extra. Dive in immediately and enjoy that glorious molten center!
Common Mistakes to Avoid
Listen, we all make mistakes. It’s part of the journey. But let’s try to avoid these particular pitfalls for maximum lava cake success:
- Not Preheating the Oven: Rookie mistake! A cold oven means uneven baking and sad cakes. **Always preheat fully.**
- Overbaking: This is the #1 killer of lava cakes. If you bake them too long, you’ll end up with a delicious but solid chocolate cake, not a molten one. Keep an eye on that jiggly center! When in doubt, underbake slightly.
- Forgetting to Butter/Cocoa Your Ramekins: You’ll regret it. Trust me. A sticky cake is a tragic cake.
- Using Subpar Chocolate: This recipe is all about the chocolate. Don’t use chocolate chips unless they’re high quality and designed for melting. Go for a good bar.
- Unmolding Too Soon (or Too Late): Timing is everything for that perfect flip. 1-2 minutes of cooling after baking is the sweet spot.
Alternatives & Substitutions
Feeling creative? Or just missing an ingredient? Here are some ways to shake things up:
- Chocolate Swaps: Not a dark chocolate fan? You could use a really good quality milk chocolate, but the lava might be a bit sweeter and less intense. White chocolate lava cakes are also a thing, but that’s a whole different vibe, IMO.
- Berry Blast: Instead of raspberries, try fresh blueberries, sliced strawberries, or even pitted cherries. Frozen fruit works too, just don’t thaw it – pop it in frozen. It might release a tiny bit more liquid, but still delish.
- Flavor Boosters: A splash of Grand Marnier or Kahlua instead of some vanilla extract (about 1/2 tsp) could add a sophisticated kick. Or, try a tiny pinch of chili powder with the chocolate for a spicy surprise!
- No Ramekins? No Problem: Muffin tins work in a pinch! Just make sure to grease and cocoa them well. Baking time will likely be shorter (8-10 minutes), so keep a very close eye on them.
FAQ (Frequently Asked Questions)
Got questions? I’ve got answers! (Mostly.)
- Can I make the batter ahead of time? Absolutely! You can whip up the batter, cover it, and refrigerate it for up to 24 hours. Just let it sit at room temp for about 30 minutes before baking, and you might need an extra minute or two in the oven.
- My cakes didn’t “lava” – what happened?! Ah, the dreaded solid center! This almost always means you overbaked them. Next time, pull them out when the centers are *super* jiggly. Seriously, like an earthquake in your oven.
- What if I don’t have fresh raspberries? Can I use frozen? Yep! Just toss them in frozen. They might release a little more moisture, but it won’t ruin the cake.
- Is dark chocolate really essential? I prefer milk chocolate. For that classic rich, intense lava cake experience, dark chocolate is king. But hey, your kitchen, your rules! Just be aware the flavor profile will be different (sweeter, less depth).
- How do I know they’re perfectly done? The edges should look set and slightly puffed, but the very center will still wobble like Jell-O when you give the ramekin a gentle nudge. That wobble is the molten goodness!
- Can I double or triple this recipe? You bet! Just multiply all ingredients by two or three and make sure you have enough ramekins. Batch baking is a great way to spread the lava cake love (or just have more for yourself, no judgment).
Final Thoughts
There you have it, folks! Your new go-to dessert for when you want to feel fancy, impress a date, or simply treat yourself to something ridiculously delicious without a ton of effort. These Molten Raspberry-Chocolate Lava Cakes are proof that sometimes, the simplest things are the most satisfying. Now go forth and conquer that kitchen! You’ve earned those bragging rights, and more importantly, that first warm, gooey bite. Enjoy!


